














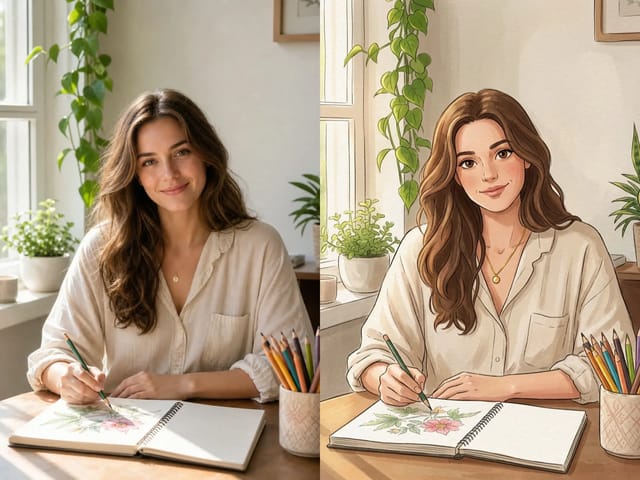
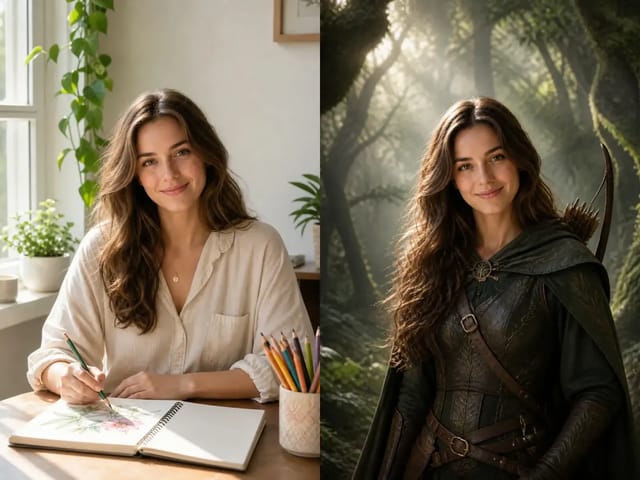
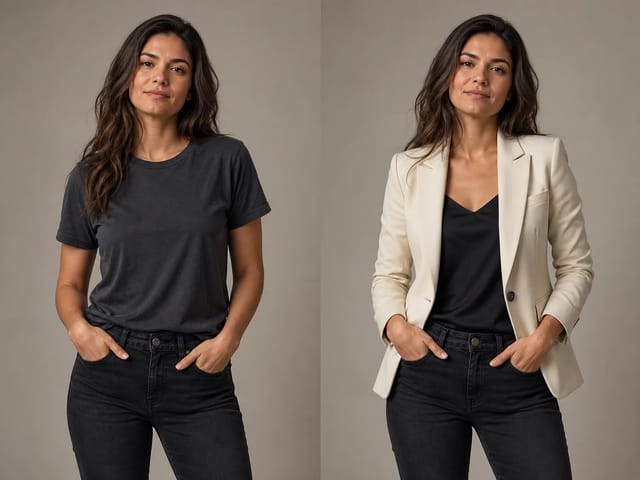

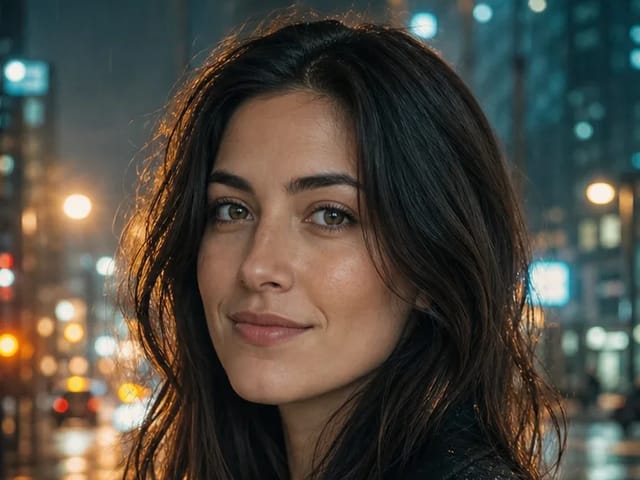




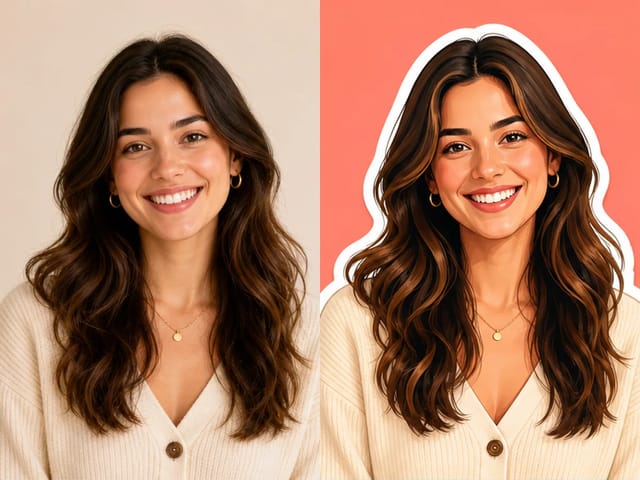
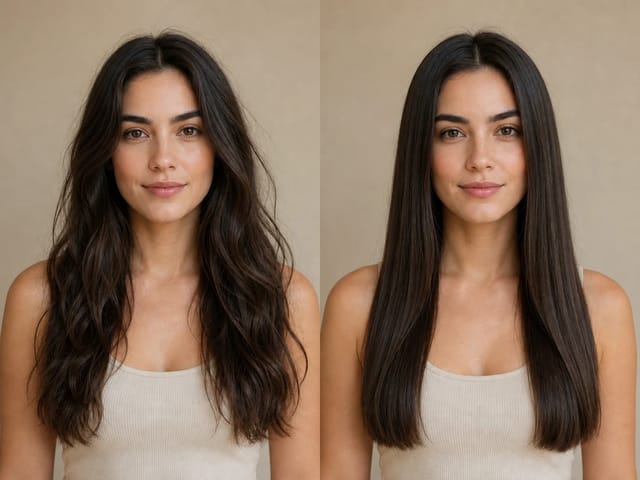
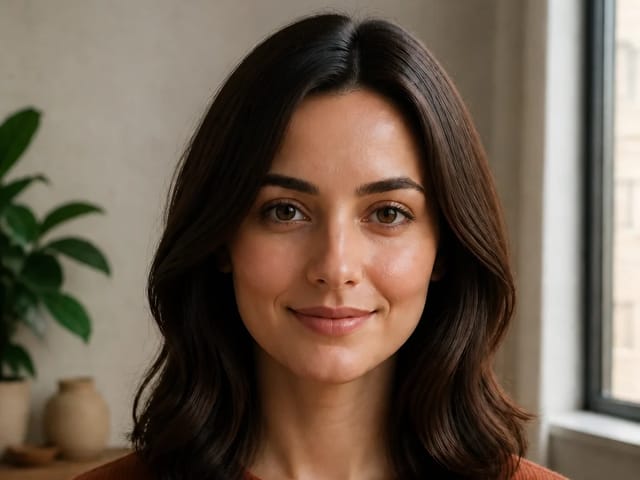

1. Upload a clear portrait
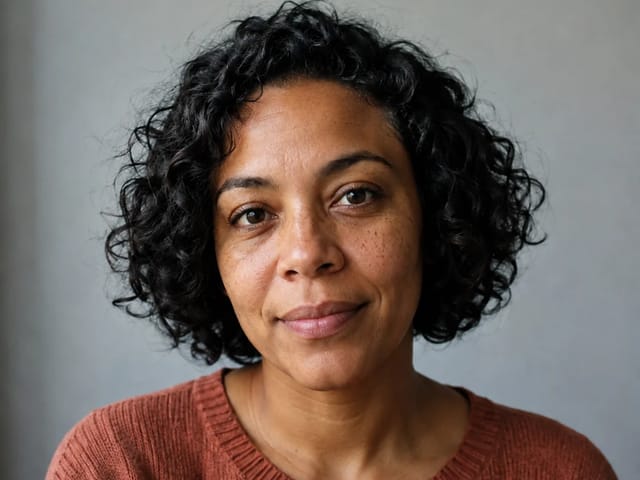
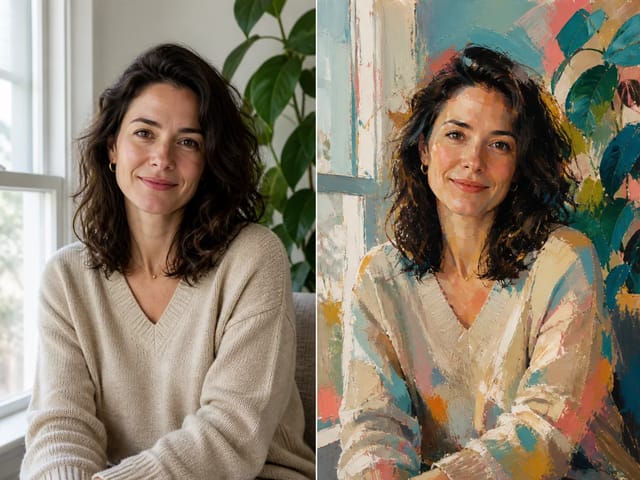
Choose a photo you may edit. A sharp face, partly visible eyes and moderate reflections give the model more real detail to work from. Keep the original file.
Save up to 73% on plans
Browse every other AI image model and effect published on this site in a continuous carousel.
Choose a photo you may edit. A sharp face, partly visible eyes and moderate reflections give the model more real detail to work from. Keep the original file.
Select screen, window or one-lens glare. Use in generator copies the full instruction into the tool above, where you can describe the exact lens or reflection.
Sign in and check the displayed credits before generating. Compare the output with the source at full size, especially eye shape, gaze, frames and skin. Save only a result that looks faithful.
A bright monitor often leaves rectangular white patches over the pupils. Start with the screen prompt and ask for a gentle reduction around the lenses. Keep the frame and nearby skin untouched. If the reflection hides both eyes entirely, AI has to infer what was behind it; the output cannot recover those exact original details.
A window can make one side of the glasses much brighter than the rest of a portrait. The window prompt asks the model to retain subtle highlights and the direction of the scene lighting. A little reflection helps transparent lenses look convincing; erasing every glint can make the glasses look flat or painted on.
When the other lens is clear, it provides a useful visual reference for color, contrast and the person's gaze. Tell the model which side is affected and use the one-lens prompt. Review the unaffected side as well: an AI editor can change more than the requested region, so compare the entire image before sharing it.
The best source is in focus and shows at least part of each eye through the lenses. A mild reflection can often be reduced while retaining the visible anatomy. A large white patch over an eye leaves no underlying pixels to recover. If you can retake the picture, move the light source, tilt the glasses slightly or change the camera angle before editing.
Ask for lens glare reduction rather than a general portrait makeover. Name the frame shape, eye direction and skin texture as details to preserve. Avoid asking to brighten the whole face, change makeup, replace the background and remove glare in one request. A narrow brief makes it easier to judge whether the final portrait still resembles the source.
Check for altered pupils, mismatched eye sizes, warped rims and strange lens edges. Zoom in where reflections met the frame. If those details drift, try a clearer source or a less aggressive prompt. A second generation is a new request and may use credits, so revise one instruction at a time.
NanoPic sends your uploaded image and chosen prompt through its existing image-to-image generation workflow. It can produce a visually plausible edit, but it is not a pixel-level recovery of information hidden under glare. Identity, gaze, eye detail and frames may shift. Keep your original and do not use a generated result as forensic or identity evidence.
This page is for a quick photo-to-photo edit in a browser. If you need precise local control, a layer-based editor such as Photoshop lets you mask each lens and adjust exposure or clone small regions by hand. A phone editor may be enough for mild reflections. Those routes still depend on what the source image actually captured.
Upload a photo above, choose the screen, window or single-lens prompt, then use it in the generator. Adjust the instruction if needed, review the displayed credit cost and generate. Compare the output with the original, particularly the eyes and frame.
The prompt asks the model to keep the same face, eye shape and glasses, but exact preservation is not guaranteed. Small reflections with visible eye detail are easier to edit faithfully. Review the result at full size and keep the original.
No tool can reveal exact eye detail that the camera did not capture. An image model may create plausible pixels, but they are invented. For a faithful portrait, use another frame or retake the photo when possible.
You can upload an iPhone photo here from the browser. For manual editing, try the phone's local editing controls for mild brightness or retake the portrait at a different angle. A broad brightness adjustment will affect the whole image and may not fix a fully blocked lens.
Photoshop offers manual masking and retouching control, while this page uses an editable prompt and an image model. The AI workflow is quick to try; a manual edit is useful when a specific lens edge or tiny highlight must be controlled. Neither can prove details hidden in the original.
Reading this guide and copying prompts does not use credits. Generating an edited photo requires sign-in and uses the credit amount shown in the generator before submission. A retry is a new generation request.
No. This tool edits a digital photograph only. It does not alter lenses, coatings or eyewear. Questions about damaged coatings belong with an optical professional, not a photo editor.