











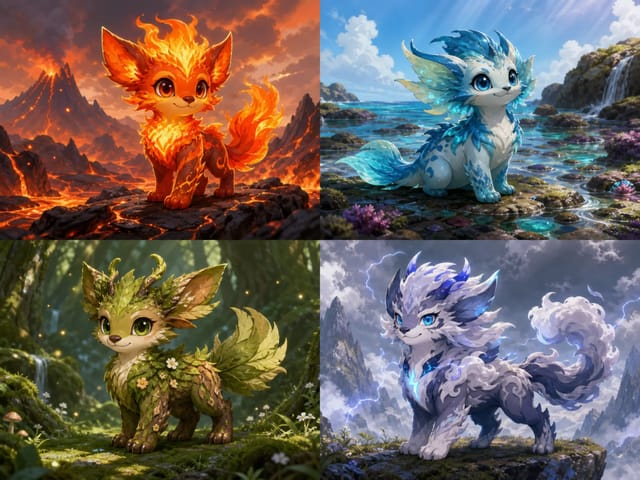
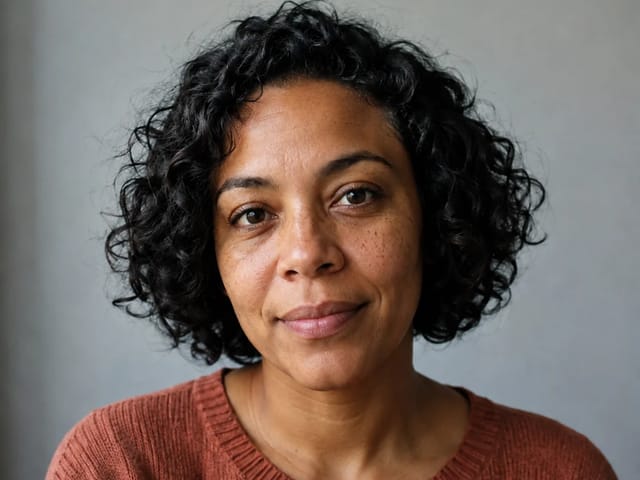









Save up to 73% on plans

Qwen Image Generator
Sign In
Public VisibilityAllow this result to appear in public inspiration surfaces.
Credits required:—

Qwen Image Generator

Qwen Image 3

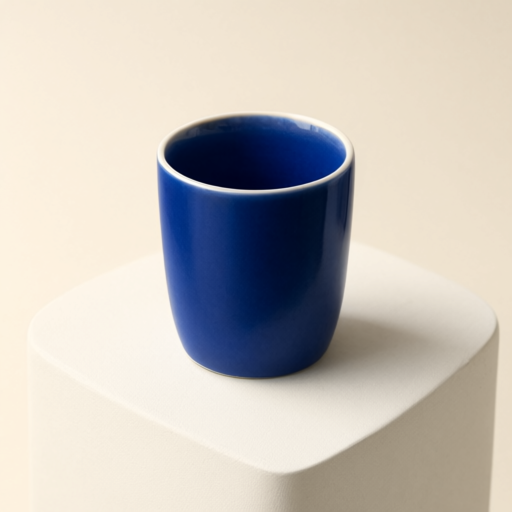
A minimal cobalt-blue ceramic cup on a warm white pedestal, soft studio lighting, clean composition, no text

AI output preview

A minimal cobalt-blue ceramic cup on a warm white pedestal, soft studio lighting, clean composition, no text

More AI Image Models & Effects

Browse every other AI image model and effect published on this site in a continuous carousel.

Actual Materials and Result

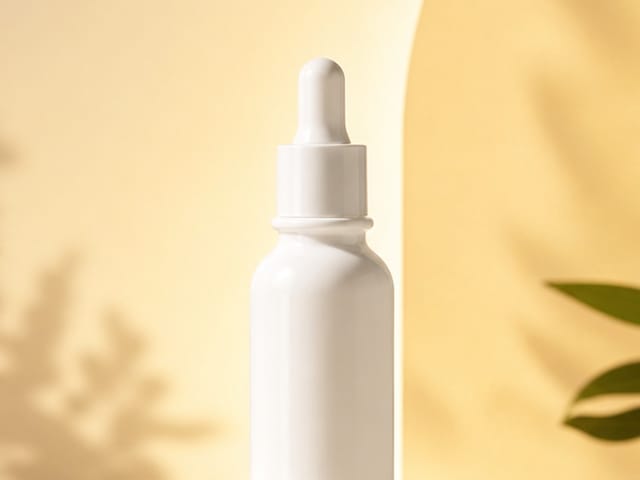
A Blue Ceramic Cup Product Study

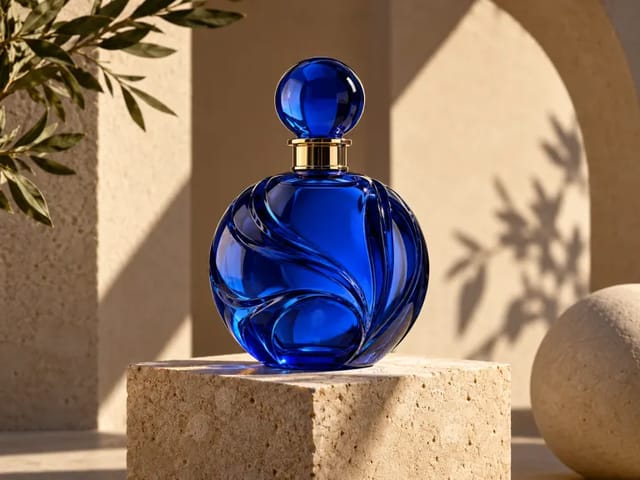
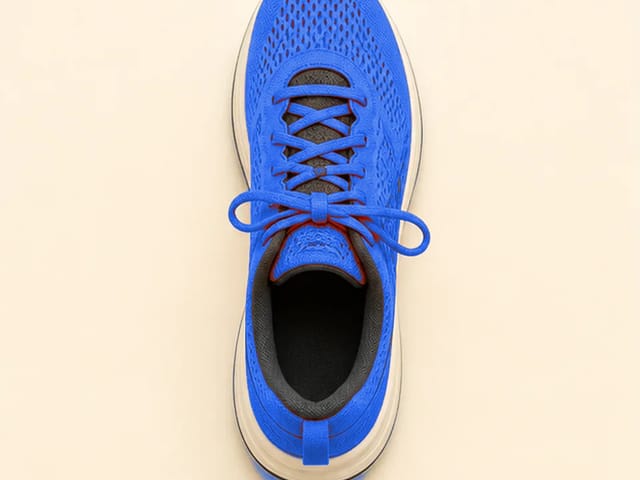
An actual Qwen Image 3 text-to-image result: blue ceramic on a pale display plinth with soft side lighting. This is a generated visual draft, not a photograph of a real product. Start from the matching prompt to explore materials and composition.
A Blue Ceramic Cup Product Study

Create with Qwen Image 3 and Qwen Image 3 Pro

Qwen Image Generator brings prompt-based creation and reference-led editing into one workflow. This page starts with Qwen Image 3, and the model selector identifies the model used for each task. Choose text-to-image when the idea begins with a written brief. Choose image-to-image when an existing composition, subject or material should guide the result. This is a family workflow page; it does not silently replace the selected model with an unrelated generator.

Start from a precise written brief

Describe the subject, composition, setting, lighting and intended use. A concrete visual relationship such as a glass vase on a stone table under left-side window light is more useful than a long chain of praise words. Keep one dominant idea and add only the constraints that change what the model should actually draw.

Give each reference a role

When editing, distinguish a subject reference from a layout, palette or texture reference. Explain what should stay and what may change. Do not ask every image to govern every part of the result. The active model's upload controls determine the available reference capacity; keep the source set as small and coherent as the task allows.

Review a real output, not a promise

Generated images are visual drafts. Fine text, object geometry, faces and reflections can require revision. Use the result view and generation history to compare versions, then download a version that has passed your own inspection. A model choice does not remove the need to verify content before commercial or public use.

Choose the Qwen Workflow That Matches Your Task

The controls belong to the selected model rather than a single universal Qwen specification. Check the model name before submitting.

Qwen Image 3 for creation and iteration

Use the standard Image 3 workflow to explore a composition from text or revise it with visual references. Its dedicated model page explains the supported canvas, reference and output controls. Keep the prompt stable when comparing settings, and change one dimension at a time so you can understand which choice improved the result.

Qwen Image 3 Pro for a separate comparison

Pro is a distinct selection, not a switch that guarantees every image will be better. Compare it with a clear task and the same references. Evaluate whether it follows your specific subject, layout and editing constraints more usefully. Use the dedicated Pro page for its currently exposed settings rather than assuming both models accept identical parameters.

Keep the exact model visible

This page targets the broad Qwen image generator workflow while the individual model pages cover version-specific controls. The generator is explicitly labeled with its actual selection. Do not infer that a newly announced Qwen version is connected merely because it shares the family name, and do not treat an output as proof of another version's capabilities.

How to Use the Qwen Image Generator

A disciplined sequence makes your results easier to compare and your next edit easier to explain.

1. Choose a model and creation mode

Start with the visible model selector, then decide whether the task needs text-to-image or image-to-image. A text-only brief is appropriate for original concepts. A reference edit is better when the subject, scene or layout already exists. Do not upload irrelevant pictures just to fill the available slots; unnecessary references can create conflicting instructions.

2. Write the image's main job

A product card, article cover, poster study and character concept have different priorities. State the destination, subject hierarchy and required empty space. Specify what must remain readable at the final size. If exact wording matters, keep it short and plan a separate typography review instead of hiding it in a long paragraph of style instructions.

3. Choose a canvas before refining

Select a supported aspect ratio that matches the destination. A square product tile and a vertical story need different placements, not merely different crops of the same image. Begin with an exploratory setting, check composition, then select the appropriate final setting exposed by the model. Increasing output size does not repair a weak composition or a conflicting prompt.

4. Compare the result with the brief

Inspect the subject count, placement, light direction, geometry and any text. For an edit, also compare protected details with the input. Save useful versions in your normal workflow and record the prompt that produced them. When revising, change one request at a time rather than treating every new result as an unrelated experiment.

Write a Better Qwen Image Prompt

Use a hierarchy the model can follow: subject, composition, environment, light and constraints.

Name the important geometry

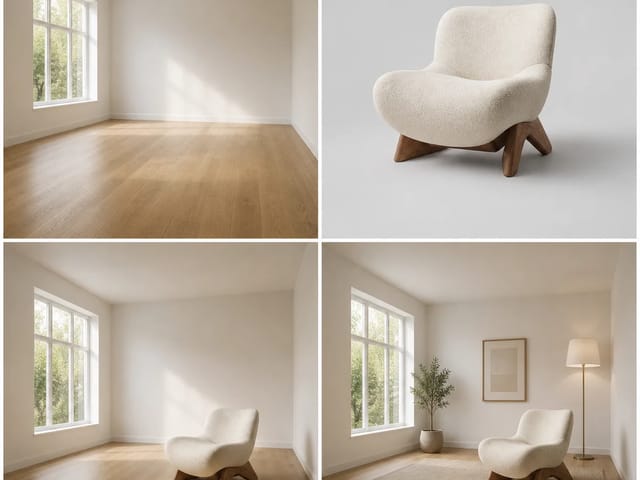
For a product, describe the silhouette, material, camera angle and relationship to the surface. For a room, specify viewpoint and major furniture positions. For a character, describe pose and framing. Concrete geometry is more actionable than words such as stunning or premium, and it gives you something objective to check when the image is complete.

Protect the details that matter

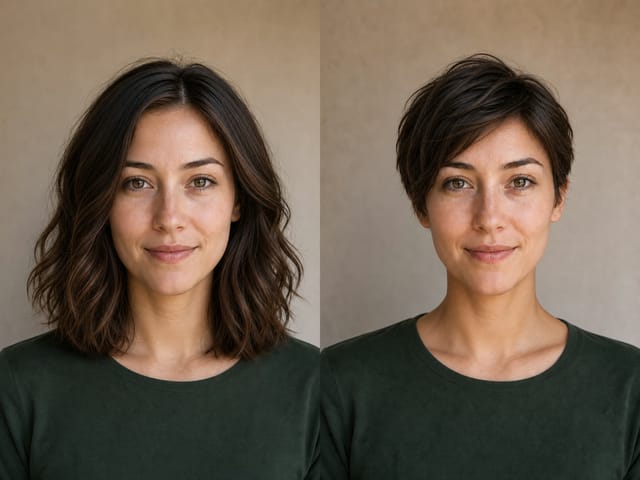
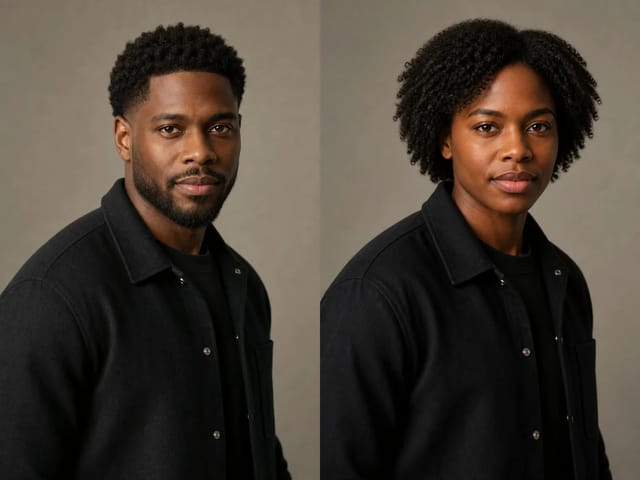
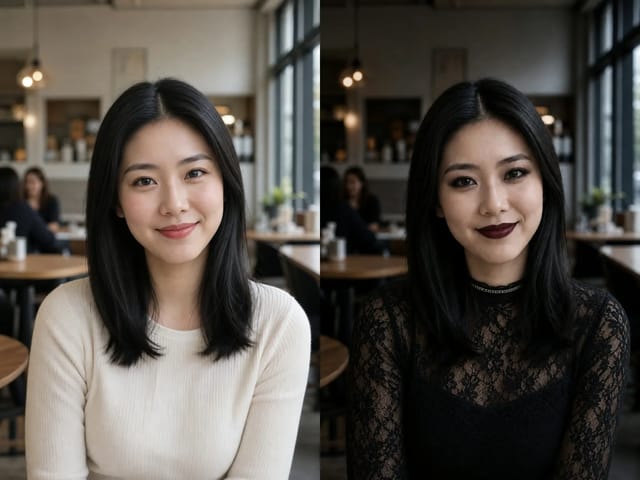
In a reference edit, separate preservation instructions from change instructions. For example, keep the jug shape, handle and camera angle, but replace the background with warm plaster and soften the shadows. If you request a new viewpoint, acknowledge that hidden surfaces must be imagined. Do not promise exact product accuracy where the source contains no information.

Keep negative instructions selective

A short list of relevant exclusions helps more than dozens of unrelated restrictions. State no extra objects, no text or no border when these affect the intended image. Avoid conflicting commands such as preserve every detail while changing the entire scene. Resolve the contradiction in the brief before expecting the model to resolve it for you.

Practical Qwen Image Generator Use Cases

Match the amount of review to the stakes of the final use.

Editorial visual directions

Explore original still lifes, abstract material studies and thematic illustrations for an article or campaign. Define copy-safe space and a consistent palette. Keep factual claims outside the image unless they have been independently checked. A concept should support the story without inventing a documentary event, an endorsement or evidence that the source material does not contain.

Product background concepts

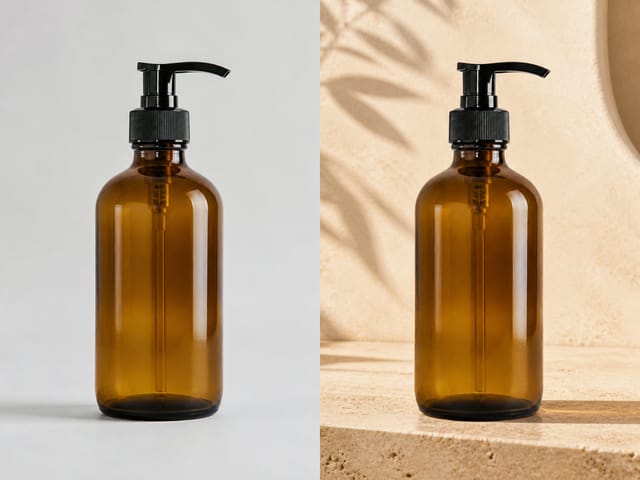
Use an authorized product reference to explore light, surface and environment. Compare labels, handles, seams and proportions with the original before considering a catalog use. The model may alter small details even if the prompt asks not to. For strict ecommerce accuracy, use the concept to guide a controlled final edit or a real product shoot.

Layout and format studies

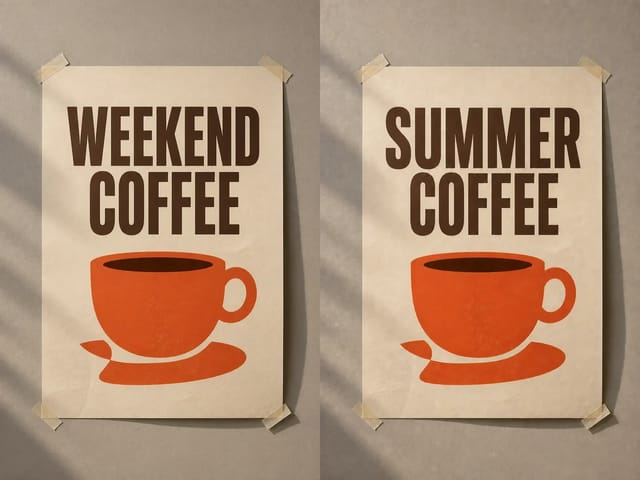
Generate distinct compositions for a square tile, horizontal header and vertical cover. Describe the focal position and negative space for each one. This is often more reliable than stretching one result across all placements. Keep typography and final logos under deliberate design control, especially when small letters and exact brand marks need to match approved assets.

Reference-led concept revisions

When a draft is close, use a narrow edit request instead of restarting the whole brief. Preserve the successful subject and composition while changing a material, palette or background. Review the result against the previous version so a local improvement does not hide a new problem elsewhere. A clear revision trail helps collaborators understand why a direction was selected.

Compare Qwen Results with a Small Revision Plan

Keep a visible reason for each new version. That makes comparison more useful than selecting a favorite from unrelated outputs.

Separate composition from surface detail

First check where the subject sits, how large it is and whether the viewpoint fits the intended placement. Once those decisions work, refine material, texture and light. Trying to fix a wrong camera angle by adding more texture adjectives usually leaves the structural problem intact. Write the most important correction near the beginning of the revision request and keep successful details explicitly protected.

Use the same test brief across model choices

If you compare Qwen Image 3 with Pro, use the same prompt and authorized references before judging the difference. Evaluate constraint following, visual coherence and the amount of manual correction needed. One pleasing output is not a universal benchmark, and a different model may suit a different task. Keep observations tied to your actual brief instead of making broad claims about every possible image.

Know when to move into a design editor

Generation is useful for exploring a visual direction, while deterministic editing is better for exact typography, logo placement, pixel dimensions and final alignment. Move the reviewed image into a conventional editor when those details become the priority. Keep the downloaded original, the chosen prompt and your approved source materials together. That small record makes the final asset easier to revise and explain later.

Stop when the brief is satisfied

Define a short acceptance checklist before generating: correct subject count, readable focal point, appropriate light, no unwanted text and no changed protected details. Once a result meets the intended purpose, save it rather than endlessly replacing it with different but not demonstrably better versions. If the model repeatedly misses the same structural constraint, simplify the task or use a more controlled editing workflow.

Check the Image before Downloading a Final Version

Review at full size and at the intended destination size. Check hands, eyes, repeated objects, edges, reflections, shadows and written characters. For reference edits, inspect protected geometry and identity rather than relying on overall resemblance. Confirm that the output does not include unexpected logos or private information. Use only references you have permission to edit, and do not treat generated visuals as factual evidence. Strong prompting reduces ambiguity, but review is still part of the workflow.

Composition before resolution

A larger file can make mistakes more visible; it does not automatically fix them. Correct subject placement, object count and perspective first. Then use the selected model's available output settings for the intended destination. Keep the original downloaded image and avoid repeated lossy recompression while making your final design adjustments.

Accuracy before publication

For public use, inspect claims implied by the scene as well as visible details. A plausible image can still misrepresent a product, place or person. Label creative concepts appropriately and keep source permissions with the project. When exact text or branding matters, add approved vector or text layers in a conventional editor after generation.

Qwen Image Generator Questions

Which model does this page use?

The default is Qwen Image 3. Qwen Image 3 Pro is available as a separate model selection. The visible selector identifies the actual model for your task; this page does not claim to use an unconnected Qwen version.

Can I generate from text without a photo?

Yes. Select text-to-image and write the subject, composition, environment and constraints. Switch to image-to-image when a reference should guide the result.

Can I use several references?

Use the number of uploads supported by the selected model and mode. Assign each reference a clear role and keep the set focused. The dedicated model pages explain their current reference controls.

Will reference details stay exactly the same?

No exact preservation is guaranteed. Generative editing may change fine geometry, identity, labels or background details. Compare the result with your inputs before using it.

Should I always choose Pro?

Not automatically. Compare models on your actual task with the same brief and references. Choose the result that best meets the constraints rather than assuming a name guarantees a better image.

Can the generator create exact text?

You can request text, but every character needs review. For a final logo, legal wording or important event details, use a controlled text layer in a design editor.

Is this page the same as the individual model pages?

This page explains the broad Qwen creation and editing workflow. The Qwen Image 3 and Pro pages focus on their distinct model controls and provide direct entry points to those selections.

Related tools