






























Save up to 73% on plans
Photo to Sticker Maker
Photo to Sticker Maker
Upload an authorized photo for automatic background removal, then load the result into the editor to refine edges and add an outline. Automatic processing uses the displayed credits; manual edits and PNG export are local.
Photo Sticker Cutout
Image

Refine and outline your sticker
Automatic removal uses the credits shown above and saves its result to your generation history. Manual edits and outlined PNG downloads run locally. Fine hair and whiskers may need cleanup.
JPG, PNG or WebP · up to 20 MB · editing resized to 1,600 px on the longest side
More AI Image Models & Effects
Browse every other AI image model and effect published on this site in a continuous carousel.
A real local cutout, with visible limitations
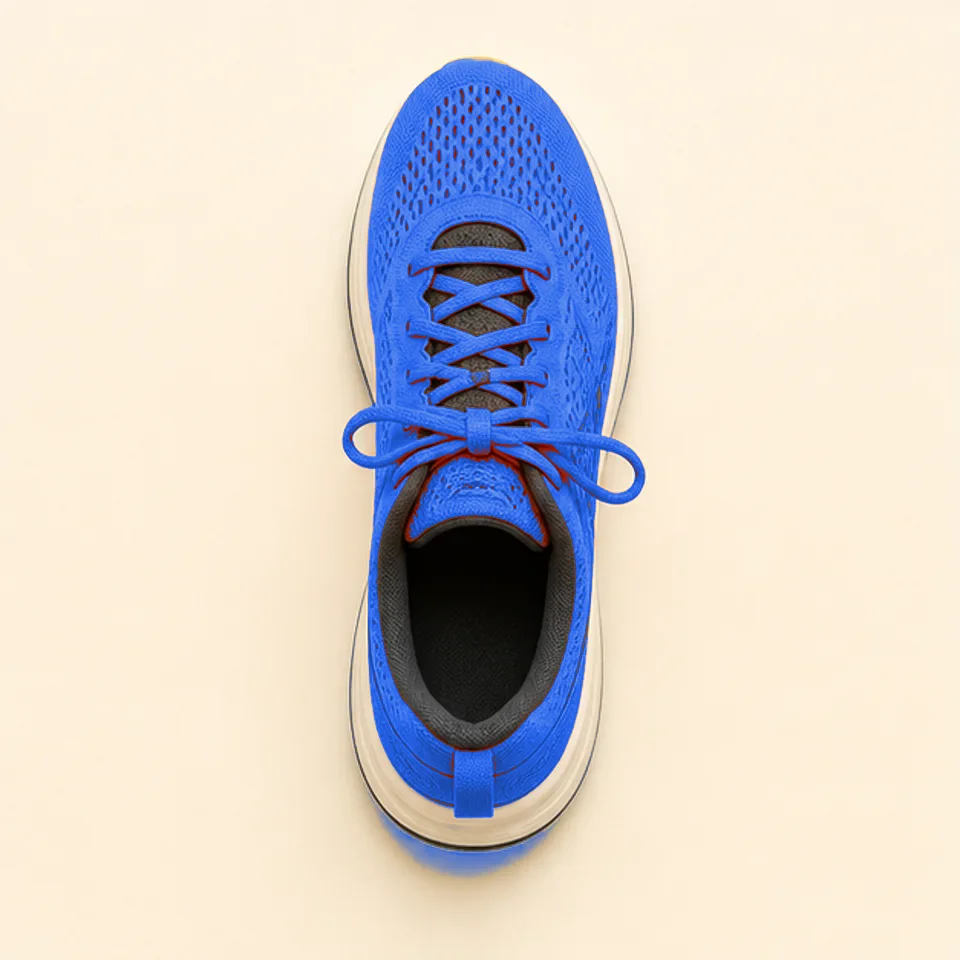
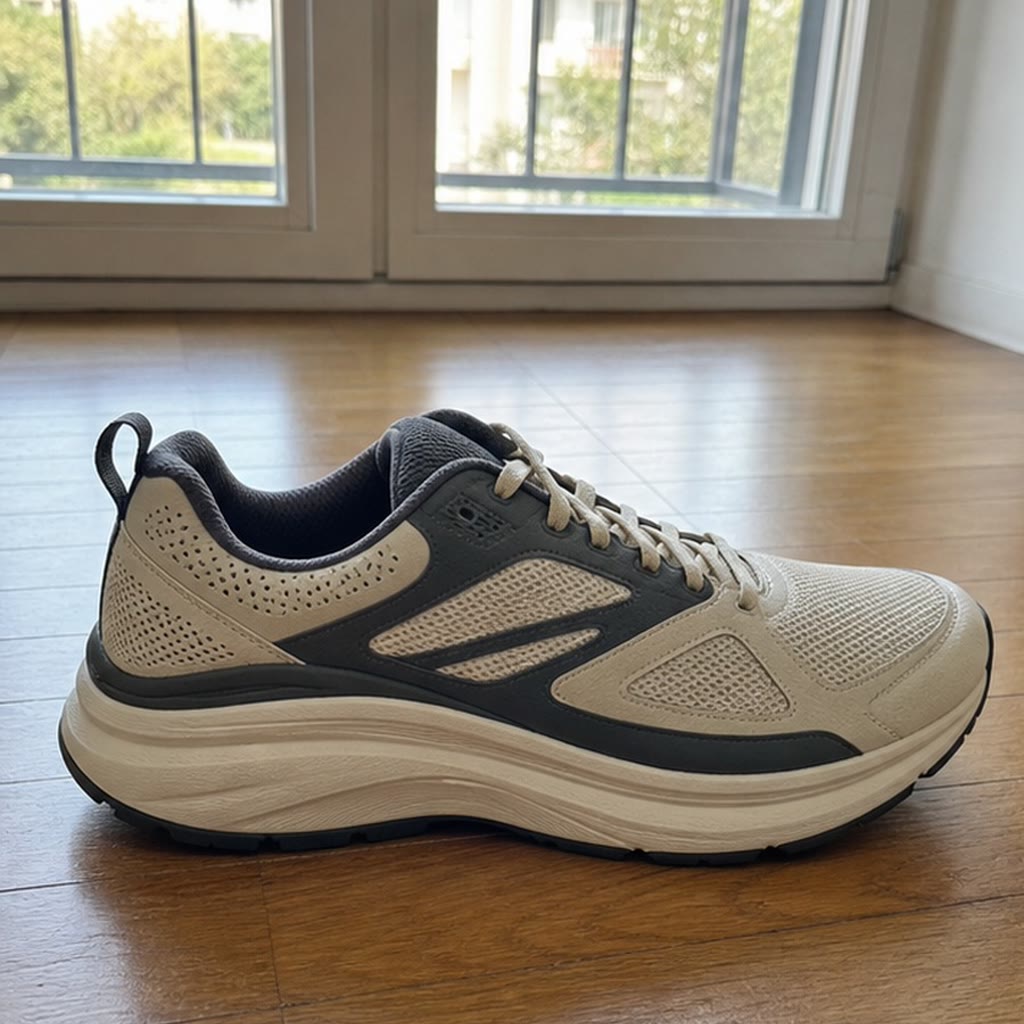
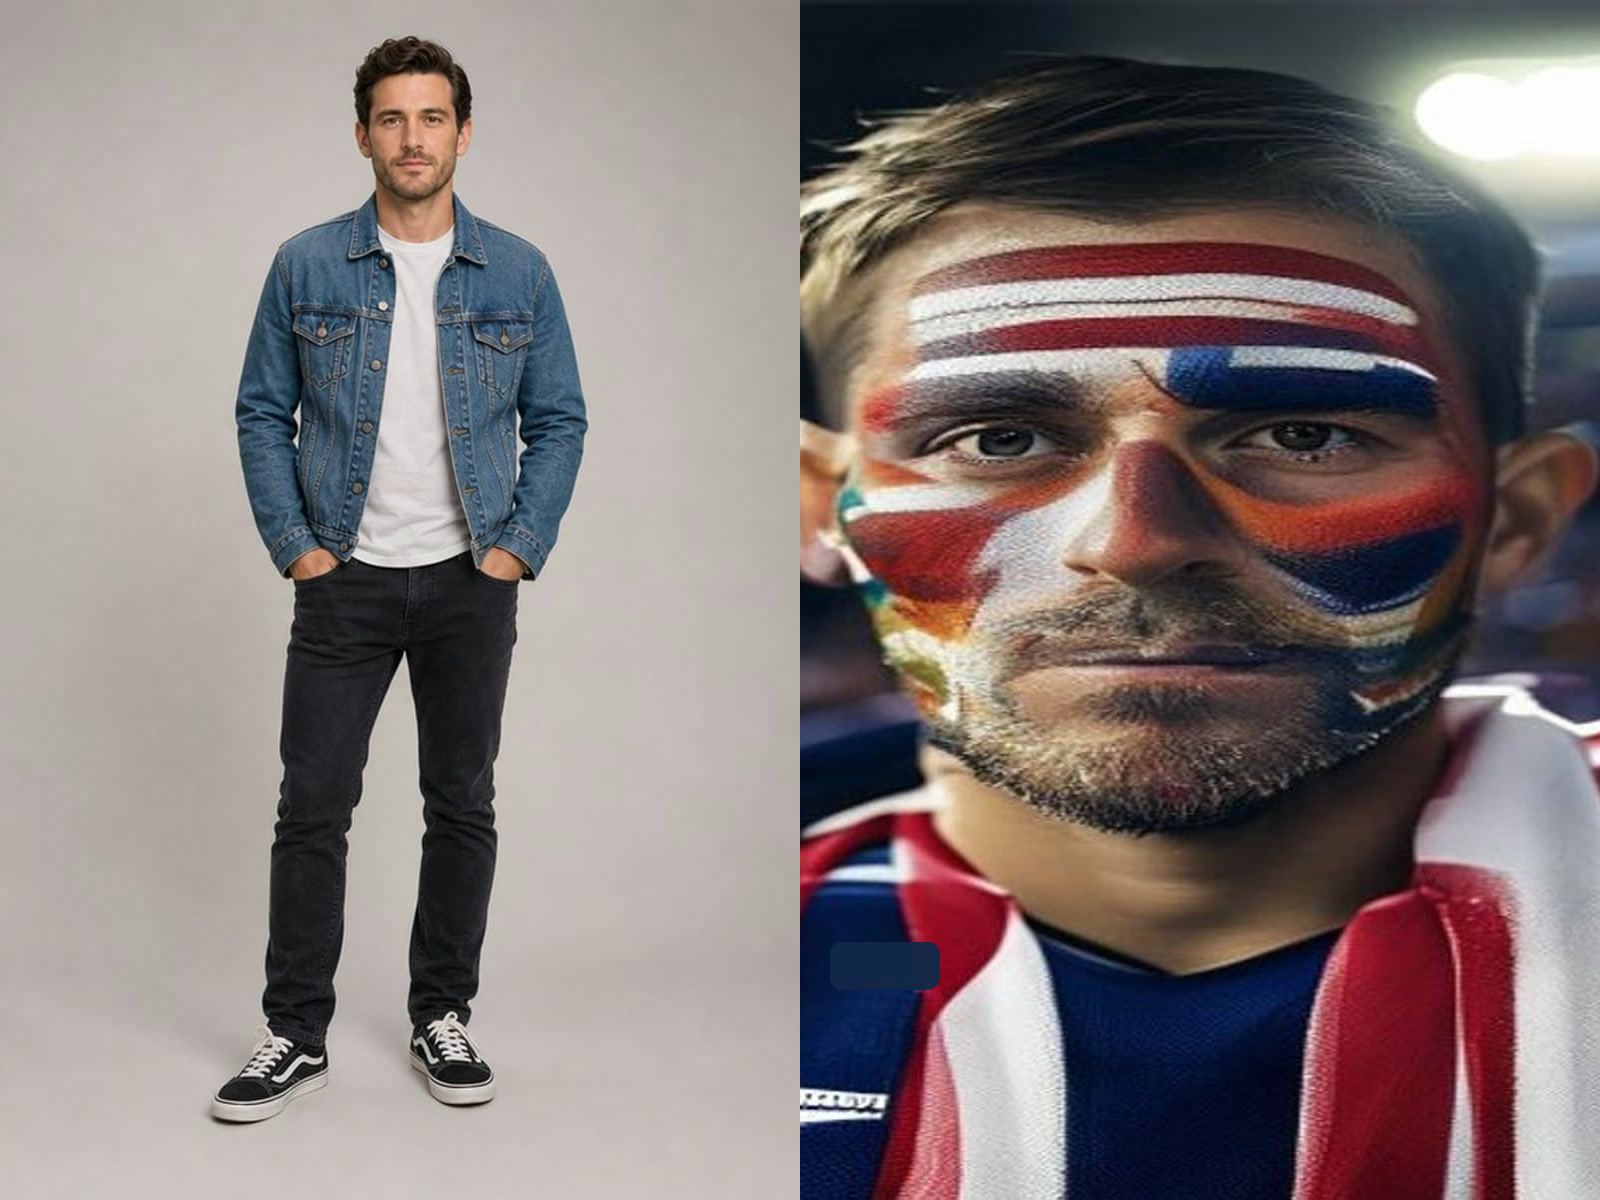
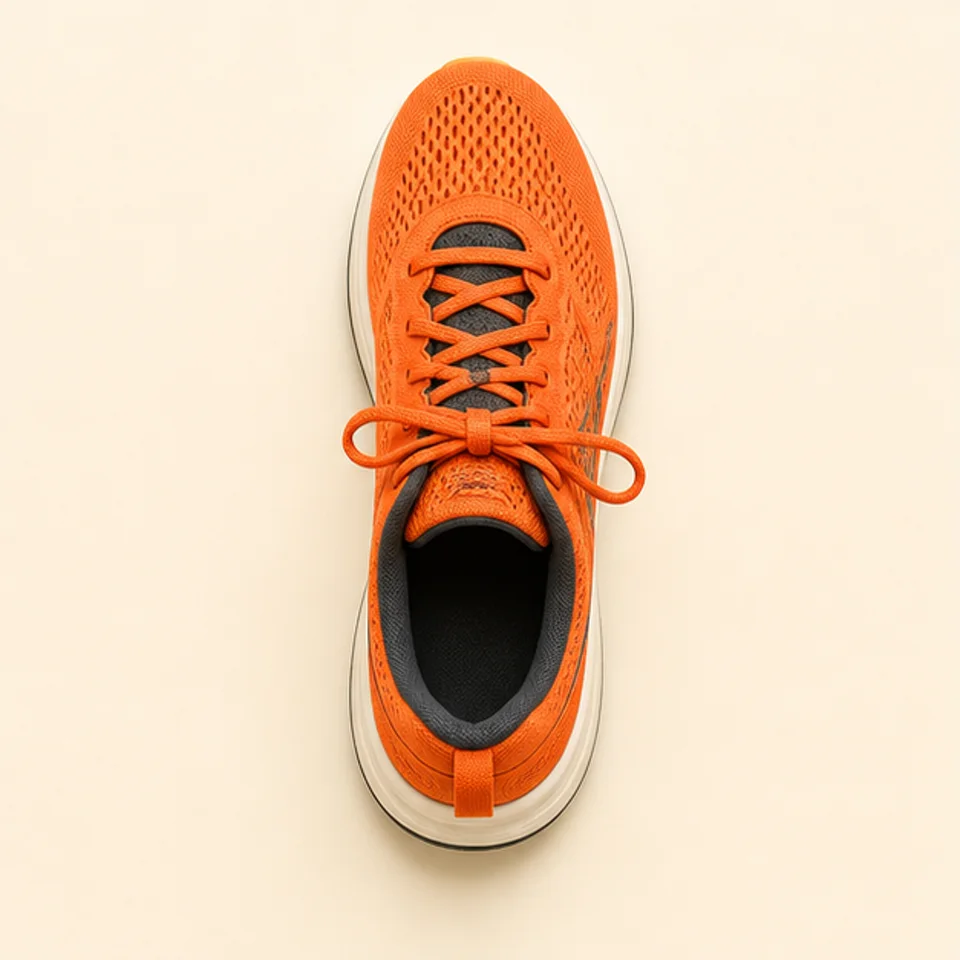
The result was downloaded from this tool after one connected-background click at tolerance 28 with an 8 px white outline. Some shadow remains below the shoe and the lace loops still need manual cleanup. This demonstrates actual output, not a perfect-cutout promise.
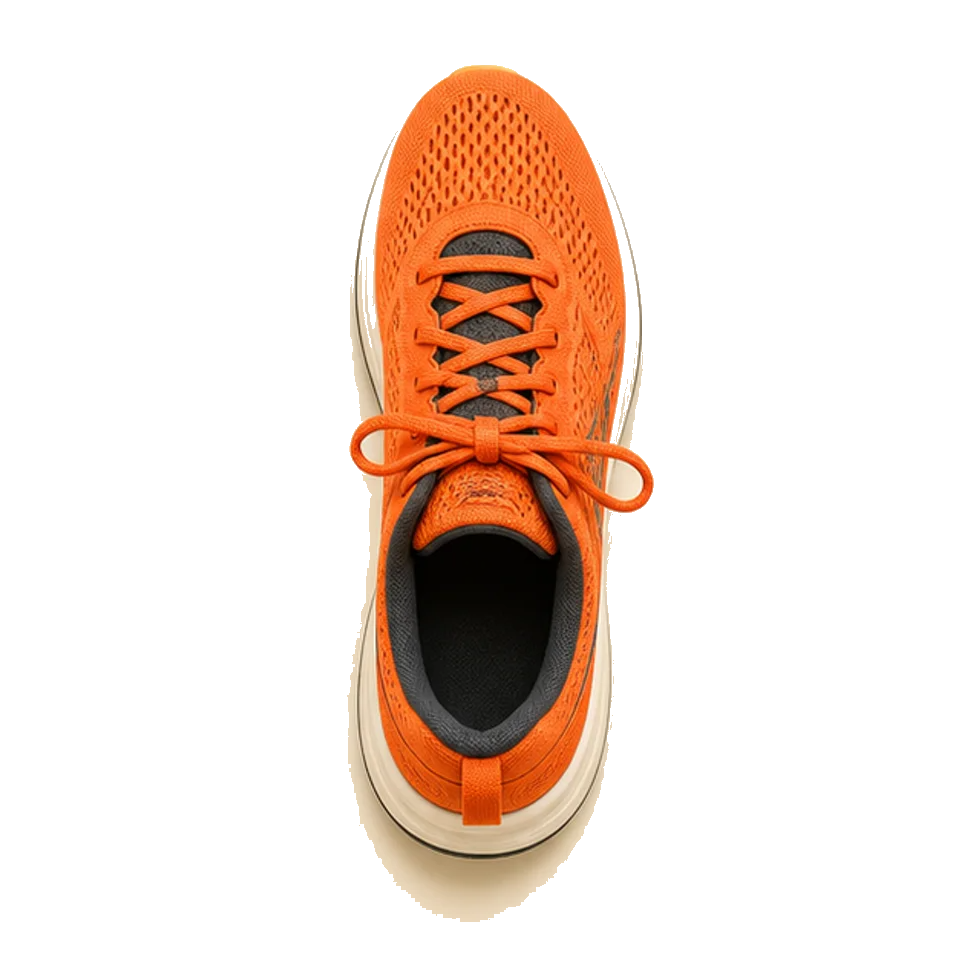
Downloaded transparent PNG
Try NowMake a cutout from the photograph you already have
A photo sticker starts with a real image rather than a text prompt. The useful part is usually a person, pet, product, or small drawing that you want to place somewhere else. This editor changes the transparency of the photograph you supply. It does not redraw a face, invent missing detail, or turn a subject into a cartoon. After removing the background, you can surround the visible pixels with a colored border and save the result as a PNG. The distinction matters: a picture that merely looks like a sticker against white still carries its background, while a transparent cutout can sit over another design. Start with an image you are entitled to edit and share. Keep the original file so you can return to full resolution or make a different crop later.
Choose the right starting photo
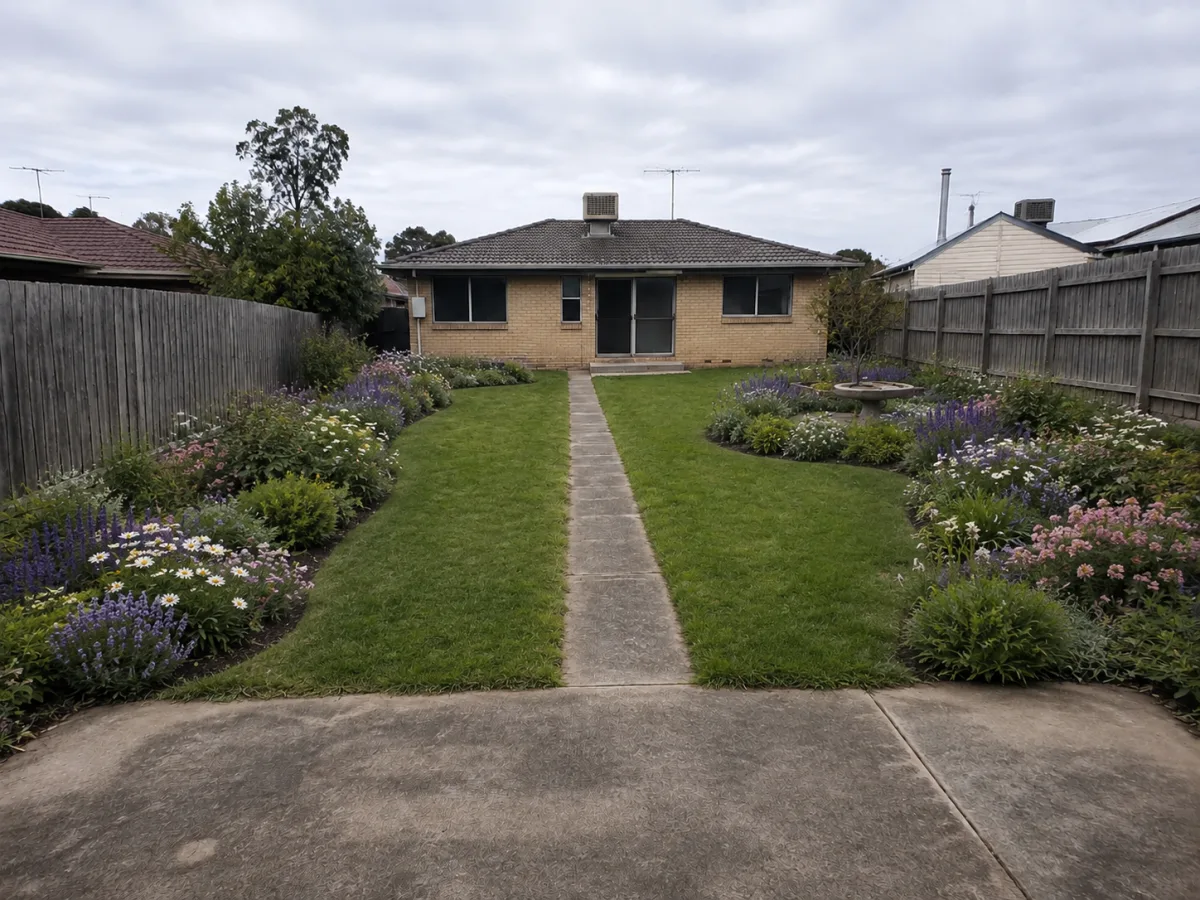
A clear subject against a reasonably even background is the easiest starting point. Product photos on plain paper, simple illustrations, and portraits against a solid wall usually give color selection a useful boundary. Busy leaves, patterned clothing against similar scenery, glass, fine hair, and deep shadows are harder because subject and background colors overlap. The manual color selector has no semantic understanding of what belongs to a person or product. If a background color runs directly into your subject, a high tolerance can remove both. Use a lower setting, work in several clicks, and switch to the eraser for difficult areas. For a complicated scene, choosing a cleaner original may save more time than trying to rescue every edge. Do not expect automatic professional hair matting from a connected-color selection.
Remove one connected background area at a time
Choose Remove background, then click a visible part of the background inside the photo. The tool compares that pixel’s color with adjoining pixels and makes the connected matching region transparent. Color tolerance controls how different those neighboring pixels may be. Start low for a crisp illustration and increase gradually for a softly lit wall. The setting applies on the next click; moving the slider does not silently redo earlier selections. Disconnected areas remain until you click them separately, which helps protect enclosed details that happen to share the background color. If a click cuts into the subject, use Undo before trying a smaller tolerance. The last five editing steps are retained while the current image is open. Reset cutout returns to the original decoded image without changing your source file.
Refine edges with erase and restore
The Erase brush removes pixels wherever you drag. The Restore brush brings back their original transparency, so it can recover a sleeve, ear, or product corner that an earlier click removed. It does not paint invented replacement detail or add opacity where the source was already transparent. Choose a larger brush for empty background and a small radius near important edges. Brush size is measured in working-image pixels, so its visible size depends on the displayed image. Work carefully around faces and text, and inspect the downloaded result before sharing. Manual editing uses pointer or touch input on the canvas; the surrounding mode buttons and settings are labeled controls. The canvas is a visual editor and does not currently provide a keyboard-only pixel selection workflow.
Add a border that follows the visible cutout
Outline width expands the existing alpha edge, while Outline color sets the surrounding border. A white border can make a pet or portrait read clearly over a colorful chat background; a dark border can help on a pale page. Keep the width small when the subject has narrow gaps or fine details. A large border may visually close small spaces between fingers, leaves, or lettering. The exported canvas adds room around the image for the selected outline, so the border does not get clipped at the original rectangular boundary. Set the width to zero if you want just the isolated photo. The outline is a raster visual effect, not a vector cutting path or a print-shop dieline. Check your printing service’s artwork requirements separately.
Understand the transparent PNG download
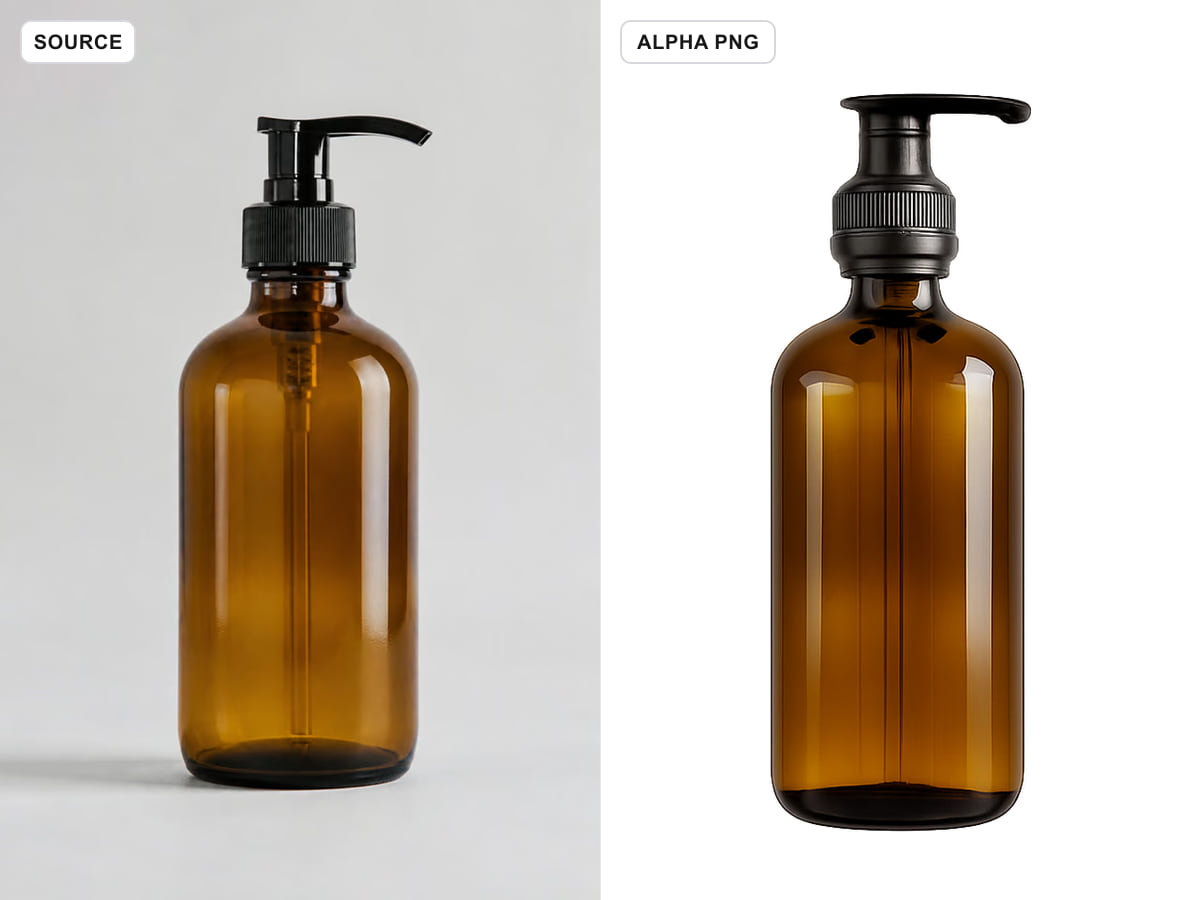
Download transparent PNG exports the current cutout and border as a PNG with an alpha channel. The checkerboard behind the editor is only a viewing aid; it is not painted into the file. Transparency means another app can show its own background through those areas. Some viewers display transparent pixels over black or white, so a dark preview alone does not prove the file has a black background. Open the downloaded image over two different colors to check the edge and any missed patches. A background that was never removed remains opaque in the PNG: choosing this file format does not automatically cut out the image. JPEG cannot preserve transparency, so keep the PNG when you move the sticker between apps. Re-saving it as JPEG will flatten the transparent areas.
Use the cutout in messages and creative layouts
The exported PNG is an image asset you can place in a presentation, scrapbook, classroom worksheet, social graphic, or compatible messaging editor. Each destination sets its own limits for dimensions, file size, sticker packs, and accepted formats. Downloading here does not automatically install a WhatsApp, Telegram, or iMessage sticker pack. Import the file using that app’s available image or sticker workflow and check its preview before sending. For a family portrait or reaction image, ask the person’s permission before sharing beyond its intended audience. For a logo or product, confirm that you have the necessary rights to use the source. A transparent outline effect does not create a license for copyrighted characters, photographs, or brand artwork.
Resolution, format, and local processing
The manual editor accepts JPG, PNG or WebP up to 20 MB, 8,192 pixels per edge and 40 megapixels. It resizes accepted large images to a 1,600-pixel longest working edge to bound memory; the outline adds padding. Automatic removal uploads your image through the signed-in generation workflow, consumes the displayed credits and stores the completed cutout in generation history. Provider processing has a 15-second deadline and may fail rather than silently retry. Manual brush edits and outlined downloads run in this browser tab and are not automatically synchronized to history. The original cloud cutout and your local outlined PNG are different files. Keep the tab open until downloading your edits; reload can discard them. Input rights and fine-edge quality still require your review.
Troubleshoot halos and missing details
A pale halo often comes from partly blended background pixels left around the subject. Lowering tolerance can protect detail but leave more of that edge; raising it may clean the halo while also removing similar colors from the subject. Work in small steps, use Undo promptly, and refine with the brush. Restore is useful when the selection crosses a light shirt or a white product label. A thick outline can hide a small rough edge, but it should not be used to disguise a visibly damaged cutout. If nearly the entire image disappears, the chosen seed and tolerance probably connected across the subject. Reset, select a smaller background patch, and reduce tolerance. For transparent glass, loose hair, or many overlapping objects, manual color editing can be time-consuming and may not produce a satisfactory edge.
Check the result before you share it
Inspect the subject at a useful size and look for leftover background islands, clipped features, accidental transparent holes, and an uneven border. Download the PNG and reopen that exact file; do not rely solely on the editor preview. Place it against both a light and dark surface if your destination supports that. Make sure the border color and width are still appropriate at the small size people will actually see. If you need a physical sticker, ask the printer about resolution, bleed, cut lines, safe areas, and color handling rather than assuming a screen-ready PNG is print-ready. For a quick digital reaction sticker, a simpler crop with a clear expression often communicates better than a complicated scene with tiny details.
Questions about photo stickers
What does automatic cutout support?
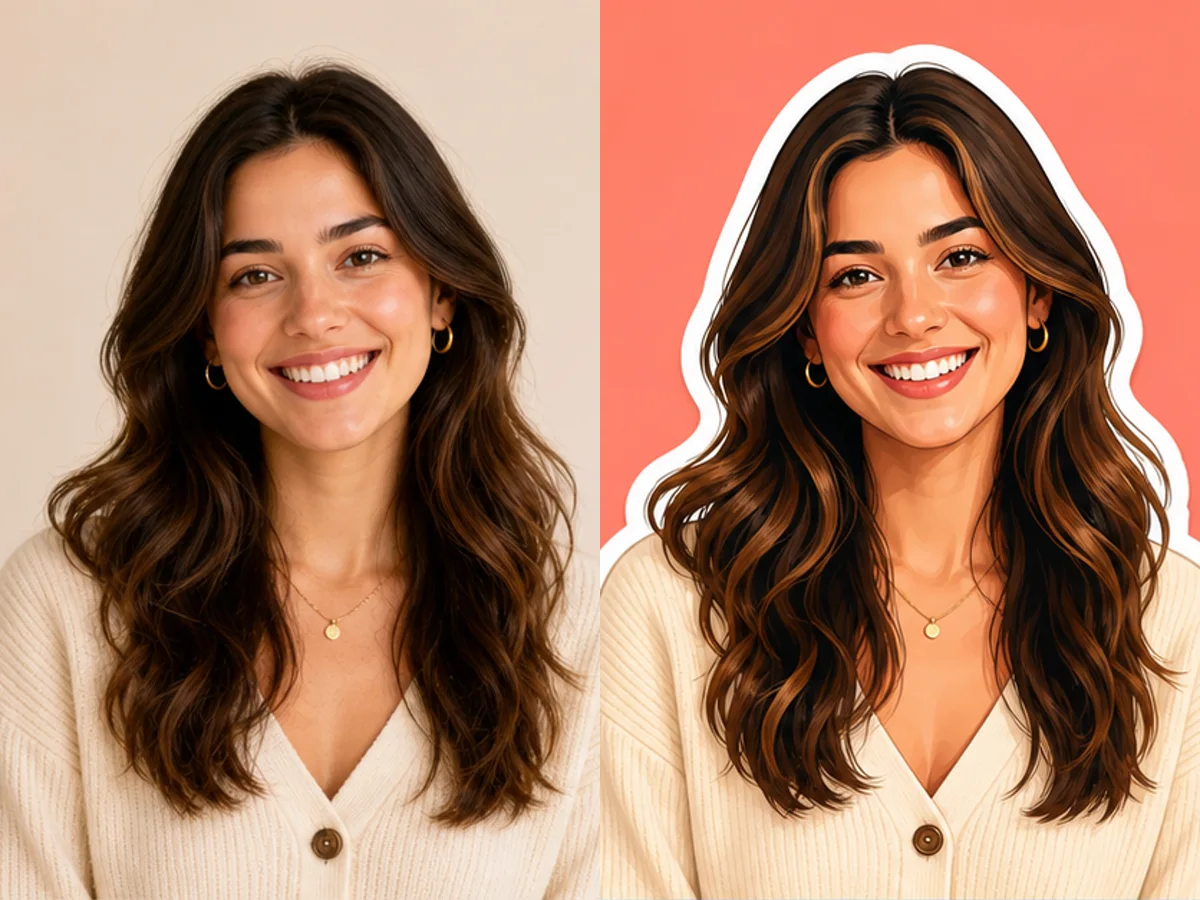
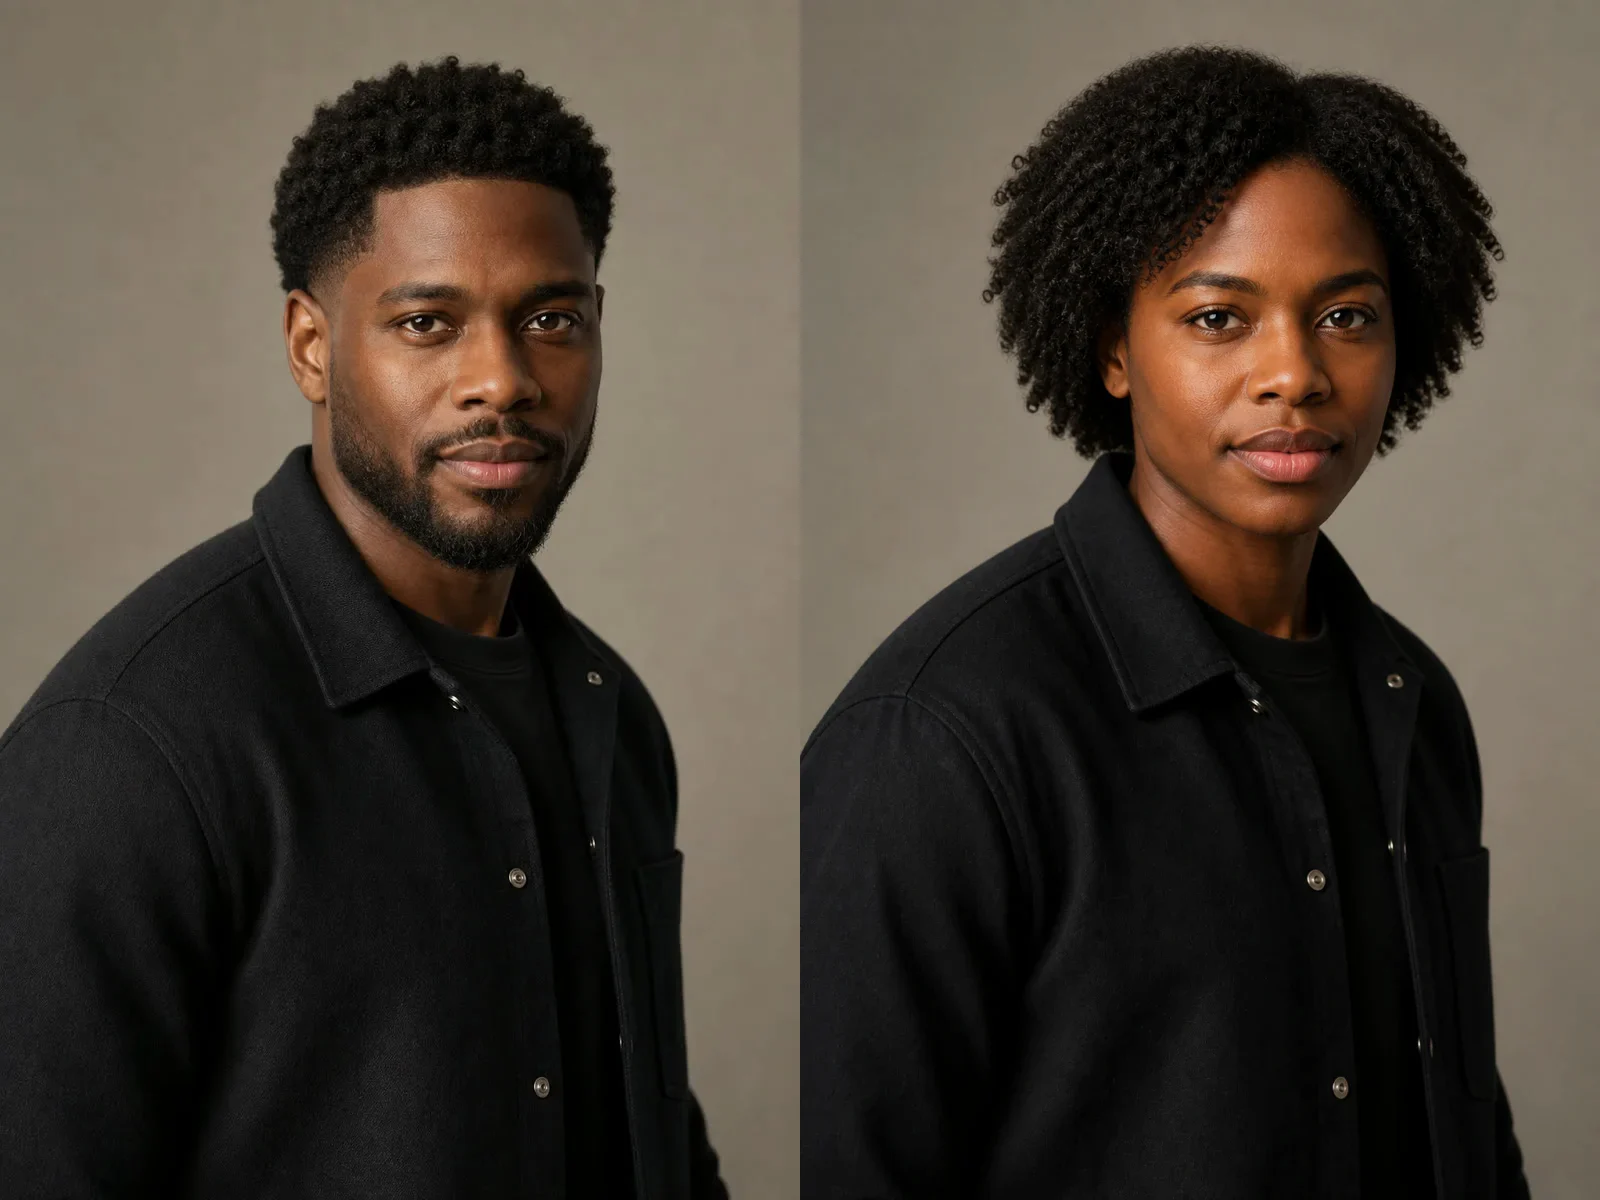
The cloud cutout model processes a single person, product or pet image. Our three representative checks retained the main subjects, but hair color spill and weakened whiskers remain possible. Load the completed PNG into the editor to inspect and refine it. The optional local MODNet mode remains portrait-only.
Why does the PNG look black in another viewer?
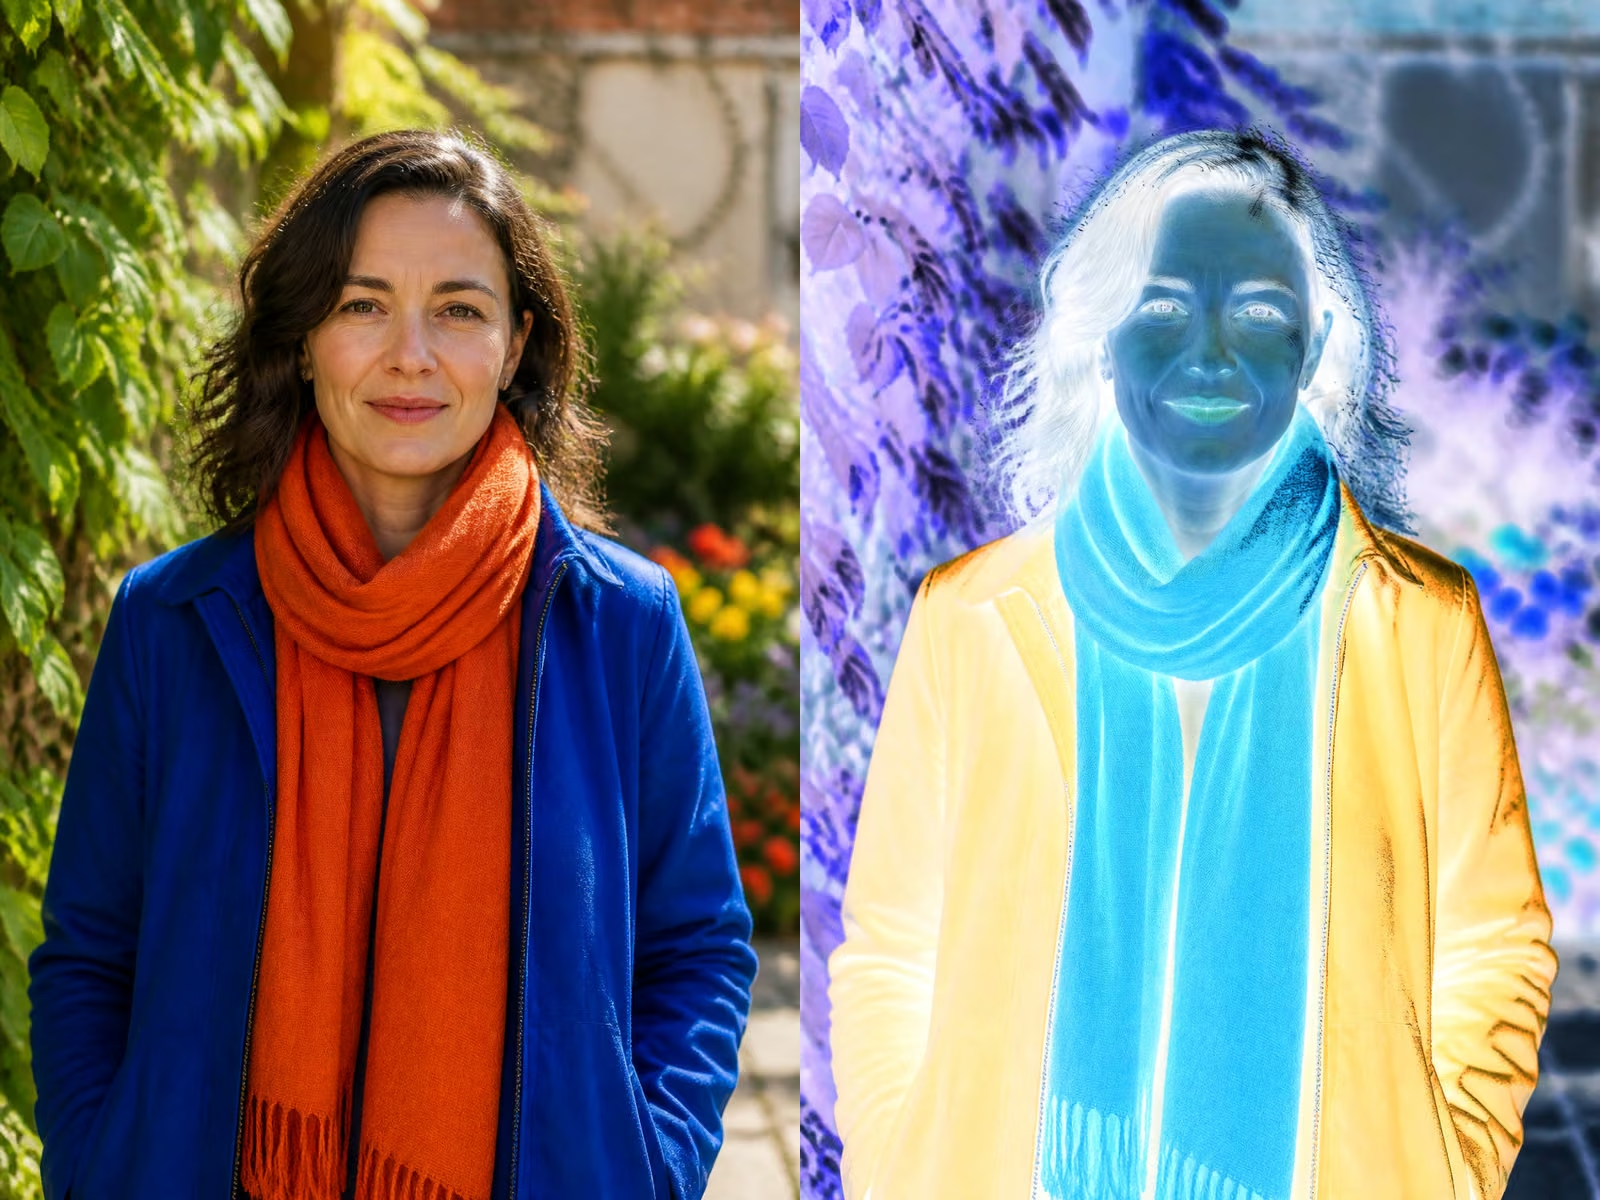
Some viewers place transparent pixels over black. Check the exported file against a different background. If the same dark pixels stay visible on every background, they may be actual pixels left in your cutout; erase them and export again.
Is this free and does it upload my photo?
Automatic removal uploads your authorized photo and uses the credits shown before submission. Its successful original cutout is saved to generation history. Manual selection, brushes, outline and local PNG download use no additional generation credits; those manual edits stay in this tab.
Can I use the result as a printed sticker?
Ask your printer about its required resolution, bleed, color format, and cut paths. This download is a raster PNG with a visible outline, not a vector dieline or a certified print-ready file.