




















Save up to 73% on plans

Free Multi-Angle Product Image Generator
Sign In

Free Multi-Angle Product Image Generator

Upload one authorized product photo, select a horizontal view and camera height, and generate one square viewpoint. Eligible new accounts receive 40 starter credits for 7 days, enough for one current 35-credit view. Every generation uses credits. Images made with free credits include a NanoPic watermark; images made with paid credits do not.

Upload One Original Product Photo*
Try an Authorized Product Sample
Choose one horizontal view and camera height. Each generation starts from the original upload and returns one square image.

Rotate the virtual camera around the product. Front is 0°, right side is 90°, back is 180°, and left side is 270°.

Choose a low, eye-level, elevated, high, or overhead camera position. Unseen surfaces are synthesized, not recovered.

Copy Protection
Public VisibilityAllow this result to appear in public inspiration surfaces.

Review the Selected Product View

Image

AI output preview
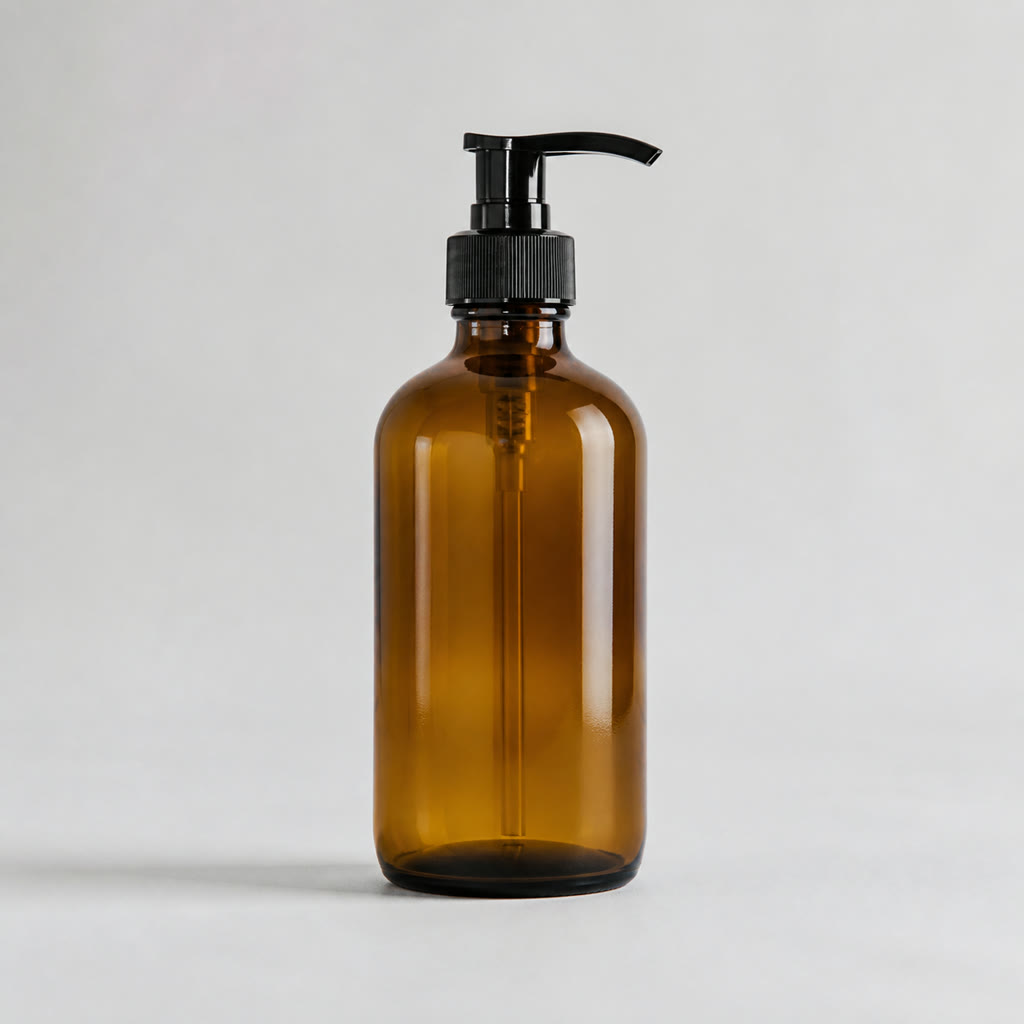
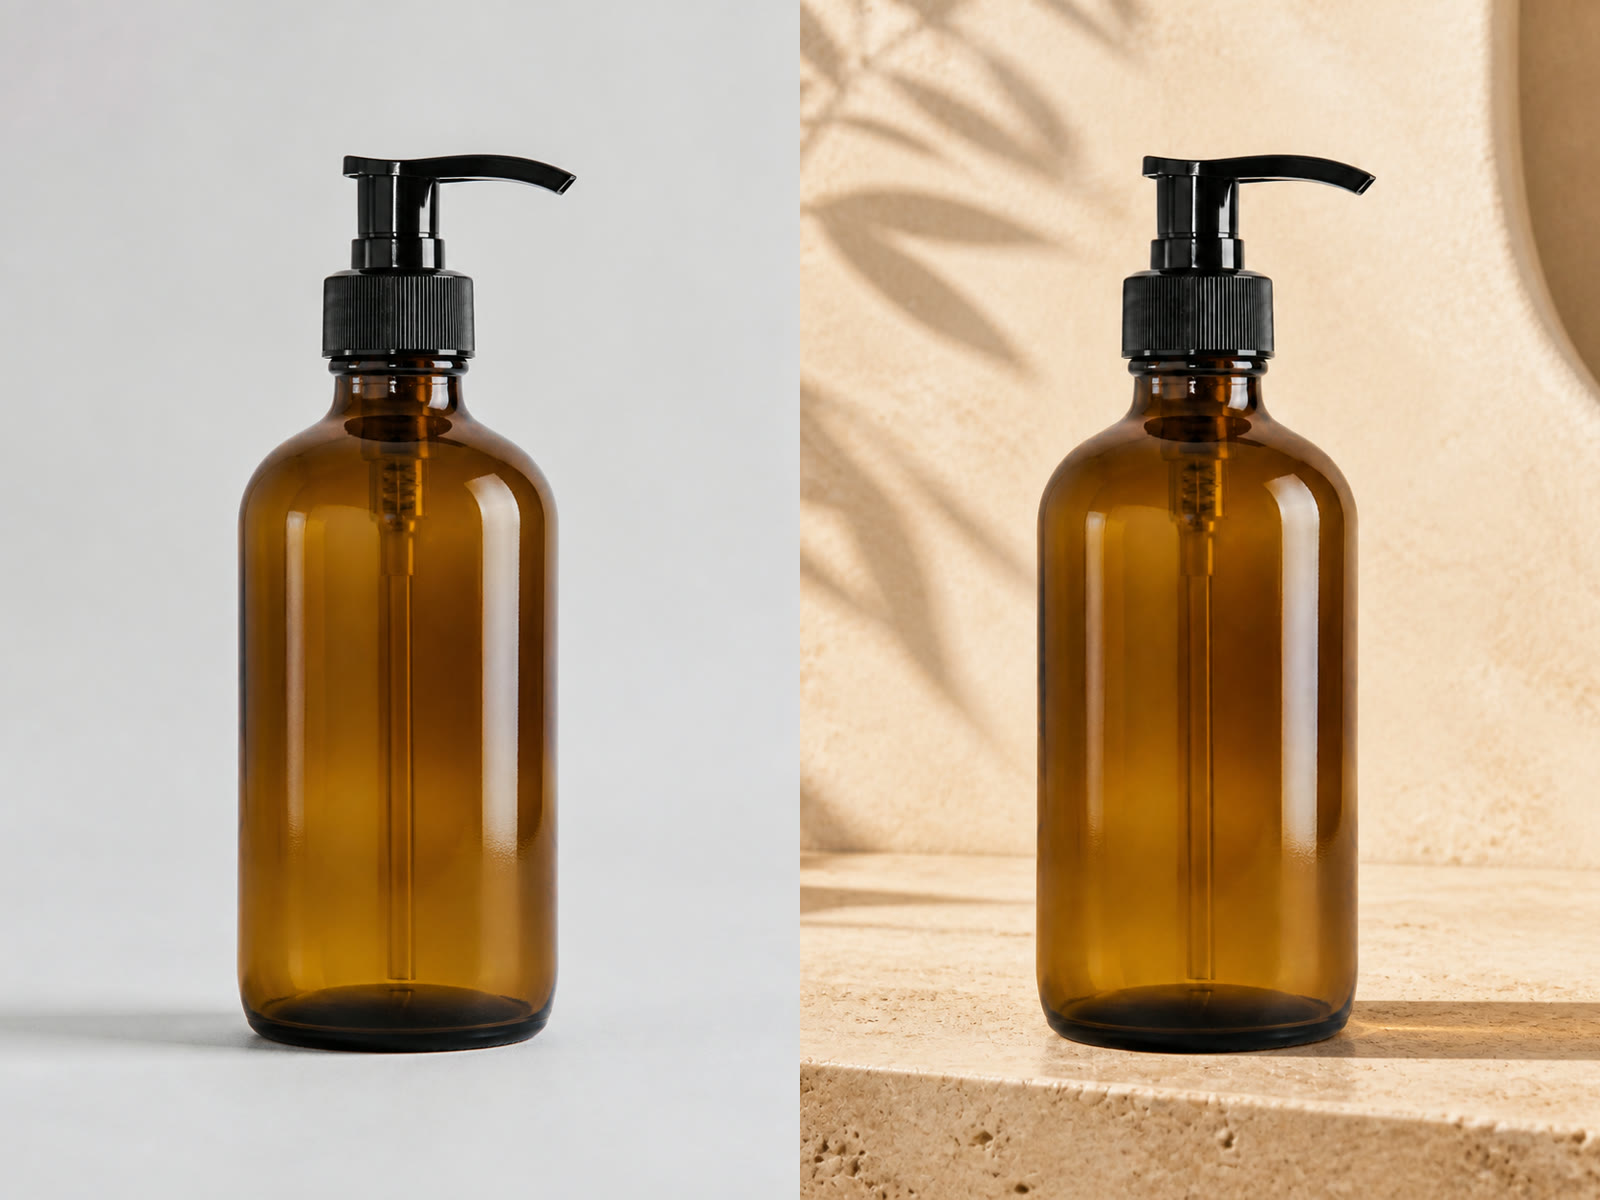
Input example: a complete unbranded pump bottle with readable silhouette, transparent material, cap, tube, and label area. Generated angle proof will replace this source preview after a run.
AI output preview
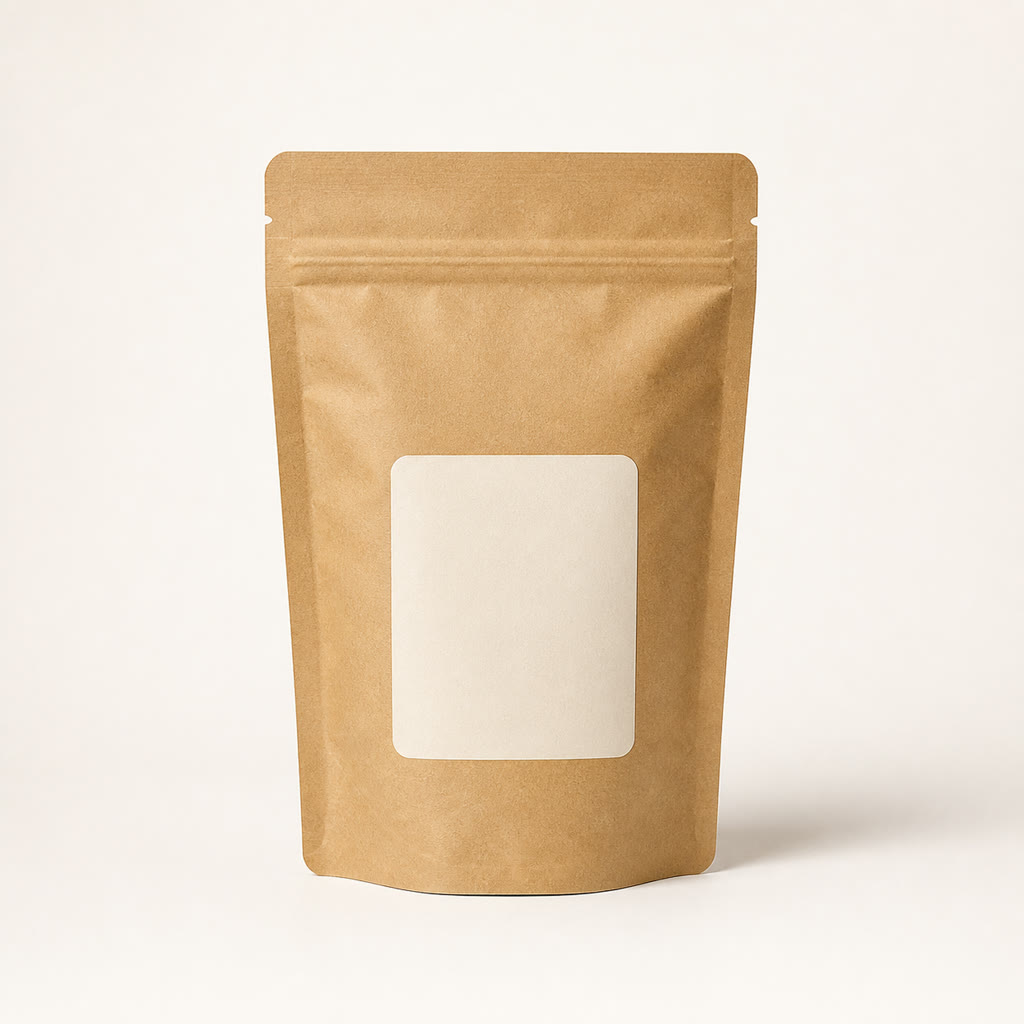
Input example: an unbranded pouch with visible folds, base, seal, front plane, and blank label. Review inferred side gussets and the unseen back after generation.
AI output preview
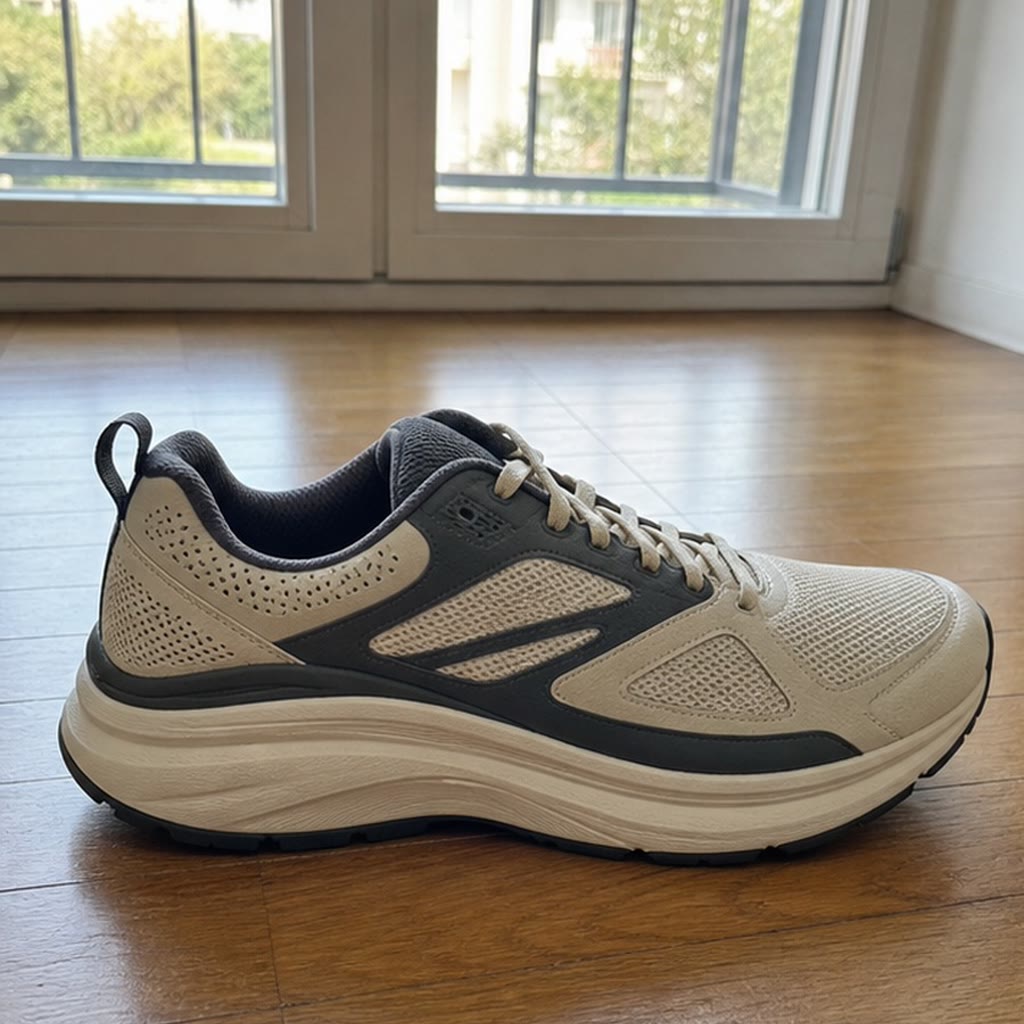
Input example: an unbranded shoe with a complex sole, laces, panels, heel, and toe. Compare every new view with verified product references.
AI output preview
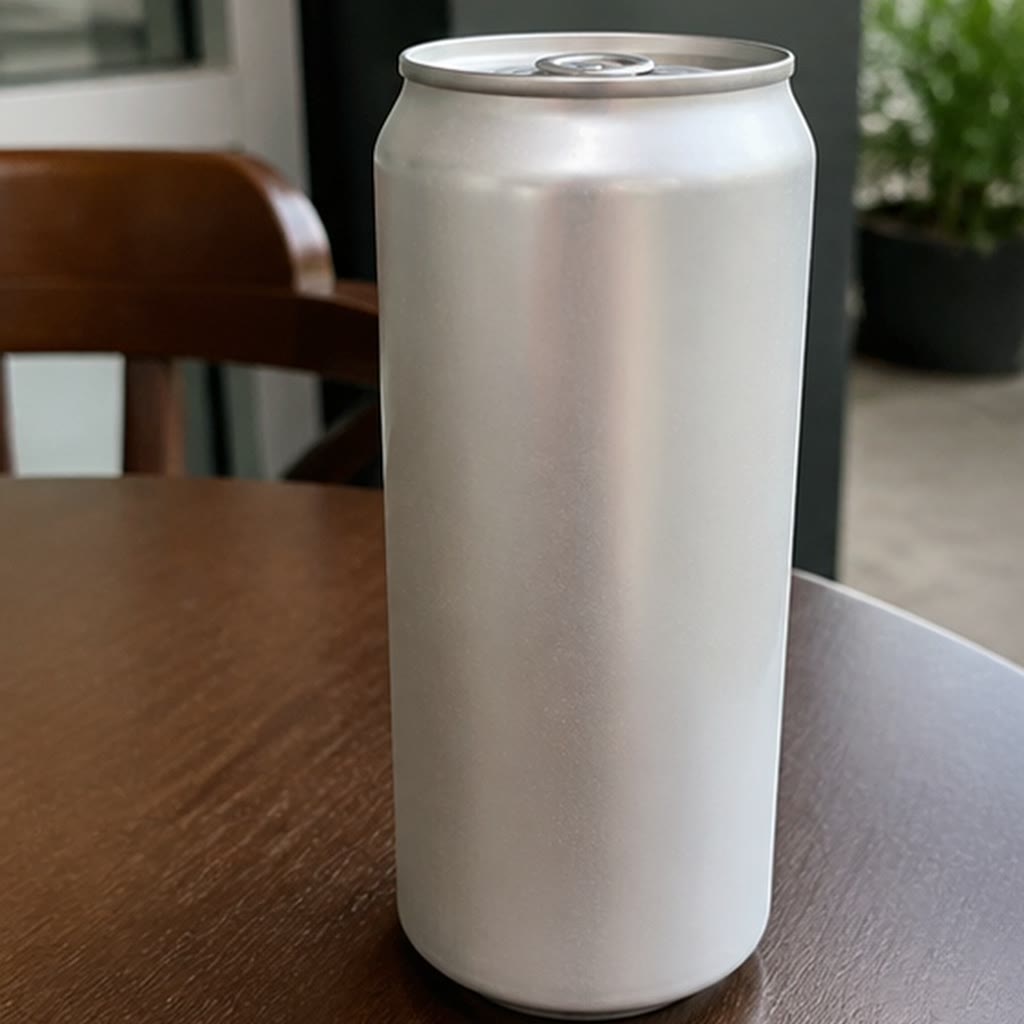
Input example: an unbranded reflective can with a simple cylindrical form. Small printed or metallic details can still drift in a synthesized view.

More AI Image Models & Effects

Browse every other AI image model and effect published on this site in a continuous carousel.

Authorized unbranded running shoe source with sole, laces, panels, toe, and heel visible

Create One Deliberate Product View, Not a Fake Turntable

A flat image contains only one observed viewpoint. This tool uses that reference to synthesize how the same object might look from a selected azimuth and elevation. It is useful for concept exploration, shot planning, catalog drafts, storyboards, and angle comparison, but it does not reconstruct a verified 3D model. The back of a pouch, the far side of a shoe, the underside of a bottle, hidden ports, seams, text, and fasteners may be invented. Treat every result as a visual draft and compare it with real product references before publishing a listing or approving production artwork.

Choose Horizontal Direction and Camera Height Separately

The two controls describe where the virtual camera sits. Generate one view at a time so each result can be checked against the same untouched source.

0° Front and 180° Back

Front is useful for returning to a straight catalog composition. Back asks the model to infer the least visible surface, so it carries the greatest risk for invented labels, closures, ports, stitching, warnings, ingredients, or regulatory copy. Never treat an AI back view as verified packaging evidence.

90° Right and 270° Left

Side views reveal depth, thickness, edge construction, handles, heels, spouts, gussets, and profile shape. A single front photo often lacks this information. Compare both generated sides with real measurements or additional photography before using them in a store.

45° Three-Quarter Views

Front-right and front-left are often the most practical marketing angles because they keep the recognizable front while adding depth. Back-right and back-left are more speculative. Use the diagonal choices for composition drafts, not dimensional inspection.

-30° Low and 0° Eye Level

A low angle can make a product feel taller or more heroic, while eye level keeps verticals and proportions easier to compare. Low views may expose an underside that the source never showed, so inspect feet, bases, soles, nozzles, and contact shadows.

30° and 60° Elevated

Elevated views can show openings, lids, controls, collars, and top surfaces while retaining some front or side information. Watch for invented interior contents, incorrect cap geometry, duplicated seams, and labels that bend unrealistically around the object.

90° Overhead

Overhead is useful for flat lays and footprint planning, but it asks the model to rebuild nearly every vertical surface. Use it when the top shape is visible in the source and confirm dimensions, orientation, openings, and asymmetric features independently.

How to Generate and Review a New Product Angle

A disciplined workflow reduces accidental product drift and makes each output easier to approve or reject.

1. Start with One Complete, Authorized Product Photo

Upload an image you own or are authorized to edit. Keep the whole object inside the frame with space around every edge. Use a sharp photo, moderate perspective, neutral lighting, and enough resolution to show silhouette, materials, seams, hardware, printed regions, and asymmetry. Avoid hands covering the product, extreme wide-angle distortion, motion blur, collages, watermarks, clipped edges, and a background that merges with the object. One clear source is intentional: each requested view starts from the same reference instead of feeding a previous AI result back into the next generation.

Upload the Original
Complete authorized amber pump bottle source with outer edges visible

2. Select One Camera Direction

Choose the horizontal direction first, then select camera height. A 45° front-right eye-level view is a sensible starting point because it retains familiar front details and introduces depth. Generate a separate 90° side or 30° elevated view only after reviewing the first result. Do not request a whole spin in one image: the tool is locked to one output so a collage cannot be mistaken for multiple verified photographs. If you need several angles, repeat the workflow from the original upload and record which settings produced each file.

Choose the Angle
Authorized kraft pouch source with front plane, sealed top, folds, and base visible

3. Compare Geometry, Materials, and Printed Details

Review the result beside the original and any verified side, back, top, or dimensional references you possess. Check overall height-to-width ratio, thickness, curvature, base footprint, panel count, laces, fasteners, cap and handle shape, material transitions, gloss, transparency, reflections, label placement, typography, symbols, and color. Zoom in rather than approving from a thumbnail. Reject a beautiful result if it adds a port, changes a sole, reverses a logo, invents legal text, alters a closure, or makes the product physically impossible.

Generate and Inspect
Authorized unbranded shoe source for checking sole, panels, laces, heel, and toe

Four Product Types and Their Hardest Hidden Details

These owned or authorized unbranded source photos are input examples, not claims that an unvalidated output is genuine. They show what to inspect when the model synthesizes another view.

Reflective Pump Bottle

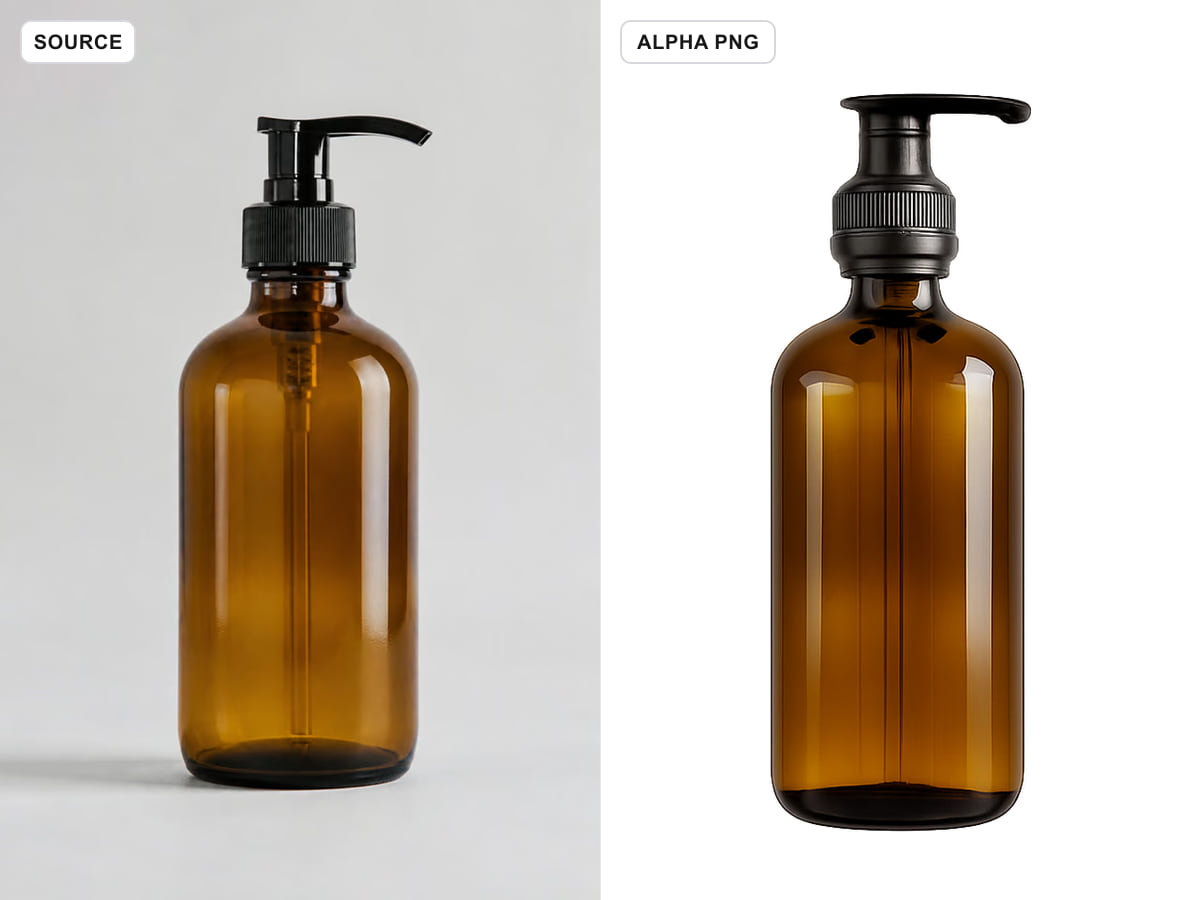
Transparent amber material, the internal dip tube, shoulder curvature, pump direction, nozzle opening, highlights, and straight vertical edges make this deceptively difficult. A side or elevated view may change glass thickness or invent the hidden half of the pump. Check the silhouette against a real bottle and keep label copy out of final commerce imagery unless it has been verified separately.

Unbranded amber pump bottle authorized as a source example

Flexible Kraft Pouch

Soft packaging has no single rigid shape. Side gussets, folds, seal width, base expansion, material creases, and label perspective must all agree with gravity. The unseen back may contain real copy that cannot be reconstructed. Use generated views for layout planning, then photograph the actual package for legal and commercial accuracy.

Unbranded kraft pouch authorized as a source example

Asymmetric Running Shoe

Shoes combine left-right asymmetry, a layered sole, laces, eyelets, fabric panels, heel structure, toe shape, and hidden medial construction. A convincing outer side does not prove the inner side is correct. Compare tread, panel boundaries, lace path, heel height, and color blocking with verified photography before publishing.

Unbranded running shoe authorized as a source example

Reflective Cylindrical Can

A can has simple geometry but unforgiving typography, rim structure, pull tab, reflections, and wraparound artwork. Rotation may produce plausible yet false text or mirror a design. Use plain or unbranded packaging for early concepts, and replace the final surface artwork with an approved design workflow rather than trusting generated lettering.

Unbranded silver can authorized as a source example

Useful Multi-Angle Product Image Workflows

The strongest uses treat synthesized views as drafts that support a real product process.

Ecommerce Shot Planning

Explore which front, diagonal, side, elevated, or overhead view deserves a real photograph. Share the draft with a photographer as framing guidance, then capture and approve the actual product.

Campaign Storyboards

Test whether a low heroic angle, clean eye-level view, or elevated composition fits an ad concept before arranging a set. Keep generated frames labeled as concepts during review.

Marketplace Coverage Checklist

Use the angle choices to build a list of shots a listing still needs: front, back, both sides, top, base, detail, scale, and packaging. The AI draft does not replace the missing evidence.

Design and Packaging Review

Identify which hidden surfaces need a real CAD render, dieline, or photograph. A speculative result can reveal review questions even when it cannot answer them accurately.

Social Layout Exploration

Try a diagonal or overhead direction to plan negative space, crop, and visual rhythm. Add final copy and brand artwork in a controlled design tool after product geometry is approved.

Internal Concept Communication

Give a team a quick visual reference for camera direction and product orientation. Mark it as AI-generated and avoid presenting it as a photograph of an unreleased or unverified product.

A Product View Approval Checklist

Before downloading or sharing a generated angle, inspect the object like a product reviewer rather than a casual viewer.

Silhouette and Proportions

Compare outer contour, height, width, depth, curvature, symmetry, base footprint, openings, and part count. Reject unexplained bulges, missing panels, or changed dimensions.

Construction and Materials

Check seams, joints, fasteners, laces, caps, hinges, handles, transparent regions, metal reflections, fabric grain, and contact shadows for physical coherence.

Labels, Logos, and Text

Assume small typography may be wrong. Compare every word, symbol, legal mark, ingredient line, warning, barcode, and logo orientation with an approved source.

Camera and Lighting

Confirm the requested direction is truly new rather than a mirrored or flat-rotated front. Perspective, highlights, shadows, and grounding should agree with the selected view.

Hidden-Surface Honesty

Identify which regions were absent in the upload and therefore inferred. Do not describe those regions as recovered, scanned, measured, or photographed.

Rights and Disclosure

Use only product photos you may upload. Follow marketplace, advertising, and client rules for AI disclosure, and never fabricate evidence about product features or availability.

Multi-Angle Product Image Generator FAQ

Answers about source images, angle controls, credits, hidden surfaces, product accuracy, and commercial review.

What does the multi-angle product image generator do?

It accepts one product photo and synthesizes one new square view from a chosen horizontal direction and camera height. The horizontal control moves around the object; the vertical control moves below, level with, or above it. The result is a newly generated image, not a rotated group of pixels and not a verified 3D scan.

Is this a 3D product model or photogrammetry tool?

No. One photo cannot provide the complete geometry, texture, labeling, and construction of every hidden surface. The model infers unseen regions from visible evidence and learned patterns. Use a real CAD model, multi-camera capture, photogrammetry, or verified product photography when dimensional or factual accuracy is required.

Which horizontal angle should I choose first?

Start with front-right 45° or front-left 315° when you want more depth without losing the recognizable front. Use 90° and 270° to inspect side-profile ideas. Back and back-diagonal choices are more speculative because the upload may contain little or no evidence for those surfaces.

What do the vertical angles mean?

-30° is a low camera looking upward, 0° is eye level, 30° is elevated, 60° is high, and 90° is overhead. The same horizontal setting can produce very different visible surfaces at each height. Elevated and overhead views may invent lids, openings, tops, interiors, or controls that were not visible in the source.

Why does each generation use the original image?

Feeding one generated angle into the next compounds errors. A slightly changed sole, cap, seam, or label can drift again on every step. Starting each requested view from the same verified source limits that chain and makes results easier to compare. Upload the original again when you request another angle.

Will product labels and logos stay exact?

No generative view can guarantee exact typography, logos, barcodes, warnings, ingredients, or legal marks. The request asks for product consistency, but rotated and hidden text remains especially fragile. Compare every printed detail with approved artwork, and use a controlled compositing or 3D workflow for final regulated packaging.

How many images and credits does one run use?

One run returns one 1024×1024 view and currently costs 35 NanoPic credits. Eligible new accounts receive 40 starter credits for 7 days, enough for one current run. The starter offer is limited, generation always consumes credits, free-credit images include a NanoPic watermark, and paid-credit images do not.

Can I upload several product photos at once?

No. This focused workflow accepts exactly one source image and returns exactly one selected view. Multiple inputs could create ambiguity about which geometry, packaging, or angle is authoritative. If factual consistency matters, use additional real references during your separate human review rather than mixing them into this request.

Can I use the result in an ecommerce listing?

Use it only after verifying the product against real references and checking the marketplace, advertiser, client, and jurisdiction rules that apply to AI-generated imagery. Do not show invented features, false packaging, or unavailable configurations. For high-risk, regulated, dimensional, or warranty-sensitive products, use verified photography or CAD renders.

What is the most honest way to describe a generated back or underside?

Call it an AI-generated concept or synthesized view. Do not say the tool recovered, scanned, photographed, measured, or revealed a hidden surface. If the back, underside, interior, port layout, label, or closure was not visible in a verified source, it remains an inference even when it looks convincing.

Is generation available right now?

Yes. Choose one source photo and one camera direction in the generator. A completed request returns one 1024×1024 JPEG, saves it to History, and provides a download. The current credit cost is shown beside the Generate button before you submit.

Explore One Product Angle and Verify Every Hidden Detail

Upload one authorized original, choose a horizontal view and camera height, then compare the generated draft with real product references before you download or publish it.