











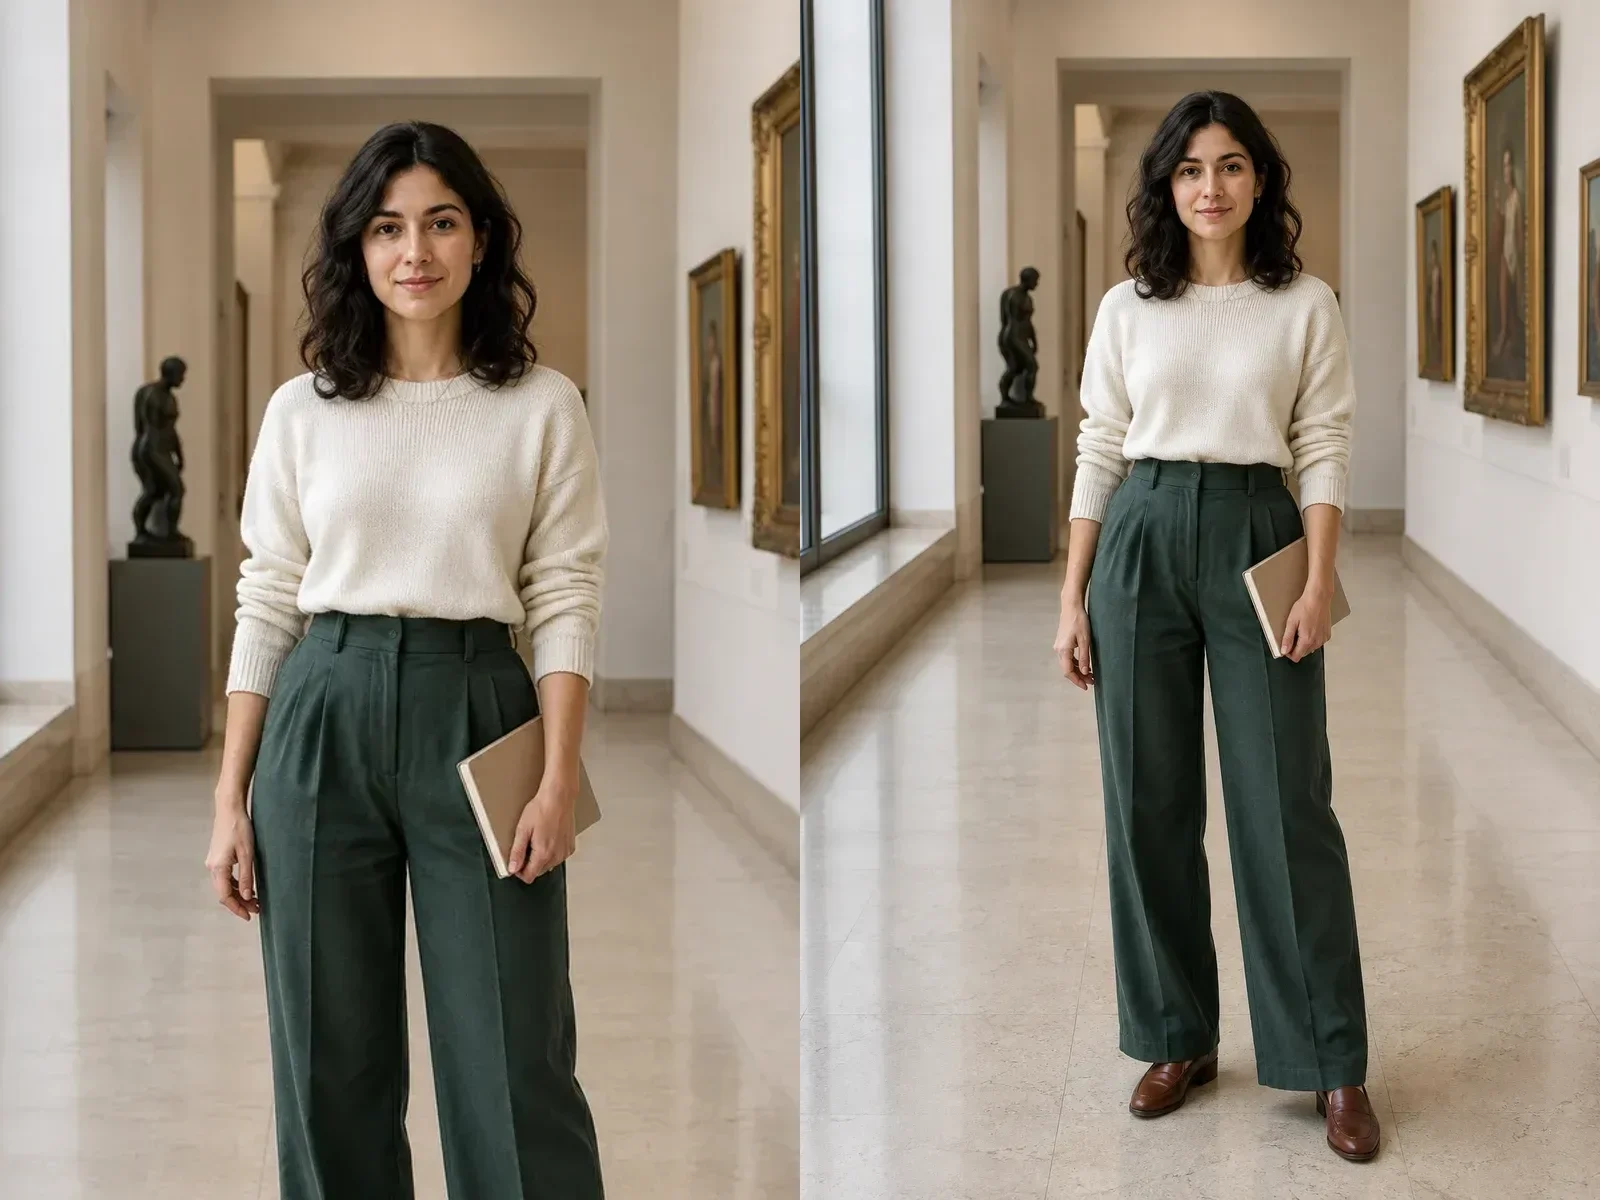

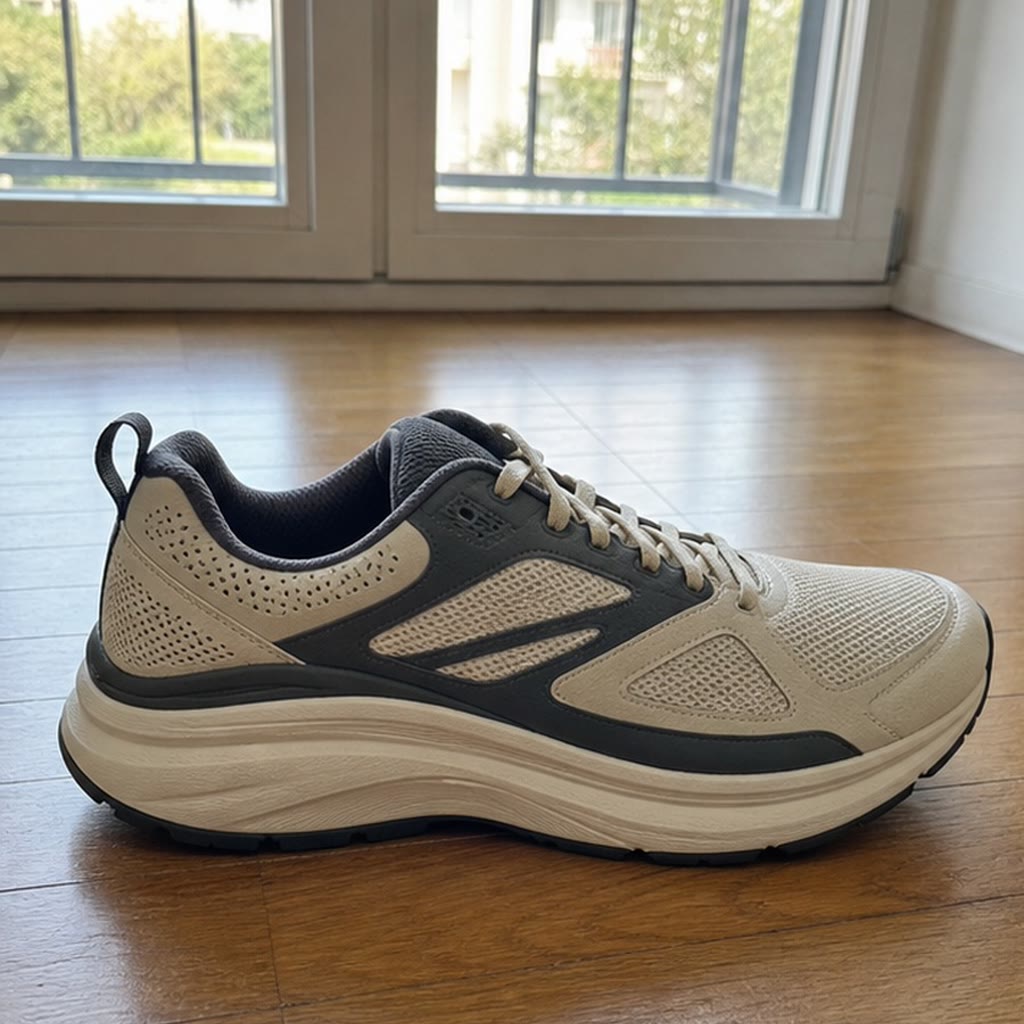
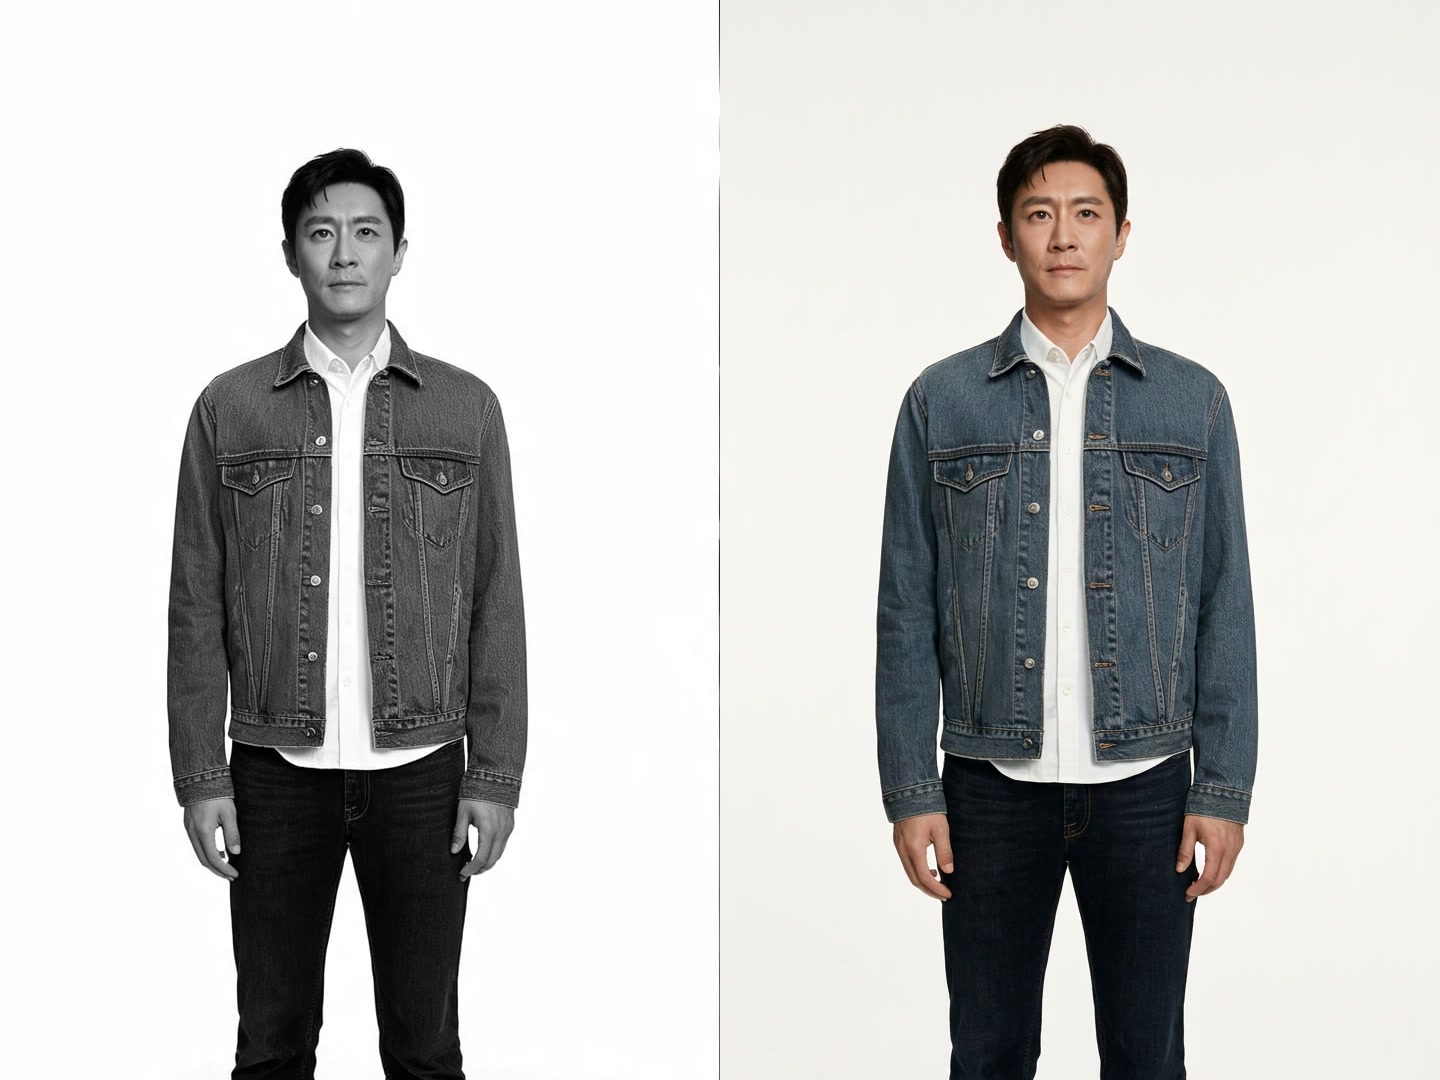
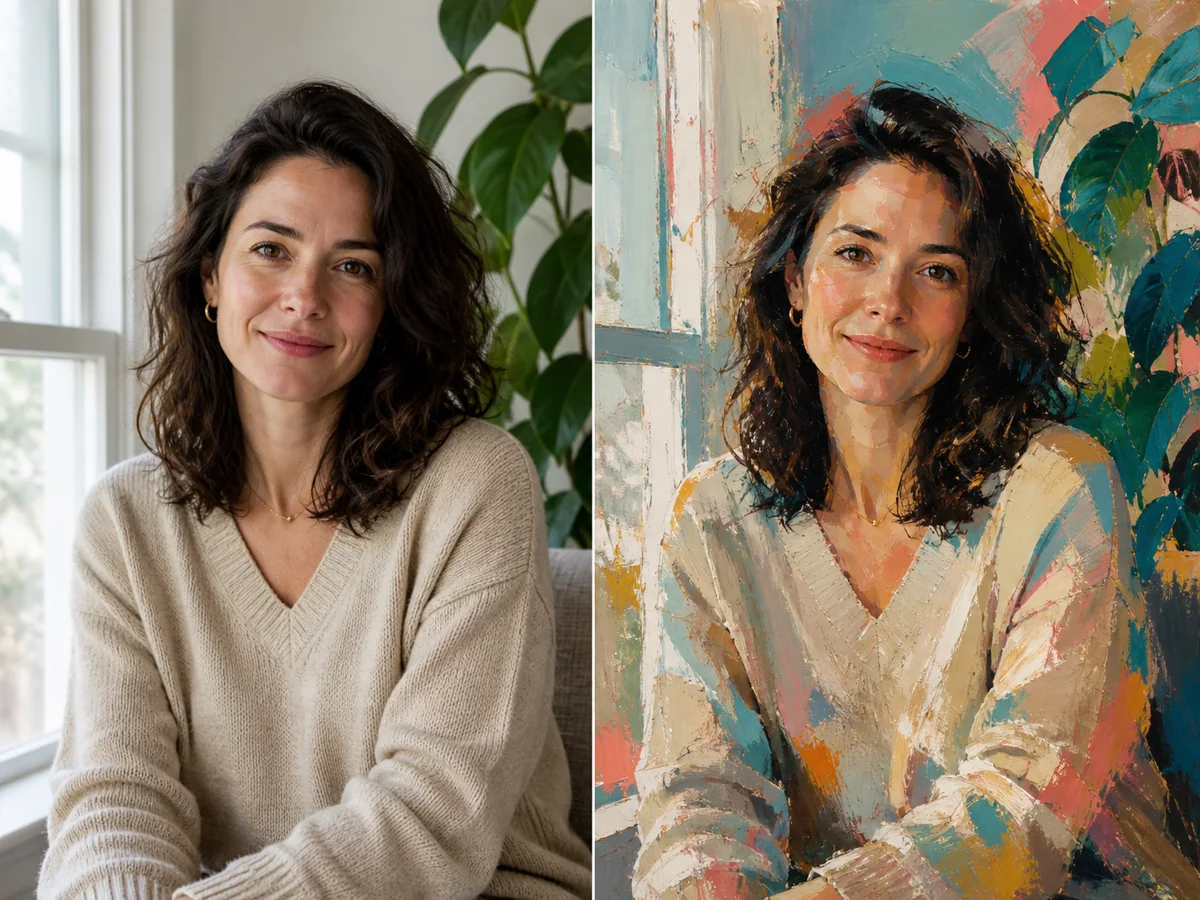
Save up to 73% on plans
Change Color of Image
Change Color of Image
Choose a photo, click the color you want to replace, and choose its new color. Adjust the matching range, compare the preview, and download the actual edited PNG.
Drop your image here
JPG, PNG or WebP · up to 20 MB
Local processing · no credits · PNG keeps transparency
More AI Image Models & Effects
Browse every other AI image model and effect published on this site in a continuous carousel.
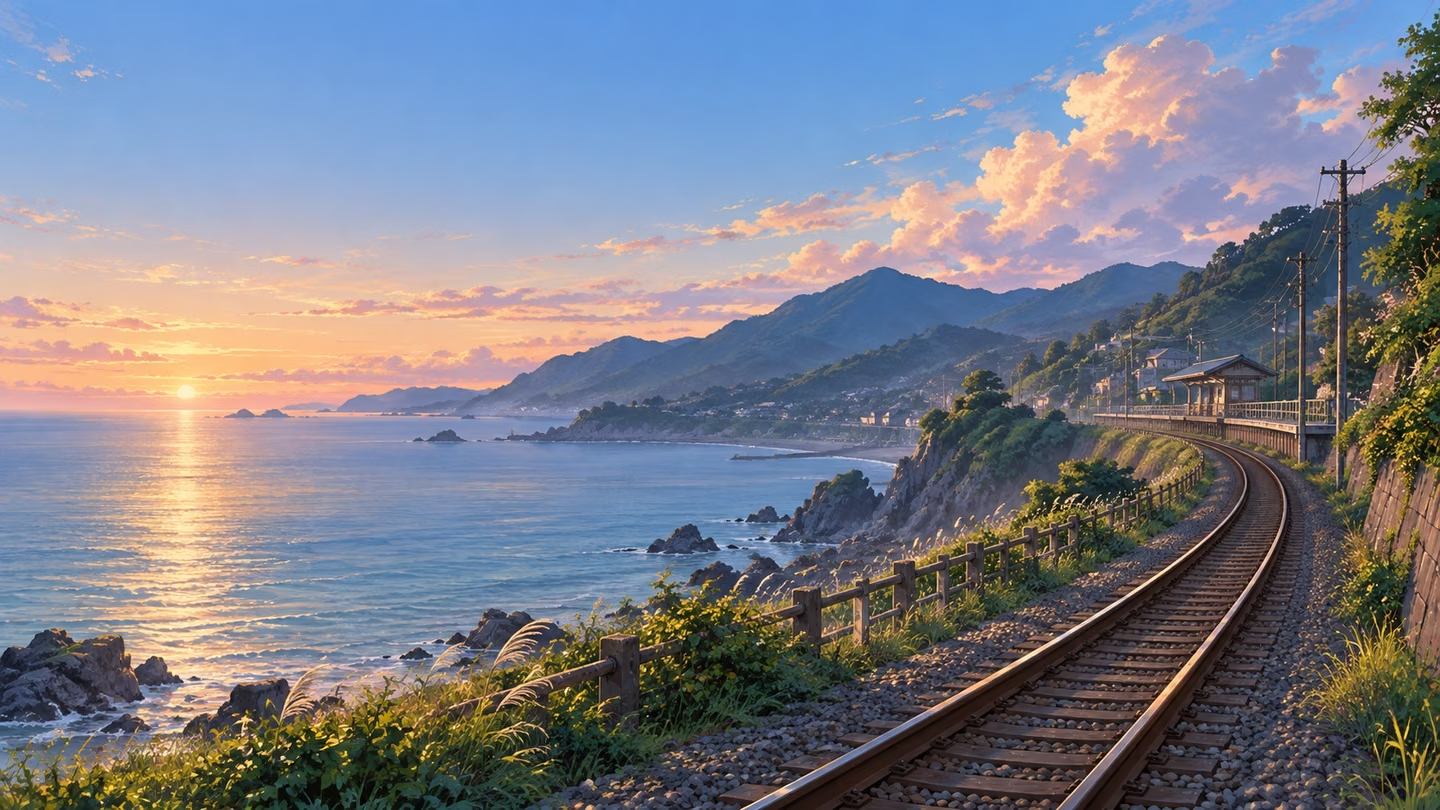
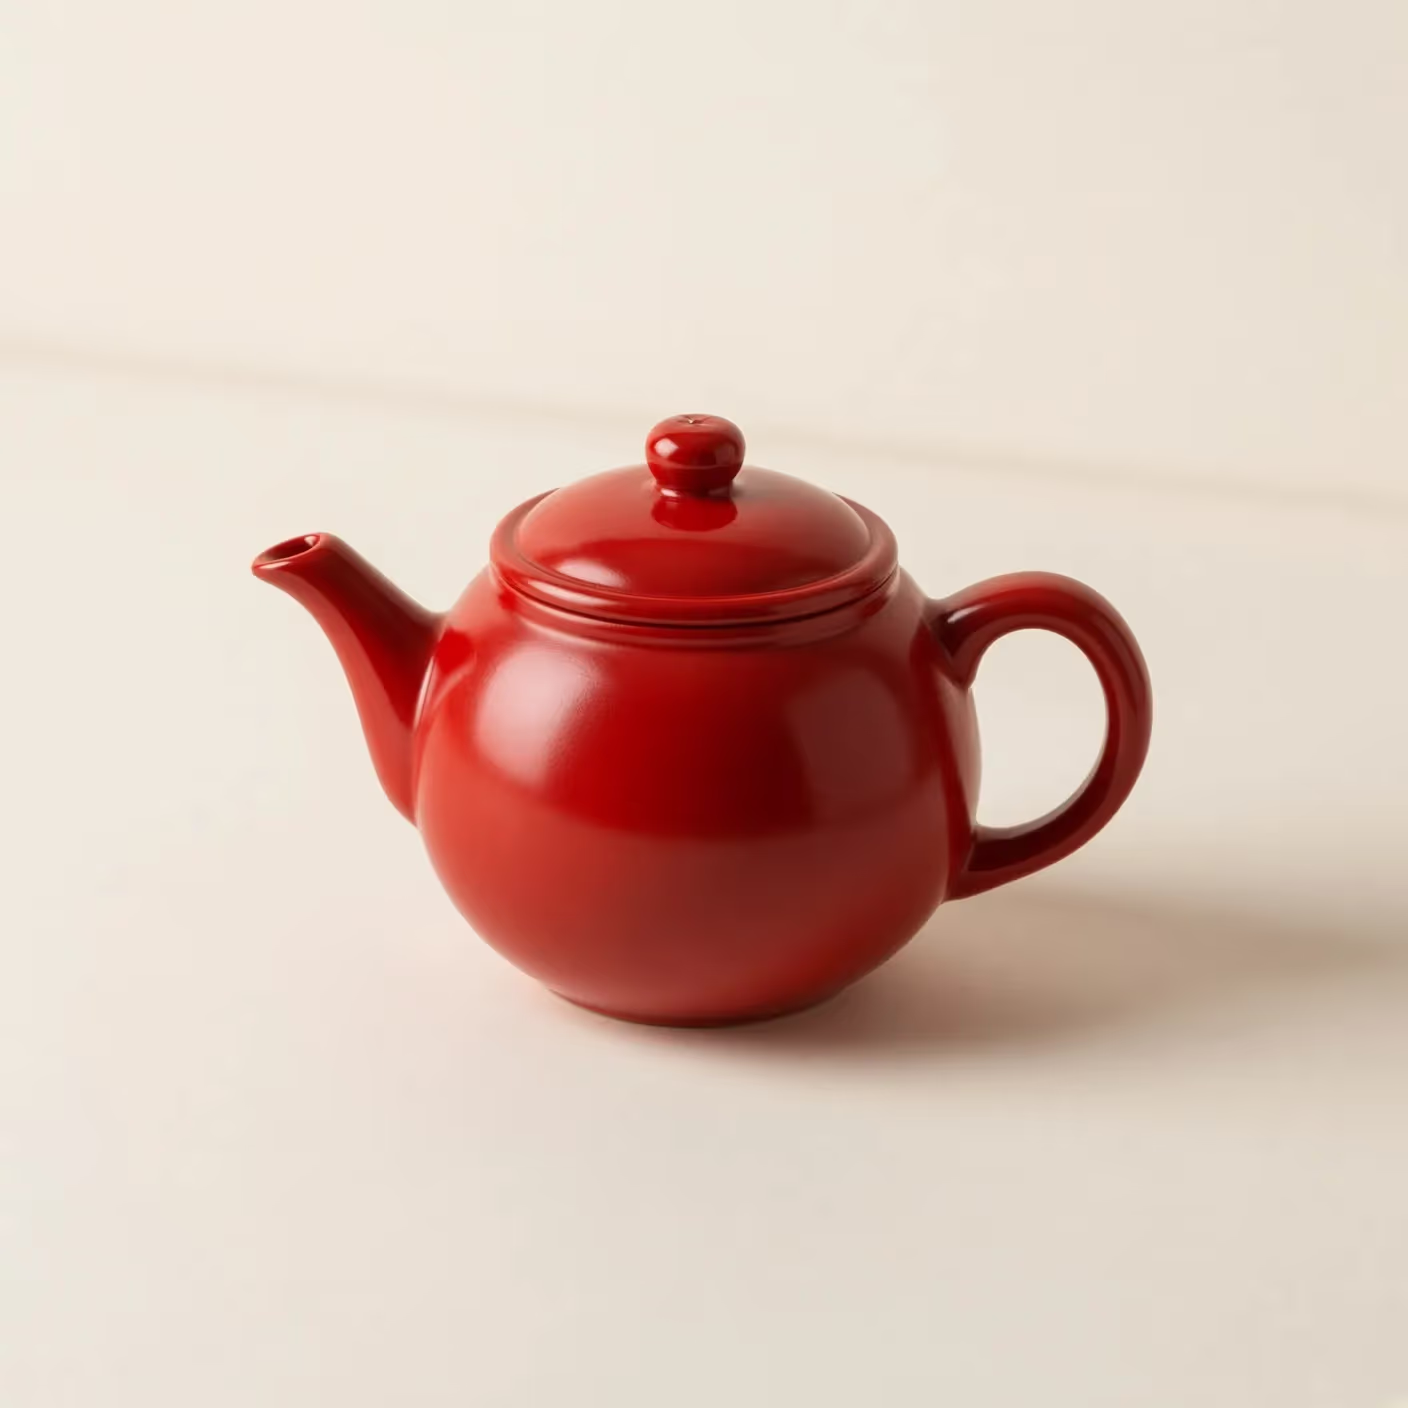
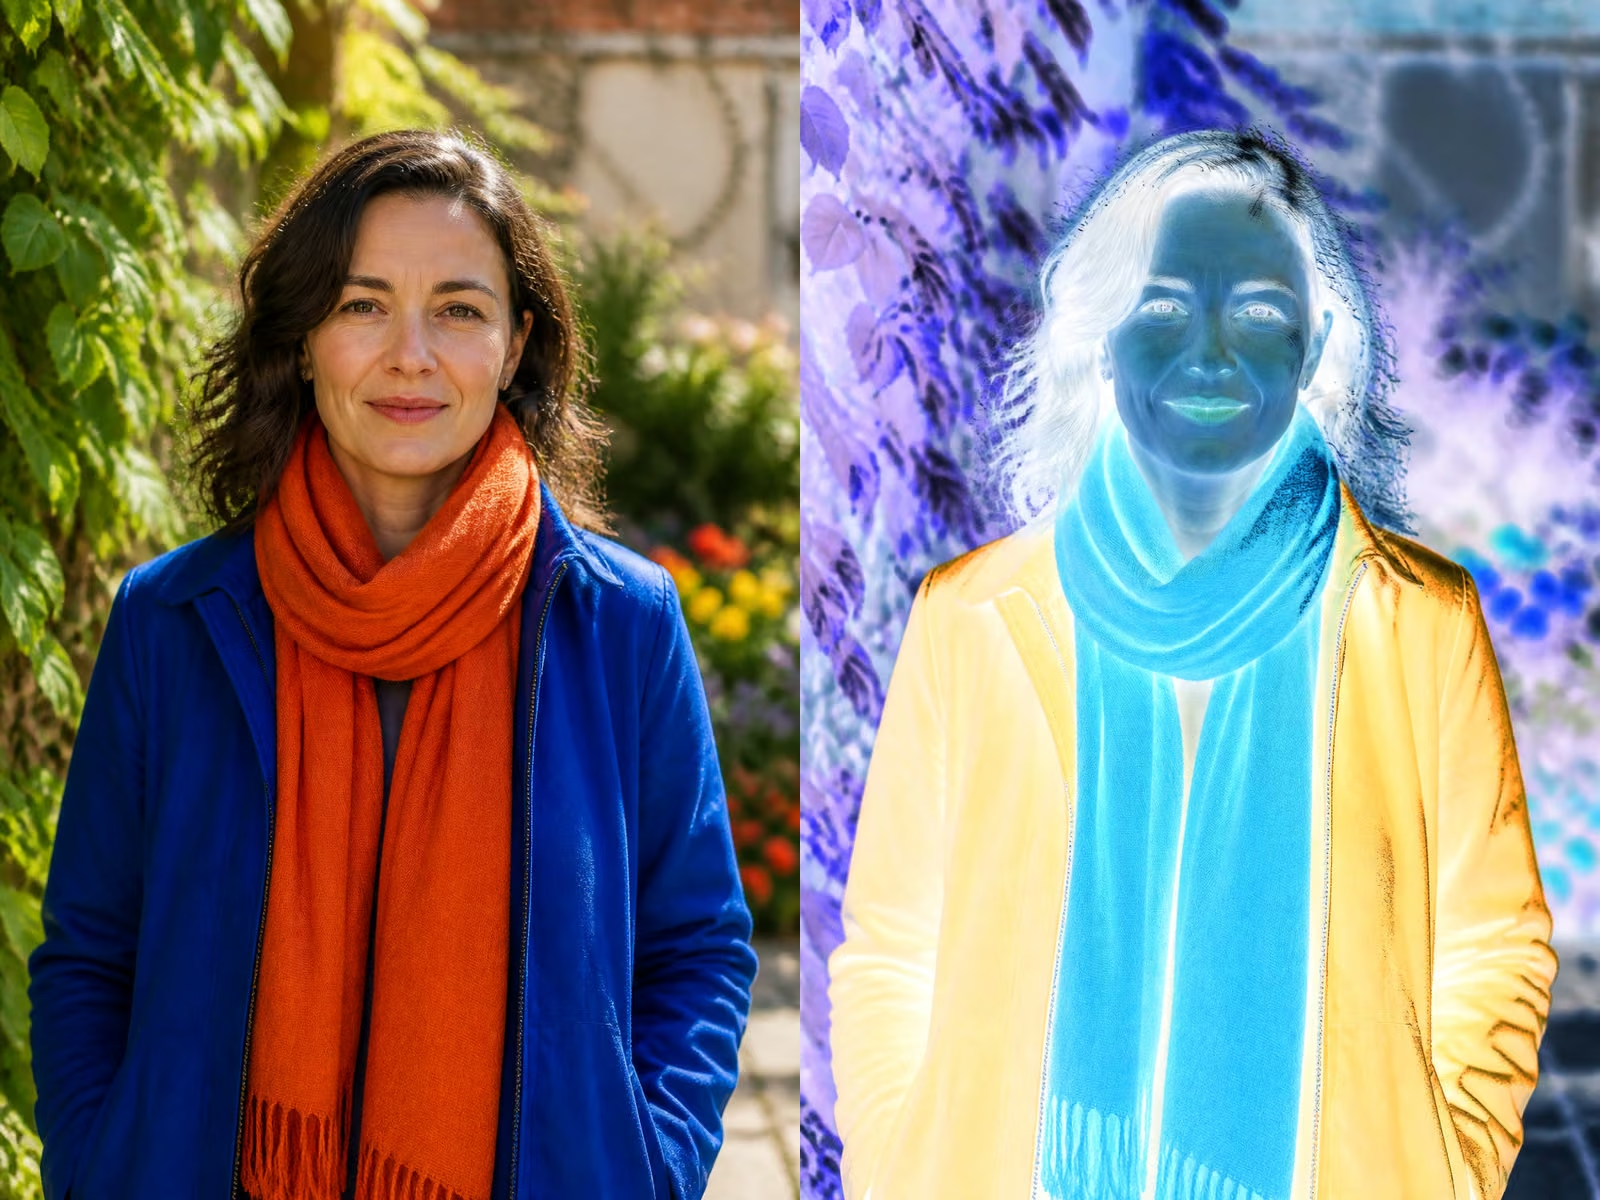
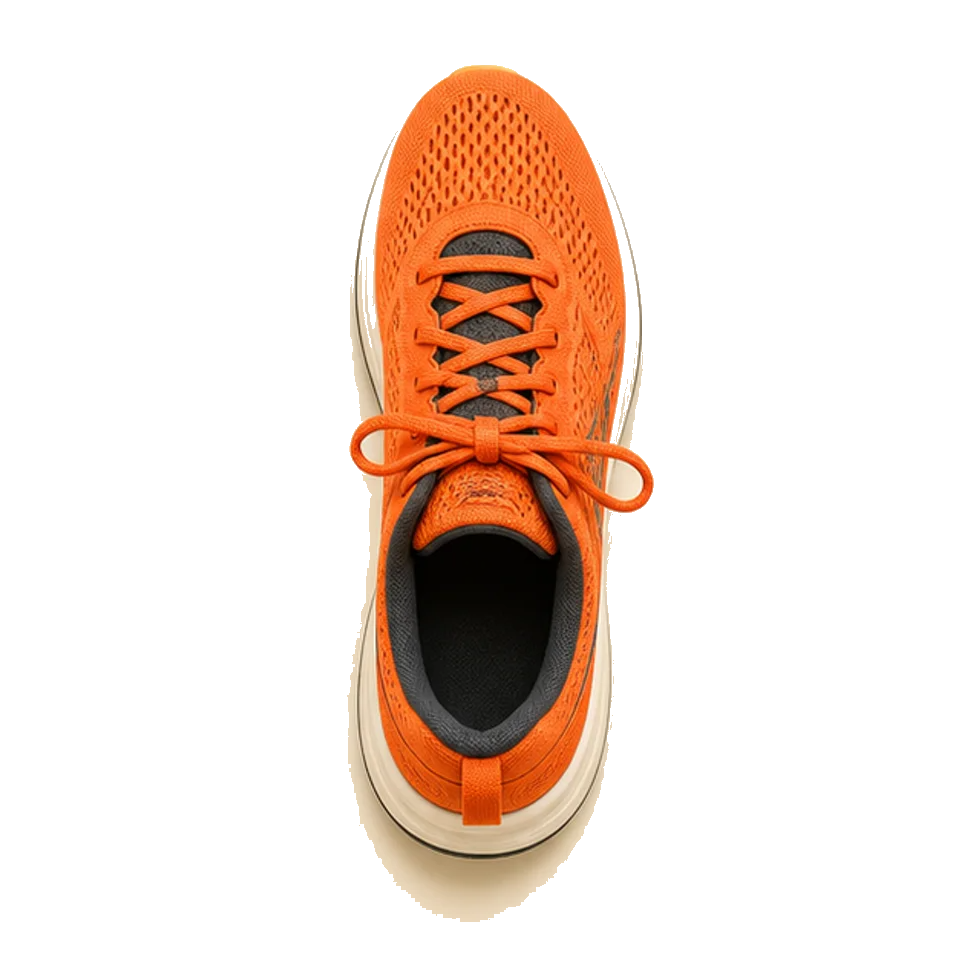
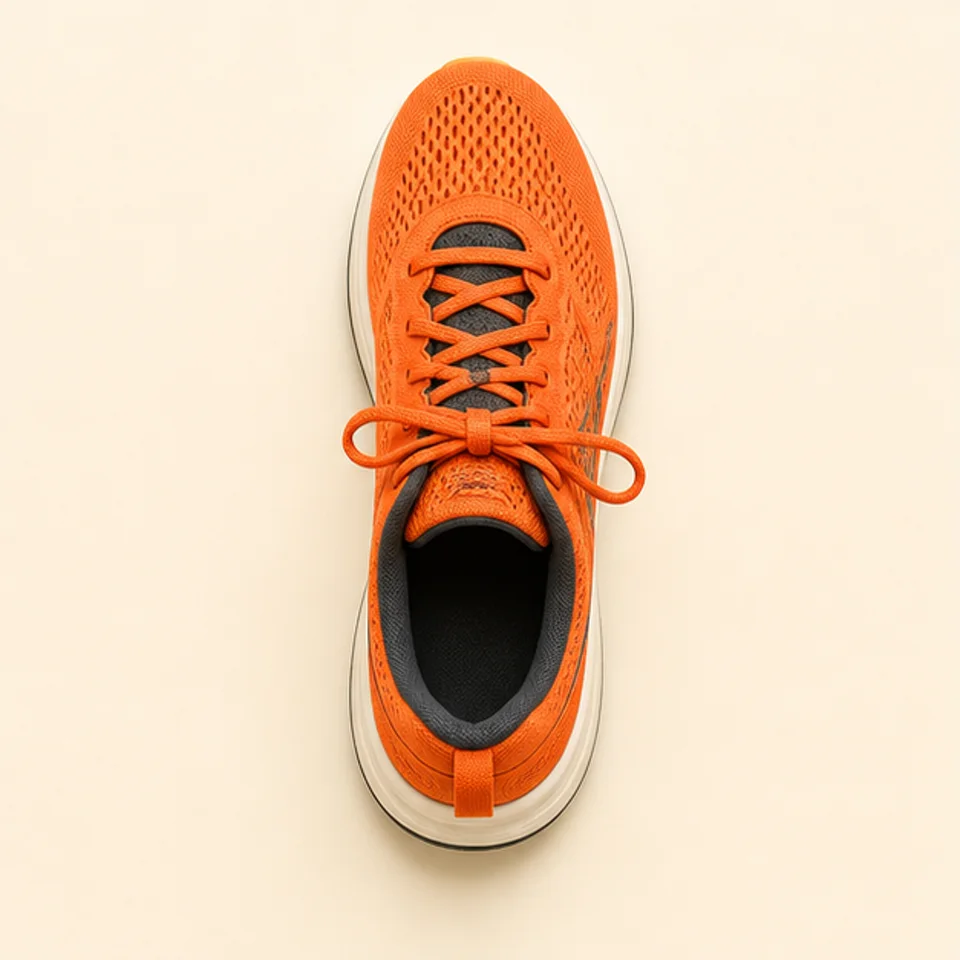
Real orange-to-blue recolor
The result was downloaded from this tool with tolerance 20, soft edge 8 and shading enabled. The web image is compressed from that actual export.
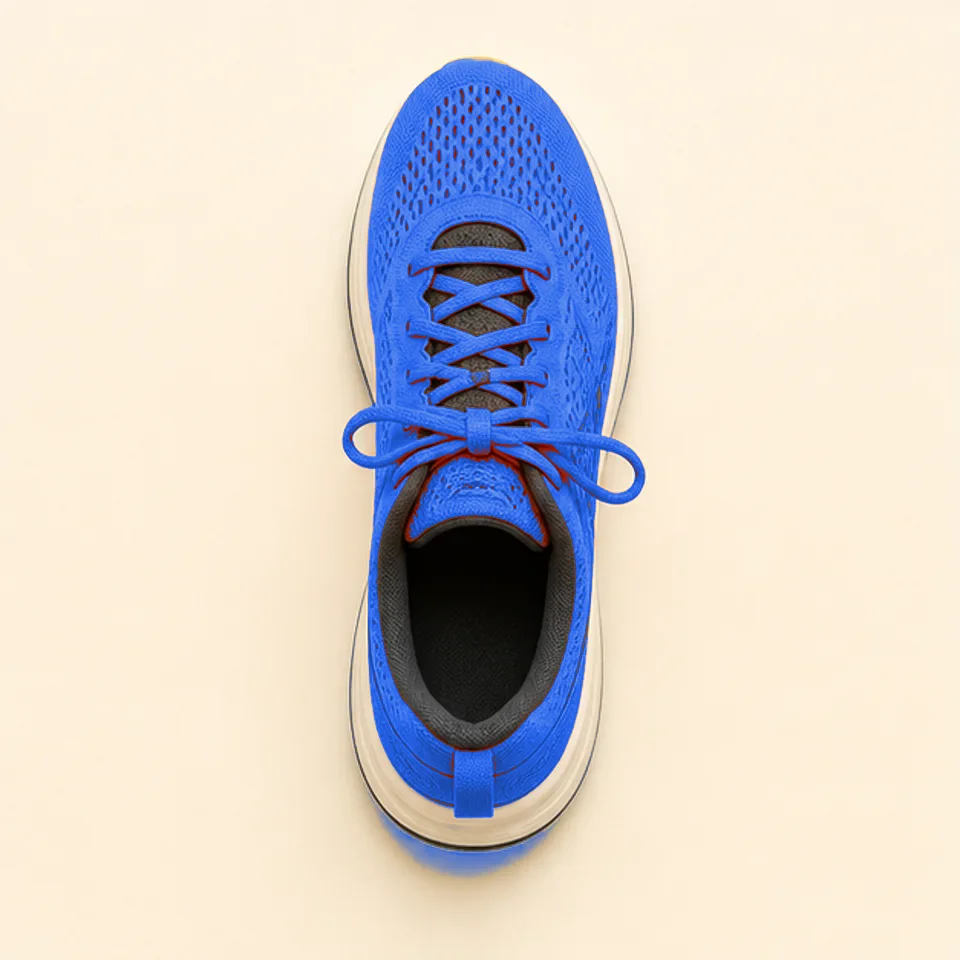
Recolored output
Try NowChoose a color, then decide how much should change
A useful recolor starts with a specific decision: which existing color should become which new color? Upload your image and click a representative midtone in the original preview. That pixel becomes the source color. Choose a replacement in the second color picker and inspect the preview beside the original. The editor matches pixel colors across the image; it does not know which pixels belong to a shirt, a shoe, or a wall. If two objects share similar colors, both can change. Start with a low tolerance and increase it only when parts of the intended color remain unchanged.
Keep shadows for photographs; use flat replacement for graphics
Preserve highlights and shadows is enabled initially. It maps the selected source color to your target and carries relative brightness differences into the result. A darker selected pixel produces a darker replacement, while a lighter pixel moves toward a highlight. This helps retain folds, surface texture and shading in a photograph. It does not reproduce physical material properties or guarantee color accuracy. Turn the option off for a flat logo or illustration when selected pixels should receive the same RGB replacement. Soft edge settings can still blend partially selected boundary pixels.
Use tolerance to include a range of nearby colors
Photographs rarely contain one perfectly uniform color. Compression, lighting, reflections and texture create a family of related RGB values. Tolerance sets the distance from your sampled color that is fully replaced. At zero, only exact matches are selected. Raising it includes increasingly different shades, so watch the background and neighboring objects as carefully as the main subject. The range is based on RGB distance rather than object recognition or a perceptually uniform color space. A very high setting can affect most of an image. For a small colored graphic, use a narrow range; for a textured surface, compare several settings before downloading.
Soften transitions without hiding selection mistakes
Soft edge blends pixels just outside the fully selected range. It can reduce a harsh boundary around antialiased lettering or a compressed photographic edge. More softness also reaches additional colors, which can create an unwanted tint on nearby objects. First get the tolerance as close as possible, then add a modest amount of softness. A smooth-looking preview is not proof that only the intended object changed. Zoom into the downloaded file in your usual image viewer and inspect outlines, fine text, reflections and small details. This editor does not include a brush mask or automatic object segmentation.
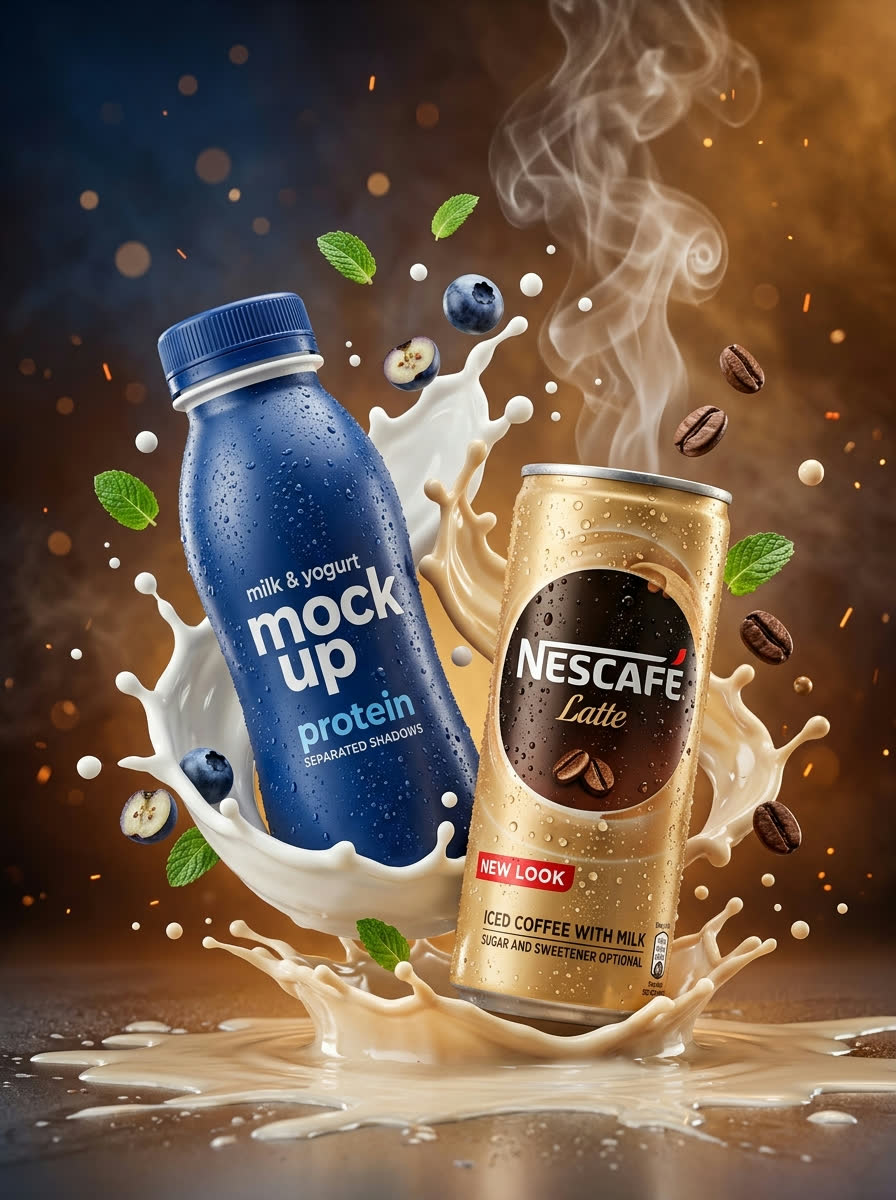
Recolor a product photo for a visual concept
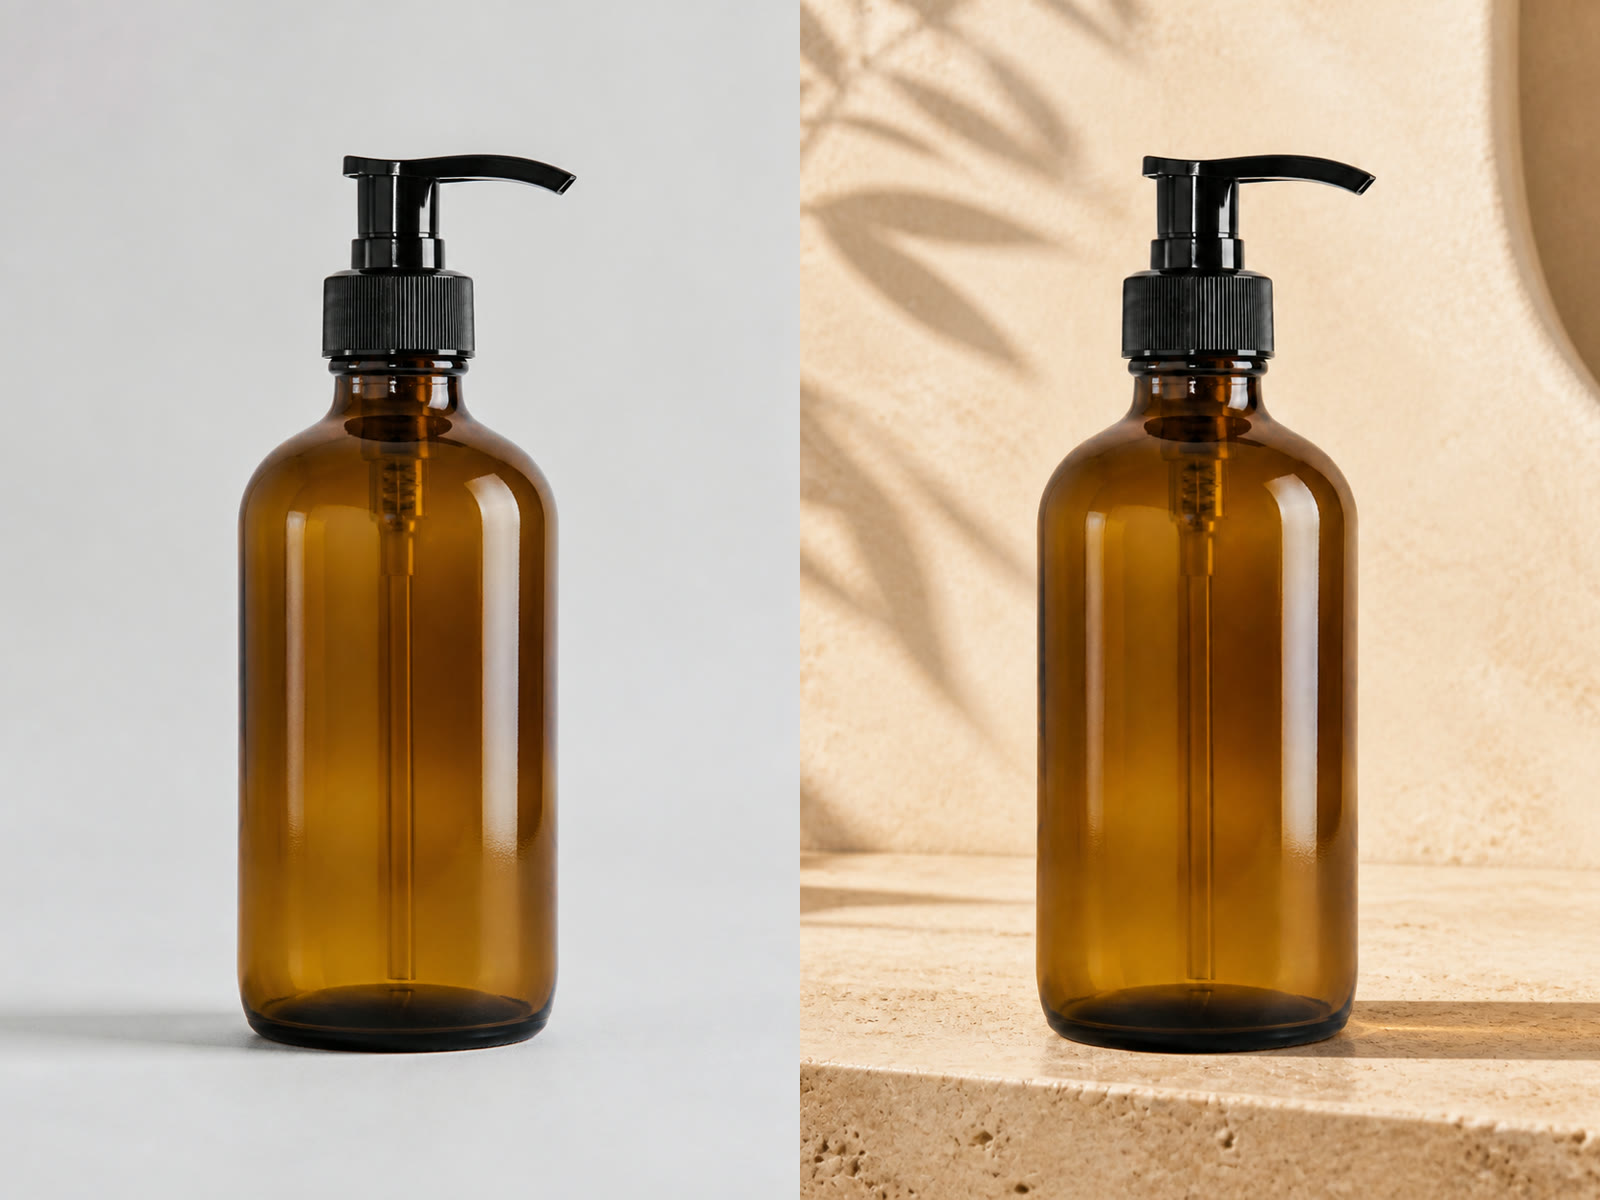
A clean product shot with a distinct colored surface is a good starting point. Sample the product midtone, select the proposed color and leave shading enabled. Compare seams, highlights and shadows against the original. A recolored mockup can help discuss design options, but it is not evidence that a physical product exists in that color. Reflective metals, transparent glass and strongly colored lighting can require manual editing beyond this tool. Avoid presenting an approximate recolor as an exact manufacturing specification. Keep an original copy and label concept imagery appropriately when sharing it with customers or collaborators.
Change graphic colors while keeping transparent pixels
For icons, simple illustrations and transparent PNG assets, turn shading off when the goal is a consistent replacement color. Sample a solid interior pixel rather than a translucent edge. The operation preserves the existing alpha channel: it changes selected RGB channels without making transparent pixels opaque. A soft antialiased edge may contain mixed colors, so experiment with a small amount of edge softness. If the source has a white background, changing colors does not remove it. Downloading a PNG preserves transparency that already exists; it does not automatically create a transparent background.
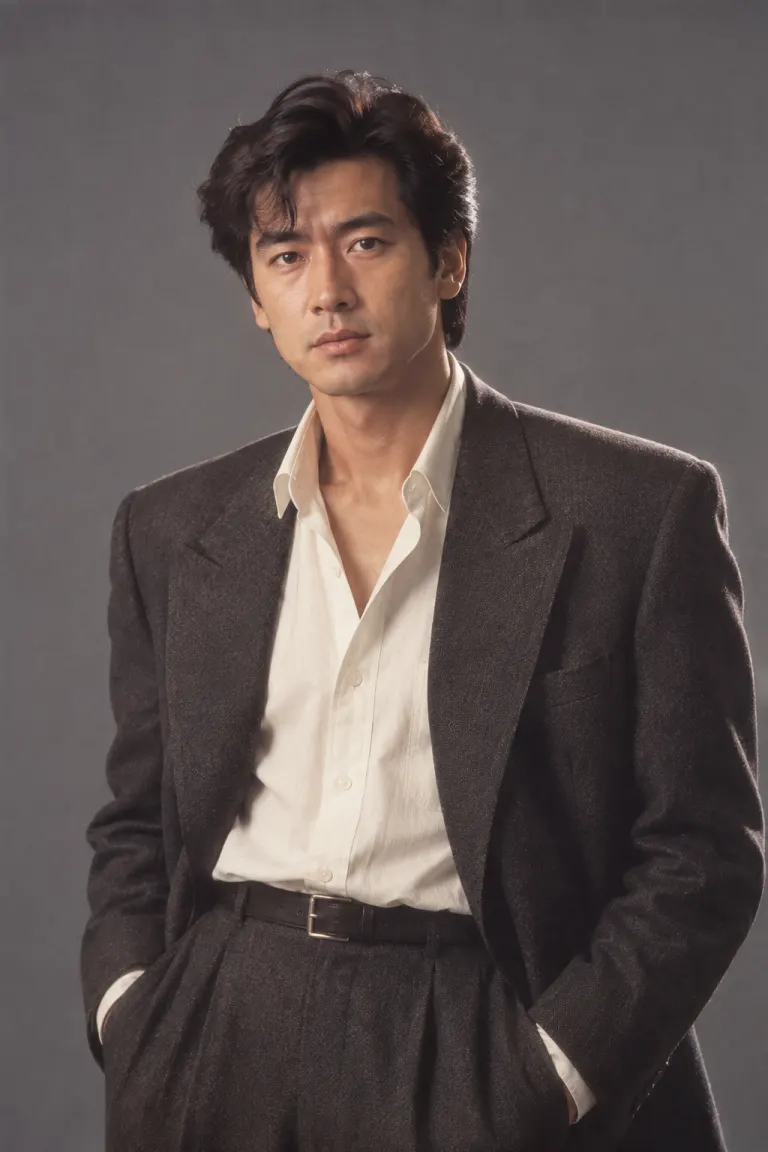
Recolor clothing without changing the whole photograph
A garment that contrasts clearly with skin and background is easier to isolate through color matching. Click a representative part of the fabric, then check the face, hair, accessories and scenery in the preview. Similar warm colors can overlap with skin tones, and pale fabric can overlap with highlights elsewhere. Reduce tolerance if those areas shift. Deep folds and bright reflections may need different selections in a full image editor. This tool offers one color replacement at a time, not a promise of perfect clothing segmentation. If the result is uneven or affects unrelated areas, use an editor with a manual selection mask.
Understand white, black and very pale colors
Changing a saturated color to another saturated color is usually easier to judge than changing white fabric to a bright shade. White and black contain little hue information, and color matching can select unrelated neutral objects. The shading mode preserves relative brightness around the chosen sample, but details can still flatten when the target is very close to black or white. Sample a midtone instead of the brightest highlight and compare both shading modes. For brand-sensitive work, remember that browser color conversion, the display and the source profile can all affect appearance. The downloaded canvas image is not a print-proofing workflow.
Local editing, supported files and output dimensions
The tool reads JPG, PNG and WebP files in your browser. Your selected file is not sent to an image editing model or uploaded by this tool, and the edit uses no AI credits. A sample image is fetched from the website when you explicitly choose it. Files must be no larger than 20 MB, with each side at most 8,192 pixels and no more than 40 megapixels. To keep interactive editing manageable, the working image is resized to a maximum of 1,600 pixels on its longest side. Smaller images keep their dimensions. The displayed dimensions describe the downloaded PNG, not necessarily the original upload.
Review the export before you use it
Download PNG saves the actual preview pixels. The original file on your device stays unchanged, so you can always begin again. Canvas export does not preserve camera metadata, editable layers or animation. Animated WebP files are treated as a still image by the browser; use a static source for predictable results. Open the downloaded file and check its dimensions, the intended color, background areas and transparent edges. A PNG may be larger than the source JPEG even though its dimensions are smaller. If you need a print-sized file, editable masks or repeated color replacements, use a full-resolution image editor after deciding on your color direction here.
Choose the right type of color edit
Selective recoloring, an overall tint and color inversion solve different problems. This page replaces a chosen color range while leaving unmatched pixels unchanged. An overall tint intentionally shifts the mood of the whole scene. An RGB inversion replaces each channel with its numerical opposite and creates a negative appearance. Adding natural colors to a black-and-white photograph is another separate task. Choose this editor when you already know the source and replacement colors. If your goal is a background-only change, object removal or a completely new scene, a color match alone may not provide the control you need.
A practical five-minute review
Begin with a small or medium image whose subject has a distinct color. Sample its midtone and choose a target. Compare low and moderate tolerance settings, then adjust the soft edge only if needed. Toggle shading once to understand how it changes texture. Inspect the rest of the image for accidental matches, especially colors that resemble the source. Download one result and view it outside the browser. This short review is more useful than maximizing every slider. Keep the settings conservative when accuracy matters, and treat difficult selections as a reason to use a mask-based editor rather than to accept an obviously damaged image.
Frequently Asked Questions
Is this color changer free to use?
This local tool does not use AI credits or require an image generation request. Upload a supported image, edit its colors and download the PNG in your browser.
Can I replace only one object?
You can choose a source color, but matching pixels anywhere in the image can change. There is no object selector or brush mask. Choose an image with a distinct target color or use a masked editor for overlapping colors.
Will the image keep its original resolution?
Only if its longest side is at most 1,600 pixels. Larger supported files are resized before editing. The tool displays the actual output dimensions.
Why does part of my background change?
Its pixels may be close to the source color. Reduce tolerance and soft edge, or sample a different part of the intended subject. If colors overlap, a manual mask is needed.
Does the PNG keep transparency?
Existing alpha values are preserved through recoloring. Resizing may interpolate edge pixels. A solid background stays solid; this is not a background remover.
Can I enter an exact brand color?
Use the browser color picker to select your target. With shading off, fully selected pixels receive that RGB color. Shading and soft edges intentionally produce variations; the result is not a print color proof.