
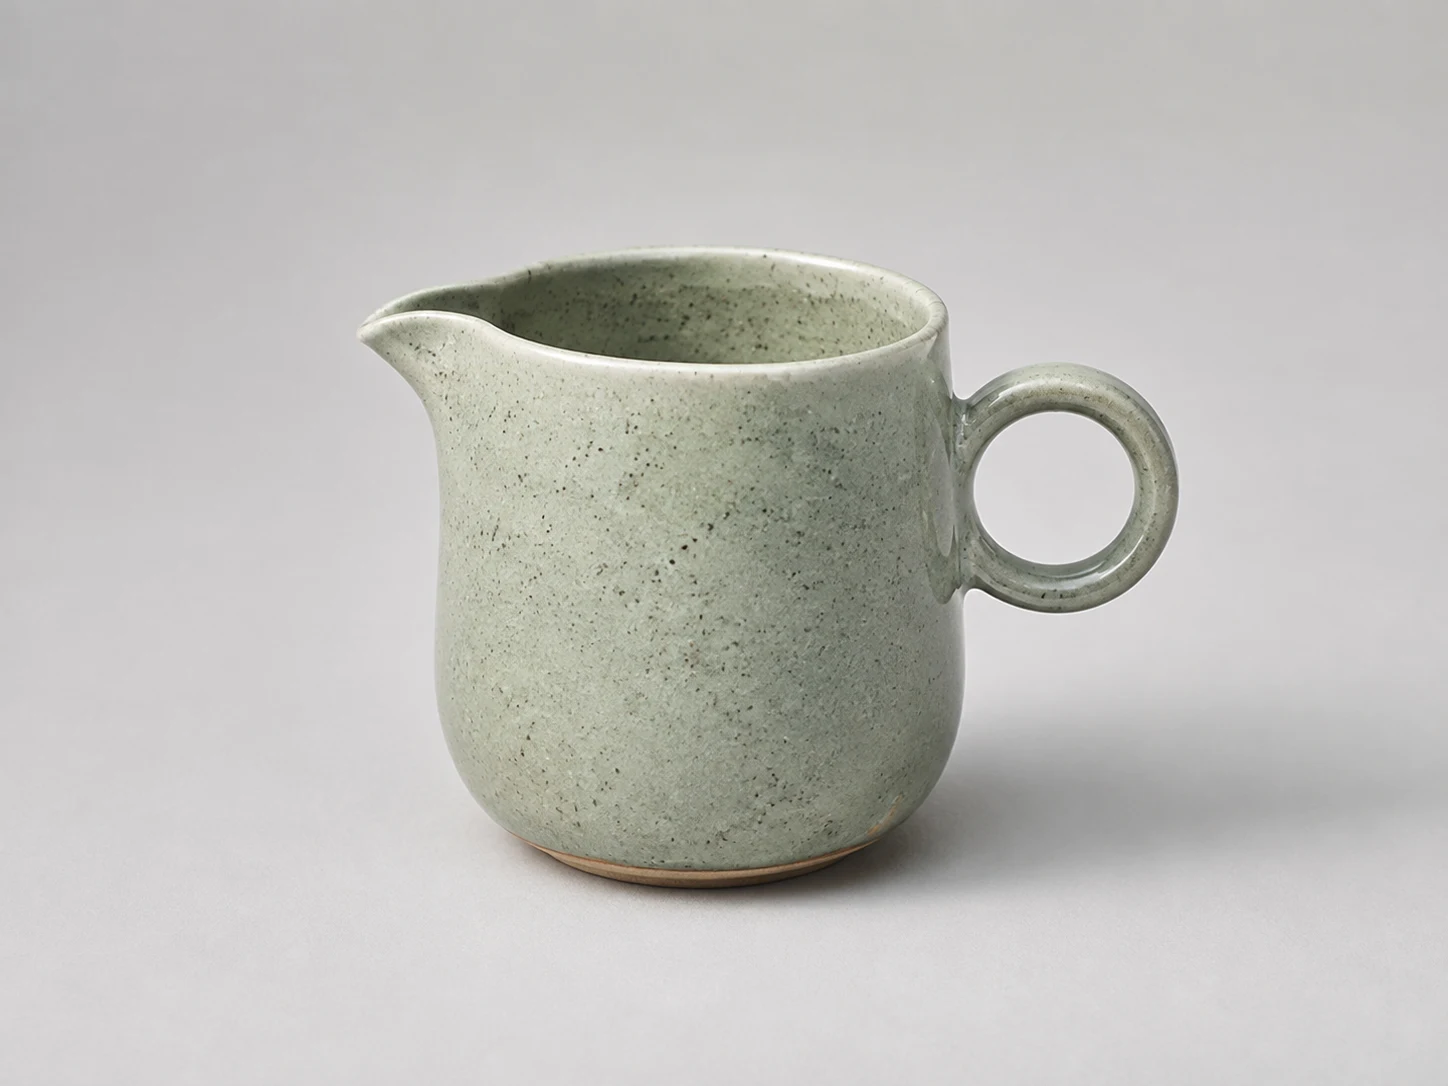
Primary subject
The complete lip, loop handle, and glaze supply recognizable subject cues.
Image
Browse more AI photo effects in a continuous carousel.
AI Reference Image Generator turns one or two references into a starting point for a new scene. Upload a primary subject, optionally add a visual direction image, and describe what each reference should contribute. The primary image can be an original product, a fictional creature, a prop, or another subject you are allowed to use. The second image can suggest a setting, lighting arrangement, color palette, or composition. Your brief connects those decisions into one new picture. This workflow is useful when the target is a new campaign concept or a coherent variation, rather than a small correction inside an existing photograph. References guide interpretation; they cannot lock pixels, measurements, or every identifying detail.
Original fictional images illustrate the input roles; individual generations will vary.
The complete lip, loop handle, and glaze supply recognizable subject cues.
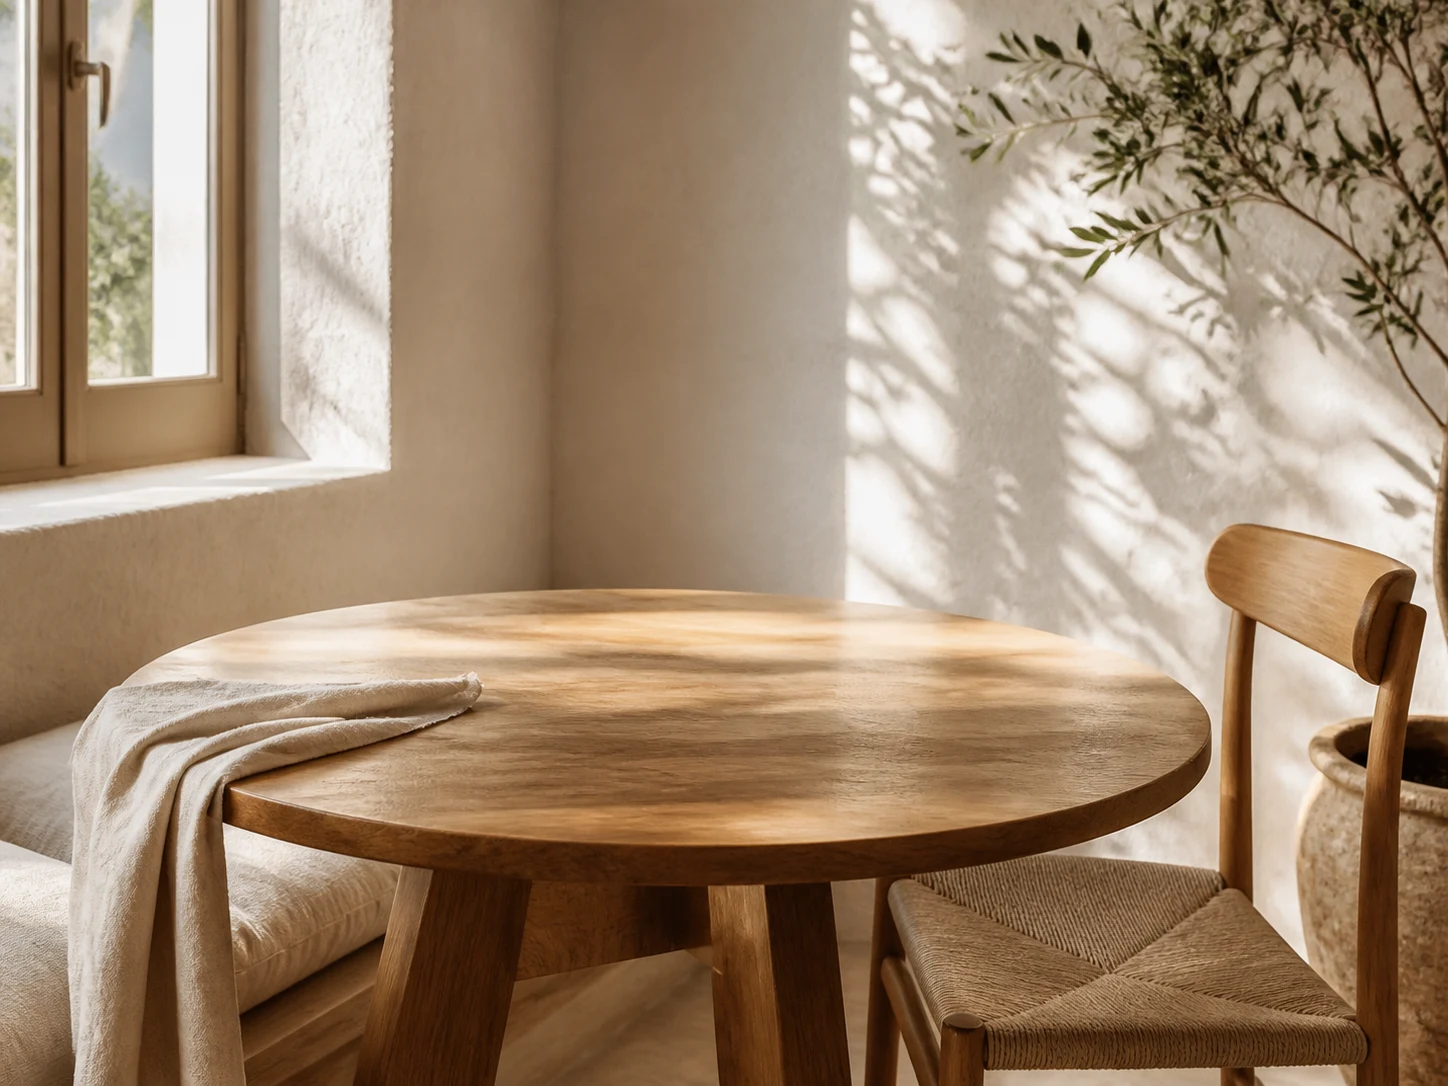
An empty tabletop supplies environment and light without a competing product.
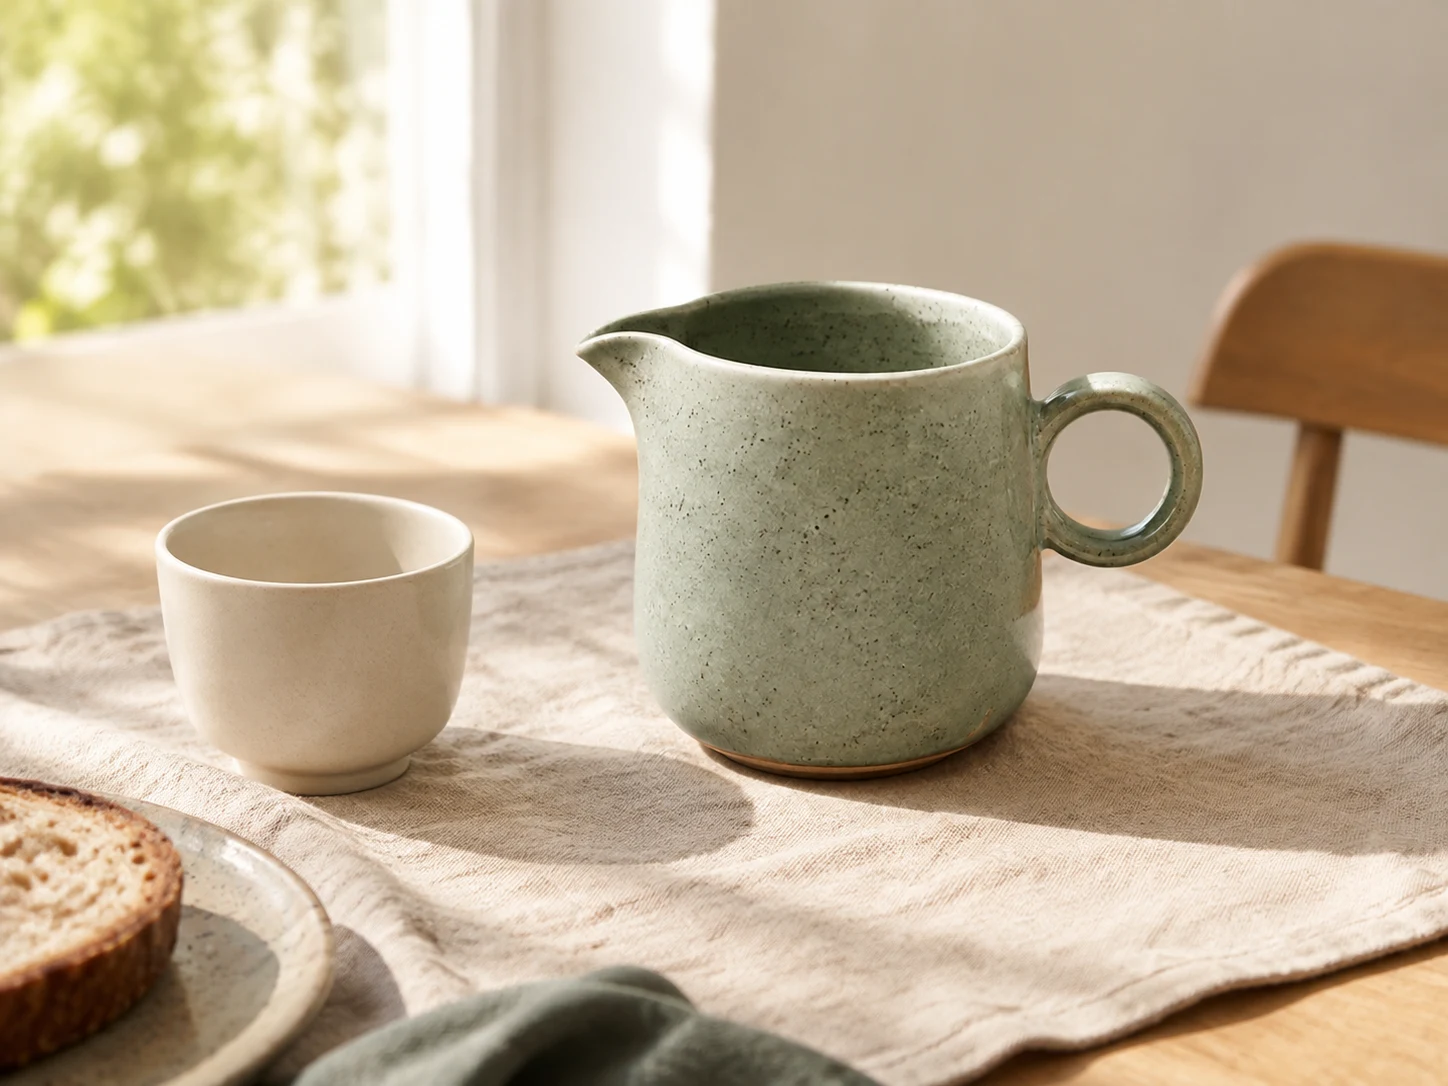
A subject reference and written brief explore a breakfast setting.
Subject and environment references guide a wider composition with breathing room.

Choose an image whose important subject is easy to identify. A product photographed against a quiet background usually communicates shape and material more clearly than a crowded lifestyle scene. Keep the whole handle, rim, strap, or other defining feature visible. If the subject fills the frame so tightly that its outline is cut off, select a wider source before uploading. The first reference provides a visual anchor, but the model can still reinterpret proportions and small details. In the brief, name two or three features that matter most: a circular handle, pale green glaze, and a short pouring lip are more useful than simply asking for the same product. Do not rely on hidden surfaces or unreadable text becoming accurate.
The optional second upload supplies visual direction. It might show an empty room, a table arrangement, a poster layout, or a lighting mood. Explain exactly what to borrow: the warm side light, the quiet background, or the space around the subject. Also explain what to ignore, especially when the direction image contains a different person or product. Two references are not automatically better than one. When the first image already communicates the subject well and you can describe the new scene in a sentence, begin with one reference. Add the second only when a visual decision remains difficult to express. This keeps the brief focused and makes it easier to understand why a result drifted.
A practical reference brief has three parts. Subject identifies what should remain recognizable from image one. Direction identifies the specific setting or visual cue to borrow from image two, when provided. Change describes the new scene, framing, or creative variation you want to explore. For example: keep the celadon jug and round handle; borrow the wooden table and soft window light; create a wider breakfast scene with space to the left. Avoid contradictory requests such as preserve the entire original composition and move every object into a different arrangement. When two instructions compete, decide which one matters more and say so. The editable field above starts with this structure so you can replace the breakfast concept with your own.
A single source works well when the new environment can be described clearly. Start with an unbranded product on a simple background, then ask for a believable setting with specified light and framing. A handmade jug could move into a breakfast scene, a fictional desk lamp could become part of a reading corner, or a toy spacecraft could appear on a miniature landing pad. In each case, the source contributes the subject while the prompt contributes the setting. The original source and breakfast example on this page are generated illustrations of that workflow. They are not a promise that every model run will reproduce the same object perfectly. Inspect silhouette, material, shadows, and scale before choosing a result.
With two inputs, keep their jobs distinct. Put the subject in the first slot and visual direction in the second. The empty tabletop example provides room atmosphere and lighting without introducing another product that could compete with the jug. In your own project, a busy direction photo may require a stronger instruction to ignore its people, props, or brand marks. Ask for one coherent scene rather than an automatic collage of both images. Then compare the result with each source separately: does the subject remain recognizable, and did the requested environmental cues carry through? A convincing blend should have compatible perspective, scale, contact shadows, and light direction. If it does not, simplify the setting before adding more instructions.
Once a concept is close, vary one decision at a time. Keep the same references while changing the crop from square to landscape, the light from neutral to late afternoon, or the amount of empty space around the subject. This creates a useful comparison between directions instead of a collection of unrelated images. Save the reference files and your brief alongside the outputs you want to compare. If you use a generated result as a new reference, download it and upload it into the appropriate slot. Each new generation can introduce additional drift, so compare important details with the original source as well as the latest version. Return to the original when the silhouette or materials have wandered too far.
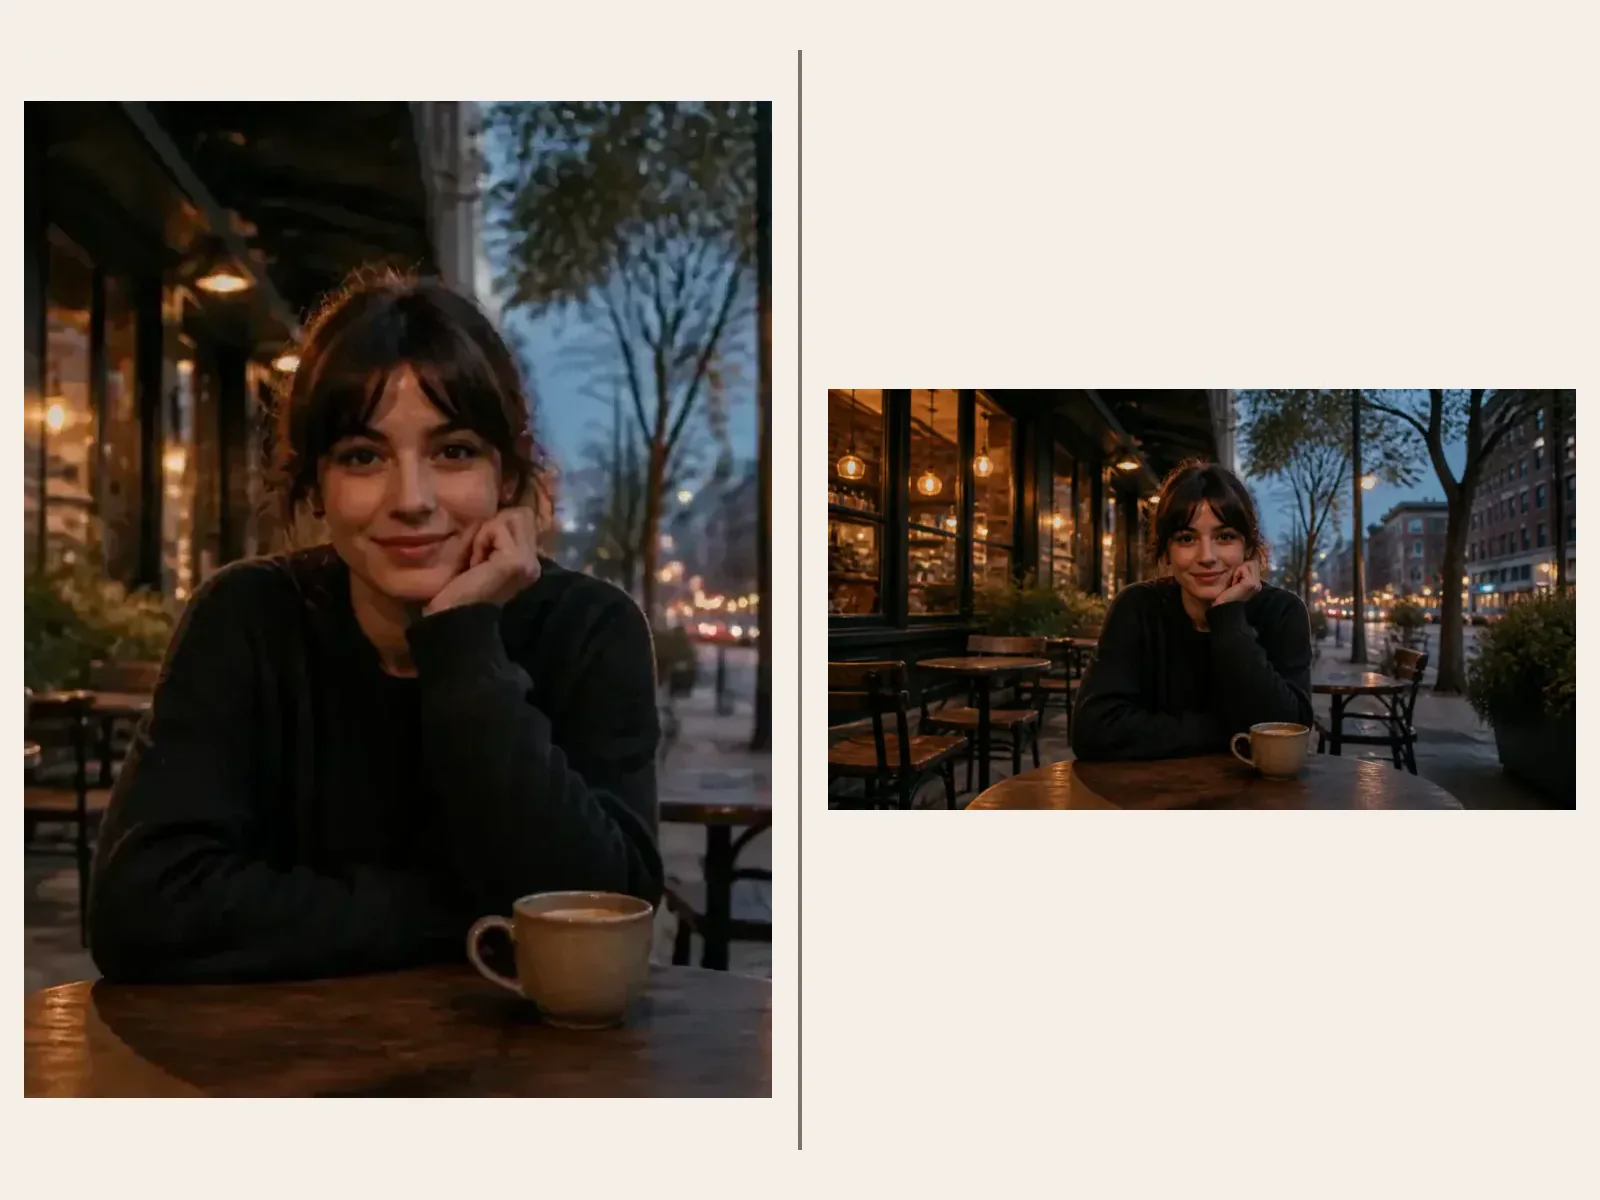
The generator offers square, landscape, portrait, and wide output shapes. Choose based on where the image will be used: square for a compact concept tile, landscape for a scene with context, portrait for a taller subject, and wide for an editorial layout with breathing room. Changing aspect ratio asks the model to compose a new frame; it is not a guarantee that the original image will be extended without alteration. Mention the desired subject position and keep important details away from the edge. A source preview is shown with its proportions preserved so you can inspect it before generating. Review the downloaded result at its actual dimensions rather than judging sharpness from a small thumbnail.
Reference-led generation is especially useful early in a creative project, when you are choosing a visual direction. A small brand can compare tabletop settings for an original object. A designer can test how a prop reads in a different environment. An illustrator can explore a fictional creature inside a new scene without rebuilding every description from scratch. A content team can compare framing and negative space before committing to a finished campaign layout. These are concept decisions, not evidence that an object was photographed in a real location. When factual product accuracy matters, check the generated image against the physical item and use conventional photography or editing for details that must be exact.
Look beyond the overall mood. Compare the primary subject's outline, visible materials, relative proportions, and distinctive features with image one. Check whether the second image contributed only the intended scene cues or also introduced unwanted objects. Inspect edges, reflections, contact shadows, perspective, and any repeated texture that looks artificial. For a person, review face, hands, clothing, and anatomy with particular care. For a product, review handles, openings, seams, labels, and the number of parts. References guide style, composition, and subject interpretation; the model cannot pixel-lock any of them. A visually persuasive result can still contain a changed detail, so select outputs based on the requirements of your actual project.
If the subject changes too much, use a cleaner primary reference and shorten the list of requested changes. If the scene remains too close to the original, state clearly that you want a new setting and describe the new framing. If the second reference overwhelms the first, specify which environmental qualities to borrow and explicitly exclude its subjects. If shadows or scale look wrong, choose references with more compatible camera height and light direction. Avoid adding dozens of negative instructions to solve every defect at once. Make a focused revision, generate again, and compare the same details. The reference controls define input roles; they are not numerical strength sliders or geometry locks.
Use this page when you want to assemble a visual brief for a new image or controlled variation from a subject and optional direction reference. Use the general Image Generator for broader model exploration and image editing. Use Pose Reference AI when the specific goal is to borrow body arrangement from a second image while keeping a target adult recognizable. Use the Character Portrait Generator when the creative goal is an original fantasy, game, or cinematic role portrait. A style-focused task may only need the aesthetic vocabulary of a reference, while this page can combine subject and environment decisions. These workflows share generative technology, but the input roles and the question you are trying to answer differ.
It creates a new image using uploaded visual references together with an editable brief. On this page, the first image guides the subject and an optional second image guides the environment or visual direction. The output is newly generated, so resemblance and detail must be reviewed rather than assumed.
One primary subject reference is required. A second direction reference is optional. Start with one when your new scene is easy to describe. Add the second for a specific setting, composition, palette, or lighting cue, and explain which parts to borrow. This page accepts up to two references.
No. References can guide style, composition, and subject, but the model cannot pixel-lock the source. Fine details, proportions, faces, text, and materials can change. Use a conventional editing workflow when exact pixels are a requirement, and review any generated image before treating it as an accurate product or identity representation.
This page requires a visual subject reference. Its focus is creating a new scene or variation from existing visual information. If you want to invent a drawing reference from a description alone, use the general Image Generator in text-to-image mode. That gives you a better starting point for a wholly new concept.
Pose Reference AI assigns the second image specifically to body arrangement. The Character Portrait Generator focuses on original role portraits. Here, you define a broader new-scene brief and an optional environment or composition reference. The page does not promise precise pose transfer, character identity locking, or numerical style-strength control.
You can explore the page and prepare a brief before generating. Generation uses your available account credits; the generator displays the calculated requirement for the selected workflow. Sign in to see your balance and the current requirement before submitting. Check that display rather than relying on a fixed amount in a tutorial.
You can download a completed image and upload it as a reference for a later request. Use your task history to review saved generation records and open available outputs. Keep local copies of important references, briefs, and finished images so you can compare versions and continue a project without relying on a small preview.
Use images you own or are permitted to use. Choose clear subjects and avoid private documents or unrelated personal information. For identifiable people, obtain appropriate permission and avoid presenting a fictional scene as something they actually did. The ceramic subject and room examples on this page are original fictional illustrations, with no real brand affiliation.
Upload a subject and optional direction, edit the brief, then generate and review.