AI Portrait Enhancer
Sign In

AI Portrait Enhancer

Upload one authorized adult photo, choose a gentle correction, and keep natural skin, age and expression.

Choosing a direction replaces the notes. Choose first, then add details to preserve.

Upload an Adult Portrait*
Try a Fictional Adult Sample

169 / 600

Copy Protection
Credits required:-
Public VisibilityAllow this result to appear in public inspiration surfaces.

Source, Enhancement Preview and Result

Image

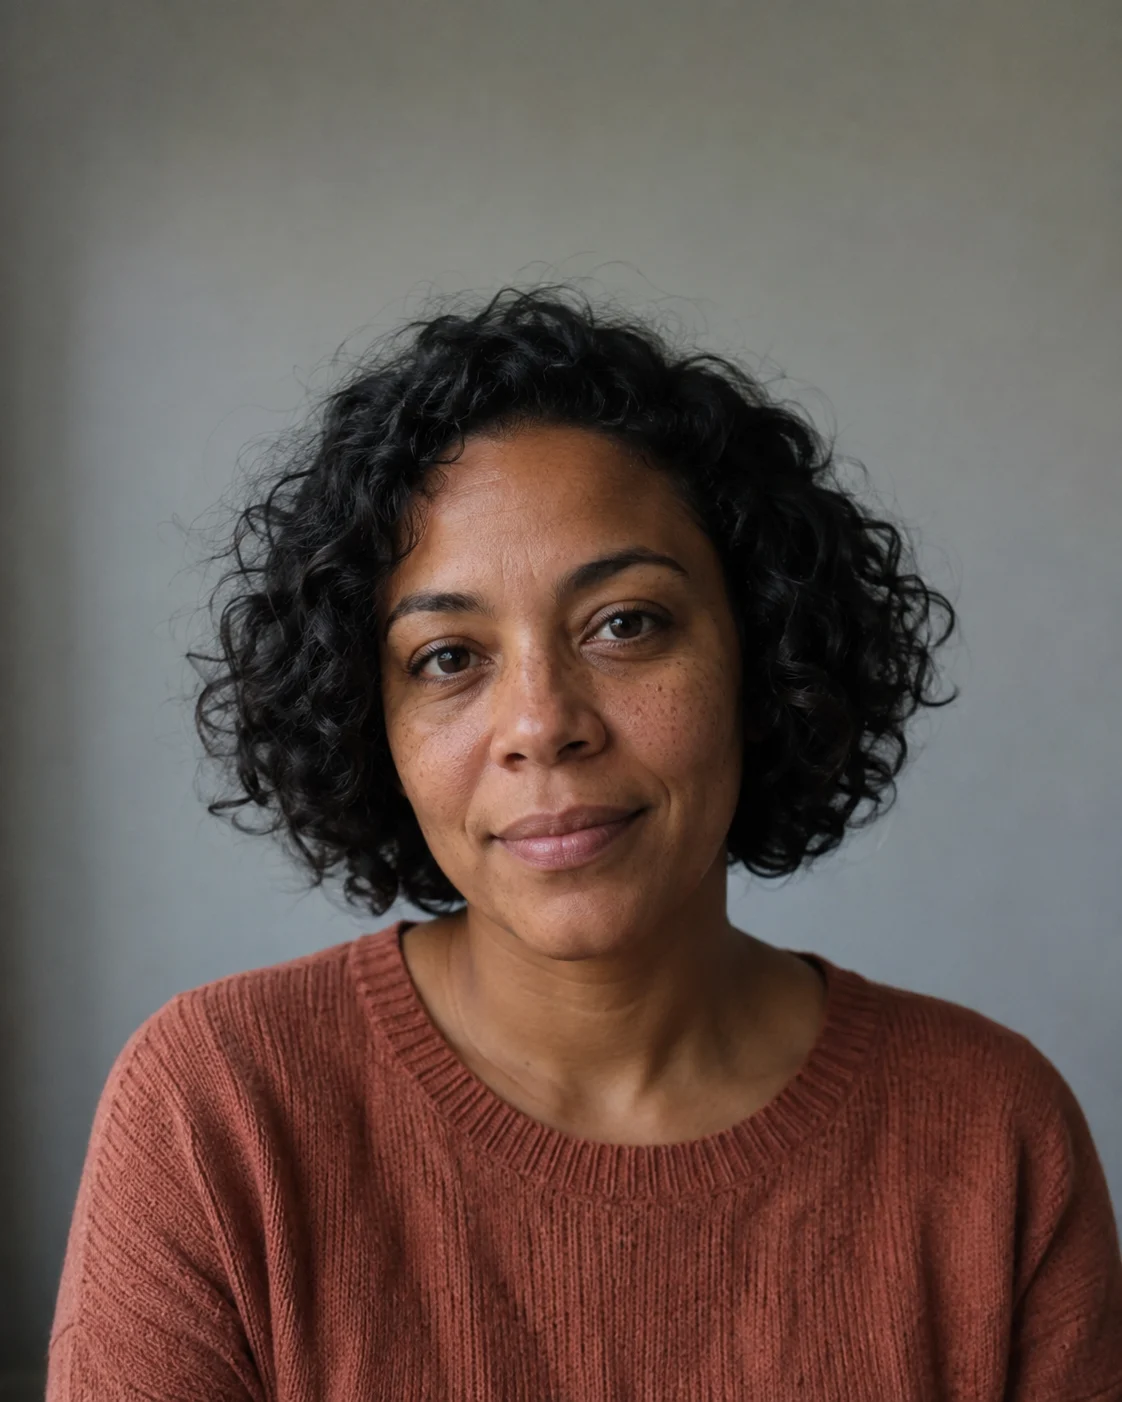
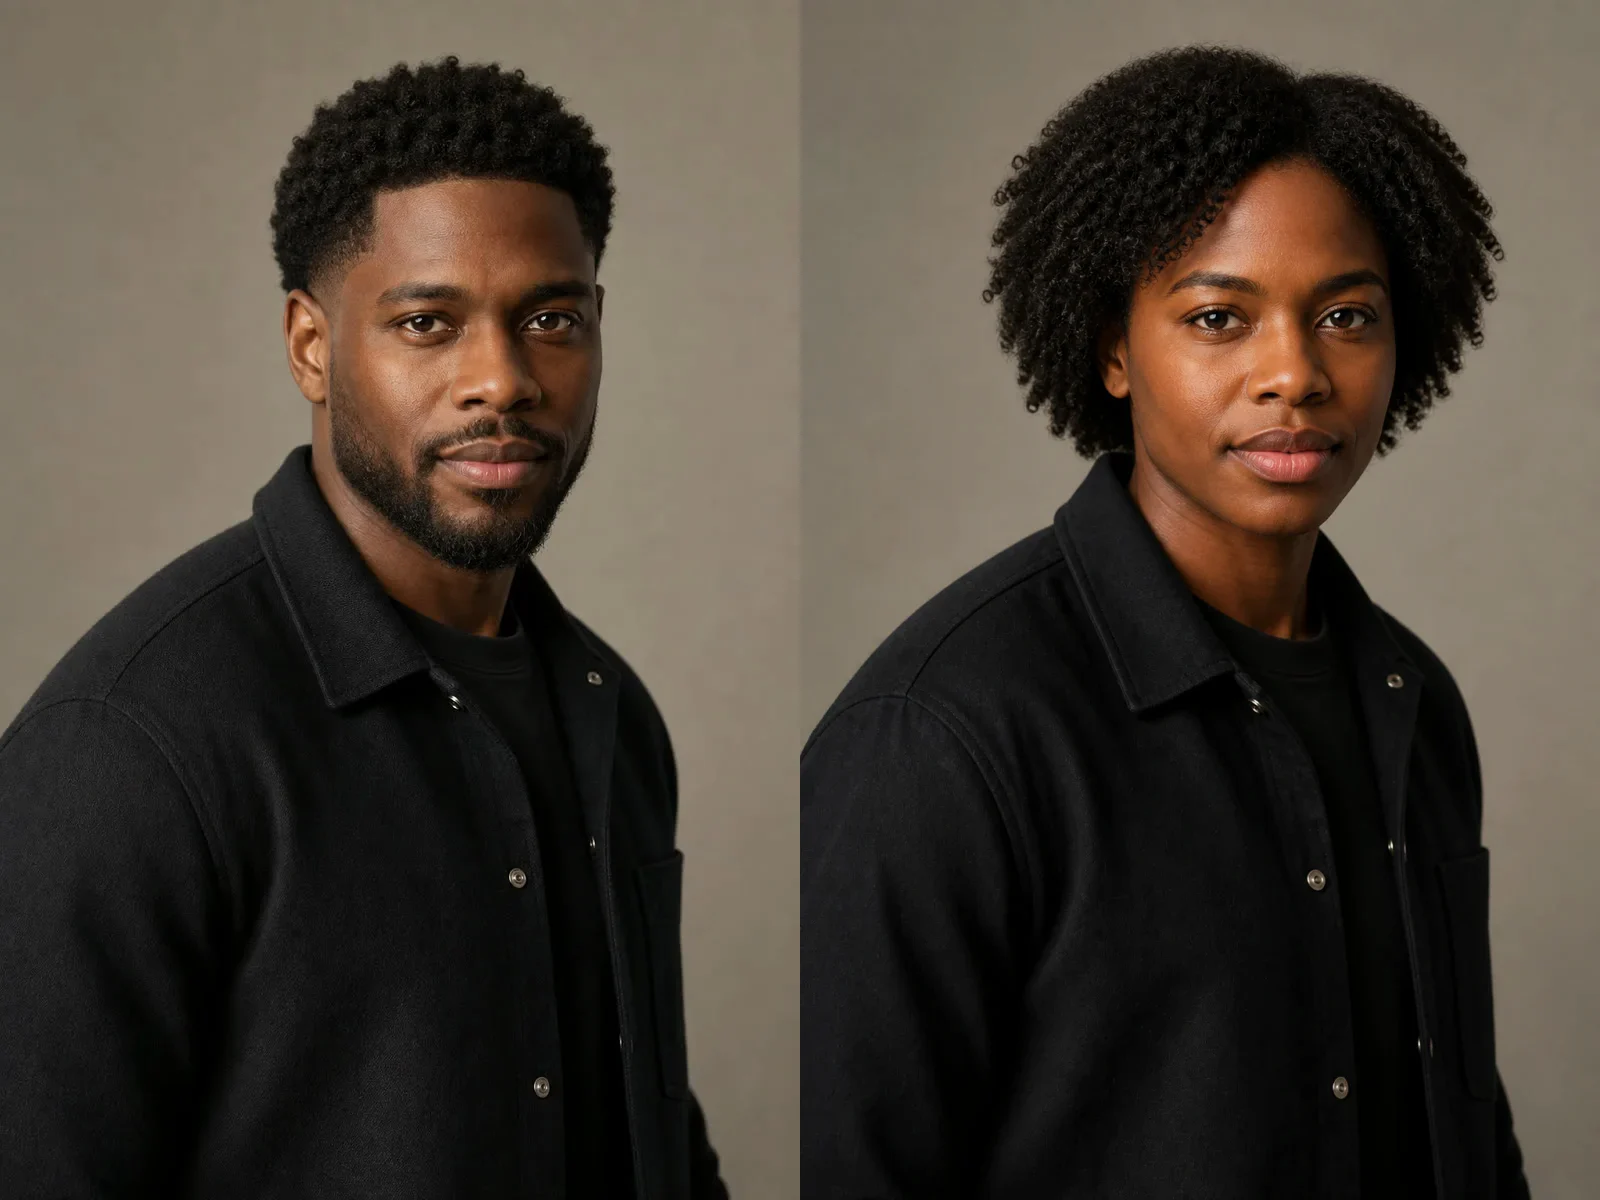
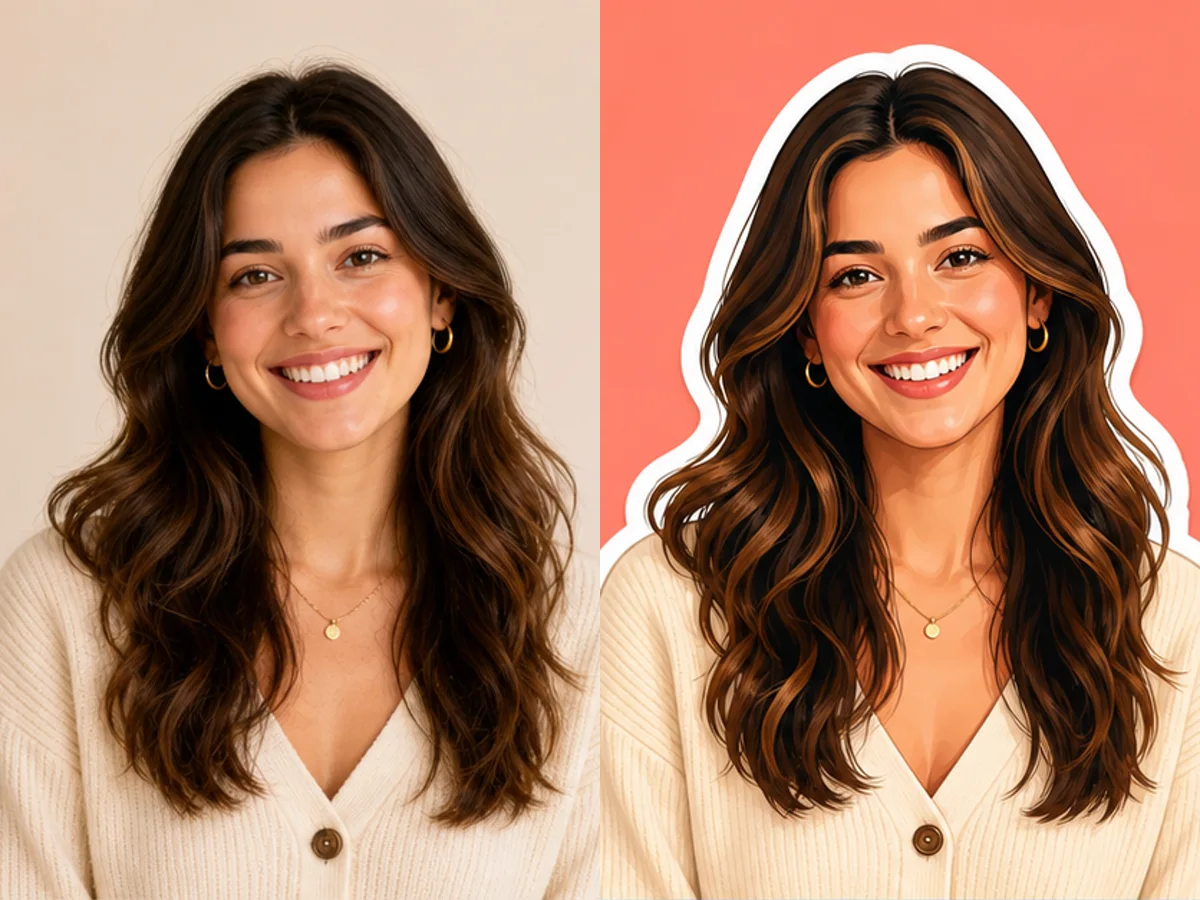
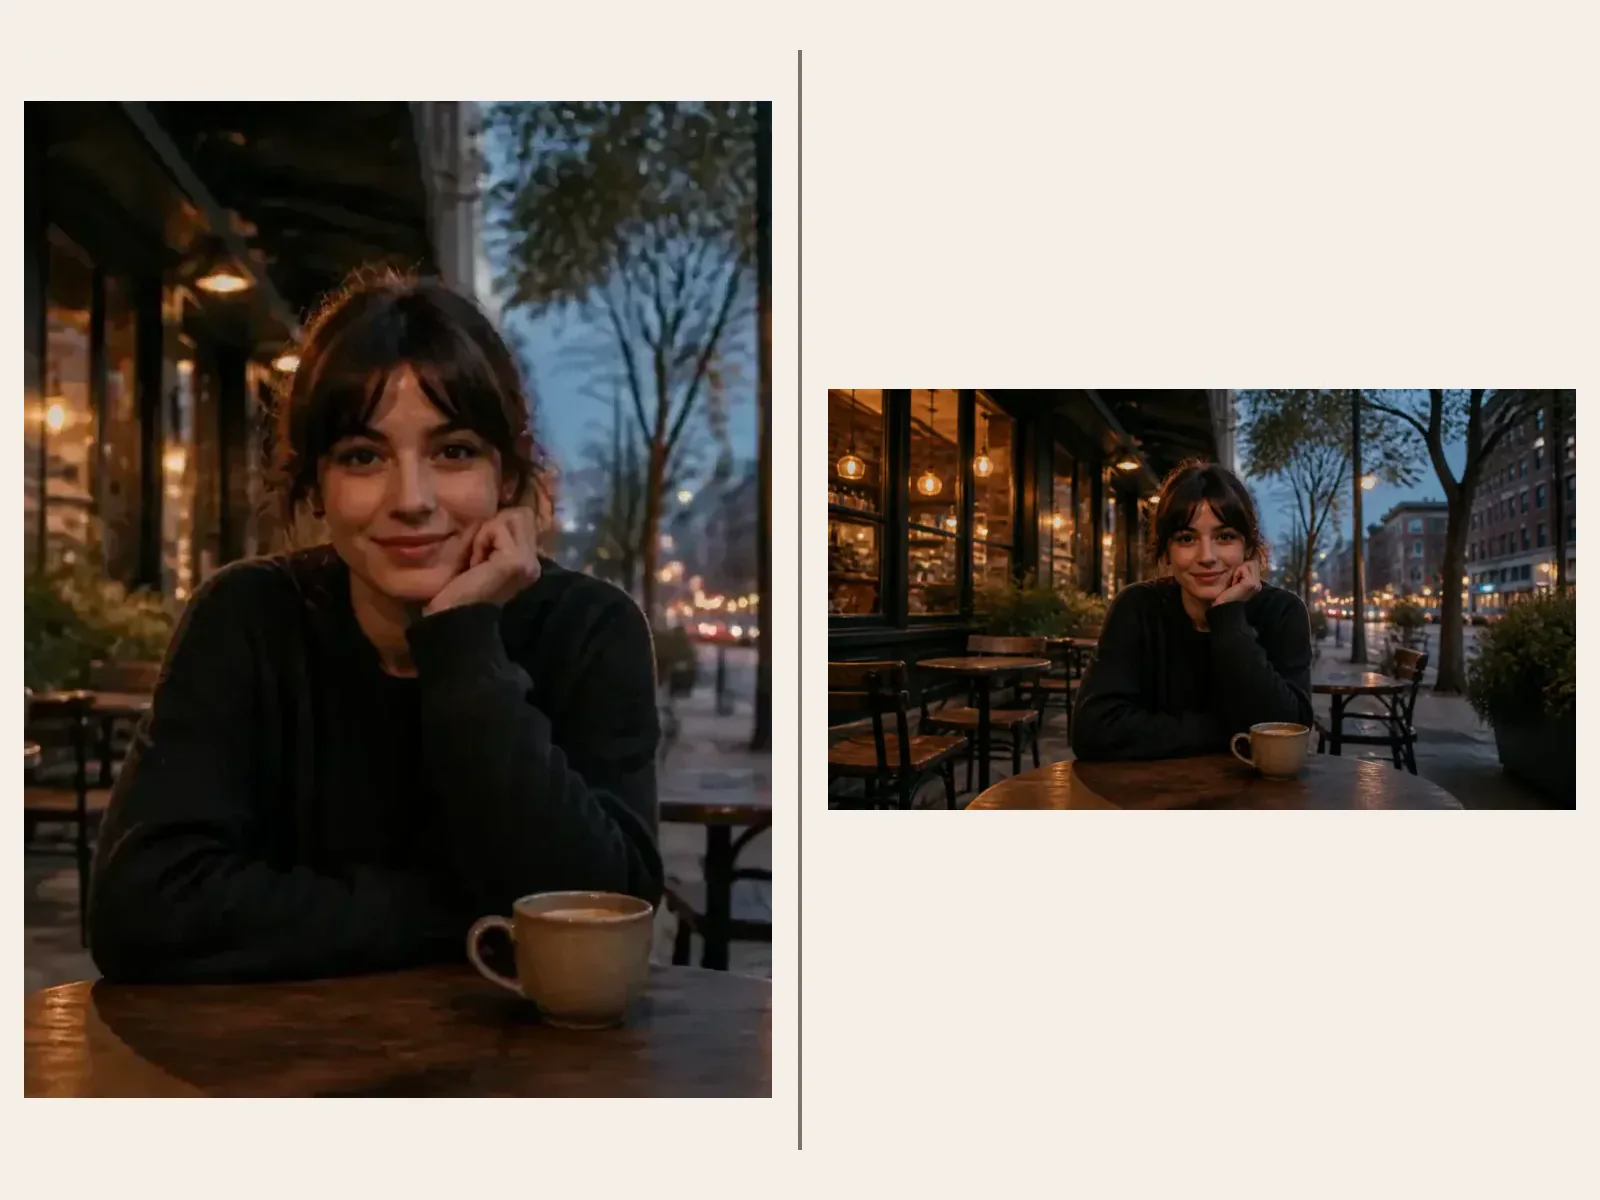
Fictional adult source: Natural Clarity
Illustrative source
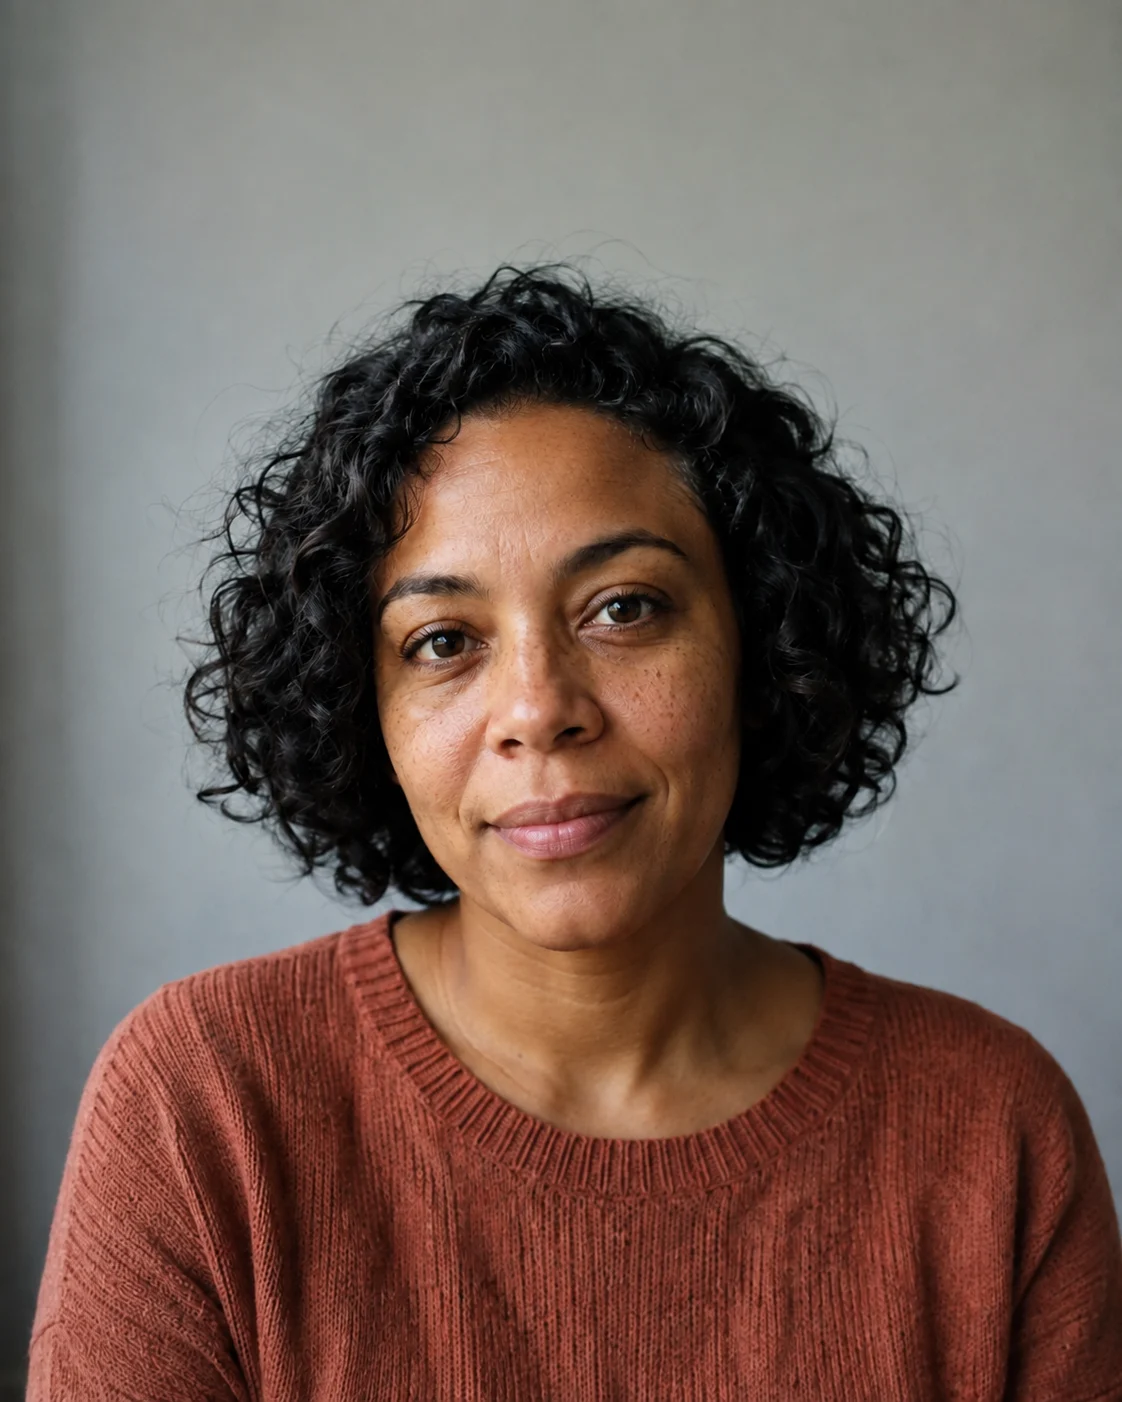
Illustrative enhancement: Natural Clarity
Natural Clarity

A clearer portrait with a considered edit

AI Portrait Enhancer helps you work on a contemporary portrait that is almost ready to use: a little soft, a little dark, or affected by distracting color. Upload one authorized adult photo, choose the main correction, and describe details you want to retain. The goal is a usable version of the photograph you already like, with natural skin, familiar expression and a believable scene. Start with a modest request and judge whether the improvement is worth any change in fine detail. Enhancement uses generative editing, so a convincing result is still an interpretation of the source. It cannot guarantee exact identity, tiny facial marks, or every original pixel.

Choose the problem your portrait actually has

Gentle clarity for a slightly soft face

When a portrait feels soft at its intended display size, ask for a small improvement in readable eye, eyebrow and hair detail. Keep the original expression and avoid turning the whole image into a field of equally sharp edges. Strong sharpening can make eyelashes look drawn on or create bright outlines around glasses. If the source has severe motion blur or a very small face, a sharper-looking result may contain invented detail. A clearer original photograph is usually the better starting point. Judge the face before judging the background.

Light that still belongs to the scene

An indoor portrait may have a good expression but weak visibility on one side of the face. Balanced Light asks for gentler facial midtones while retaining the original light direction. It should not replace a quiet room with a studio setup or erase every shadow. Review the nose shadow, cheek shape, catchlights and neck together: those features explain where the light comes from. When the original has clipped highlights or completely black areas, there may be no reliable detail to recover. A believable adjustment matters more than maximum brightness.

Color balance without changing complexion

Mixed window and indoor light can make a portrait look unusually blue, green or orange. Neutral Color asks for restrained correction across the face, clothing and background. It is not a skin-whitening filter, a makeup replacement, or a way to change ethnicity. Compare the result with your own knowledge of the person and the scene rather than chasing a universal skin color. Warm light can be intentional. Mention that warmth in the notes if it is part of the photograph, and reject a version that looks pale or detached from its surroundings.

Texture without a new face or outfit

Texture Detail focuses on readable strands, beard texture and fabric structure while asking the model to keep natural skin. More texture is not always better: artificial pores, repeated hair patterns and changed stitching can distract from a portrait. Check glasses, earrings and clothing seams as well as the face. This direction does not offer exact text repair or guaranteed jewelry reconstruction. If a small accessory has personal significance, compare it closely and keep the original when the generated interpretation changes its shape.

How to enhance an adult portrait

1. Start with the best original

Choose the original camera file when available instead of a screenshot of a screenshot. Keep the complete head, hair and enough shoulder space in view. A mildly soft or dim image can be useful, but the face should remain readable. Use a photograph you own or have permission to edit. Avoid uploading someone else simply to test a feature without their agreement. Keep a separate original so you can compare decisions and return to the unedited photograph at any point.

2. Choose one correction and write what matters

Select the direction that addresses the largest problem. Use the editable notes to protect visible age, freckles, a beard, glasses, expression, clothing or background. A useful request is concrete: lift the shaded cheek gently and retain the warm room light. Avoid combining enhancement with a new haircut, different outfit and dramatic location change. Those requests turn a focused correction into a creative makeover, making it harder to judge whether the original portrait improved.

3. Generate, compare, then keep a deliberate result

Sign in when prompted and review the current generation cost shown in the tool before submitting. Once the result is available, compare it with the source at both a normal viewing size and a close view. Check the face first, then hair, accessories and the scene. Download the version that remains recognizable and useful. If it needs another attempt, change one instruction rather than repeating a broad request. Each new generation is a separate attempt with its own displayed cost.

Where a subtle portrait improvement helps

Profile photos and creator biographies

A small profile picture needs a readable expression and a crop that leaves room around the head. Test your enhanced portrait at the size people will actually see, including a circular preview in the destination app. A detail that looks impressive when enlarged may disappear at avatar size. Choose balanced light and a calm background over aggressive texture. This tool does not automatically create every platform crop, so check the final framing before replacing a profile photo.

Team pages and speaker portraits

Existing headshots often differ in brightness or color because they were made on different days. A restrained correction can help one image sit more comfortably beside the others without manufacturing a completely different person. Agree on the edit with the subject and keep visible age and natural complexion. Use the result as an edited photograph, and avoid presenting it as an untouched camera original. If exact documentary accuracy is required, use a conventional editing workflow with explicit review instead.

Personal portraits you already like

Sometimes the expression matters more than technical perfection: a relaxed portrait from a meal, a trip or a familiar room may only need a little help. Ask for the smallest change that makes it easier to see. Keep atmospheric shadows, real skin and the original clothing when they belong to the memory. For a damaged historical scan with scratches or fading, use the separate photo restoration workflow. Modern portrait enhancement should not quietly rewrite the story or period of a photograph.

A practical source-to-result review

Compare familiarity before sharpness

Look at eye spacing, smile shape, nose outline, face width and visible age before inspecting pores. Check whether freckles or moles moved, whether teeth changed, and whether glasses still sit naturally. These checks cannot establish identity scientifically; they help you notice an unwanted creative change. If the portrait looks sharper but less like the person, it is not a useful enhancement for that purpose. Keep the original or try a narrower instruction rather than treating a polished finish as proof of accuracy.

Check the edges and the destination

Inspect hair against the background, the collar against the neck and any straight lines behind the person. Bright halos, melted jewelry or wavy seams are reasons to reject an output. Then view the portrait in its intended placement: an avatar, biography card or presentation. Do not assume more pixels mean a more faithful result, and do not promise a print size without checking the actual downloaded file. The tool generates an enhanced interpretation rather than guaranteeing a fixed enlargement factor or a lossless export of every original detail.

Write enhancement notes that guide a restrained result

Name the details you want to keep

A useful enhancement note separates the part that needs attention from the parts that already work. For example: gently reduce softness, keep the freckles on the left cheek, retain the original smile and silver earrings, and preserve the window light. This gives the model a specific correction while naming areas that should not change casually. Use simple visible descriptions rather than asking an algorithm to judge personality, health or other traits a photograph cannot establish. Concrete details also give you a practical acceptance check after generation; a broad request for a perfect repair does not tell you which tradeoffs to accept.

Narrow the request when an output goes too far

If the first result makes the face too smooth, ask to retain visible pores and age lines while limiting detail changes to hair or clothing. If the lighting no longer feels like the room, reduce the requested lift and keep one side in shadow. An unsatisfactory result does not necessarily need a longer string of adjectives. Asking for sharpness, contrast, vivid color and professional studio lighting together can push the edit away from the photograph you intended to improve. Change one variable per attempt so the comparison tells you which instruction helped.

Know when another source is the better choice

When repeated outputs change the eyes, teeth, facial shape or a meaningful accessory, choose a clearer original or an editor that gives you direct local adjustment controls. More attempts do not establish that reconstructed details are true, and they do not prove missing information has been recovered. Keeping a photograph you already like is a valid choice. For uses that depend on an accurate record of a person or event, retain a verifiable source and disclose generative processing. The aim of this page is a considered visual improvement, not an obligation to replace every original with an AI version.

Choose the right photo workflow

Old Photo Restoration

Repair scan damage, fading and archival texture in an old photograph.

Old Photo Restoration

AI Portrait Enhancer FAQ

Will it preserve my exact identity and every small feature?

No. The instructions prioritize a recognizable person and natural proportions, but generative enhancement can change facial details, markings or accessories. Compare carefully and do not use the output as identity evidence. Pixel-level locking is not offered.

Can it fix a severely blurred or missing face?

A very blurred, hidden or tiny face does not contain enough reliable information for faithful recovery. AI may invent a plausible face instead. Use a clearer source; this is not forensic restoration and does not recover missing evidence.

How is this different from old photo restoration?

Portrait enhancement addresses mild softness, light and color in contemporary adult photos. Old photo restoration focuses on scratches, fading, scan damage and period texture. Pick the workflow that matches the source rather than asking this page to rebuild a historical image.

Does it create a new professional or fantasy headshot?

The request here is to improve an existing portrait while keeping the scene and attire as closely as possible. For a role, costume or imaginary world, choose the character portrait generator. Changes to career clothing or background are creative edits, not simple enhancement.

Will it smooth wrinkles or whiten my skin?

The default instructions ask to keep natural complexion, pores, freckles and visible age. Avoid beauty-filter language when you want a faithful impression. Review every output because instructions reduce unwanted changes but cannot eliminate them completely.

Is portrait enhancement free?

You can explore the page before generating. Generation uses NanoPic credits; sign-in, available balance and current access rules apply. Read the live cost in the generator before you submit. This page does not promise unlimited free generations.

Can I use it on mobile and find my result later?

The tool runs in a browser on mobile and desktop. Keep your original photo and use Generation History to revisit completed tasks when signed in. Open the actual result before downloading or sharing, since a thumbnail alone is not enough to evaluate facial detail.

Are the examples real product test results?

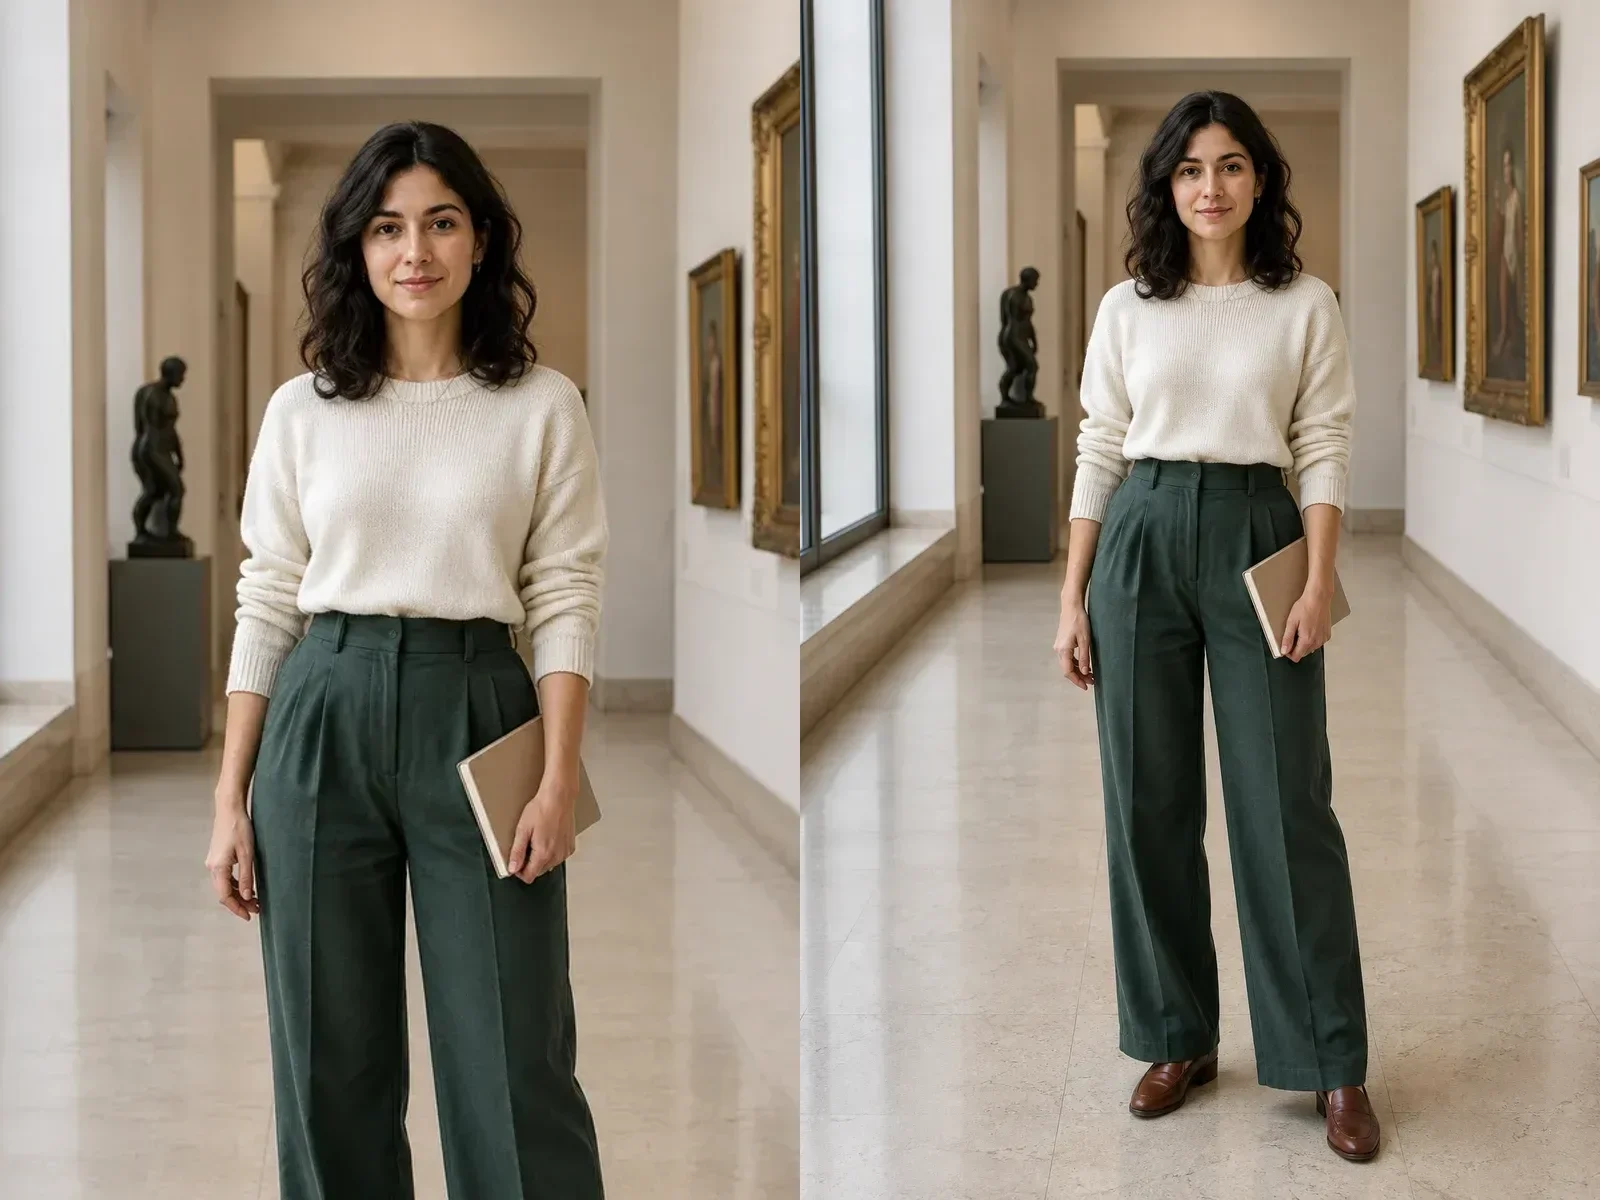
The page examples are illustrative before-and-after studies using fictional adults. They show the intended degree of correction, not a guaranteed outcome for your photo. Your result depends on the source image, selected direction and instructions; inspect your own output.

Start with one considered portrait correction

Keep your original, make a specific request, and choose the result that remains useful and familiar.