



















































Save up to 73% on plans

Photo to Coloring Page
Sign In

Photo to Coloring Page

Upload a clear portrait, pet or object photo to make a black-and-white coloring sheet. Review the outlines, then download the image for printing.

Upload a Photo*
Try Sample Images
Copy Protection
Public VisibilityAllow this result to appear in public inspiration surfaces.

Photo to Coloring Page

Image

AI output preview
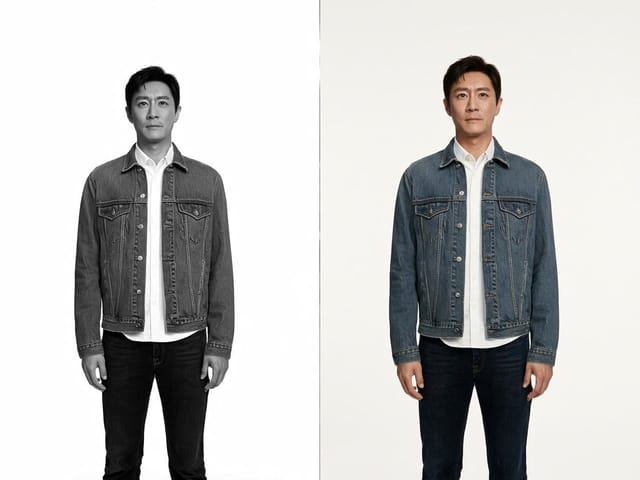
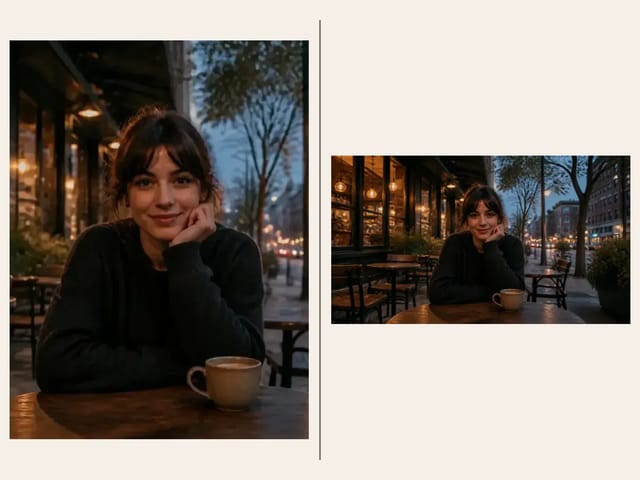
Input
AI output preview
Output

More AI Image Models & Effects

Browse every other AI image model and effect published on this site in a continuous carousel.

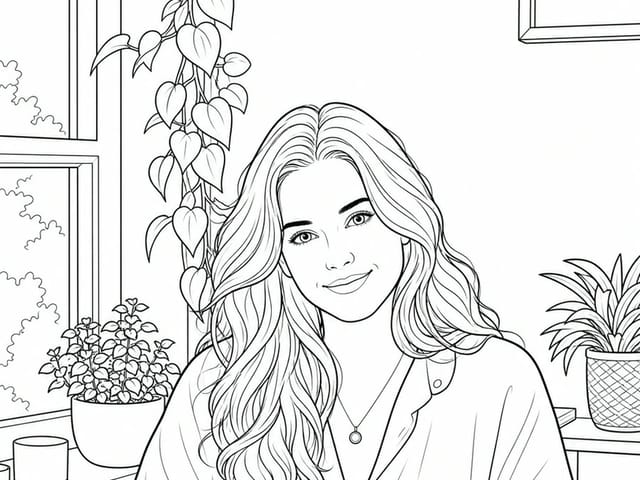
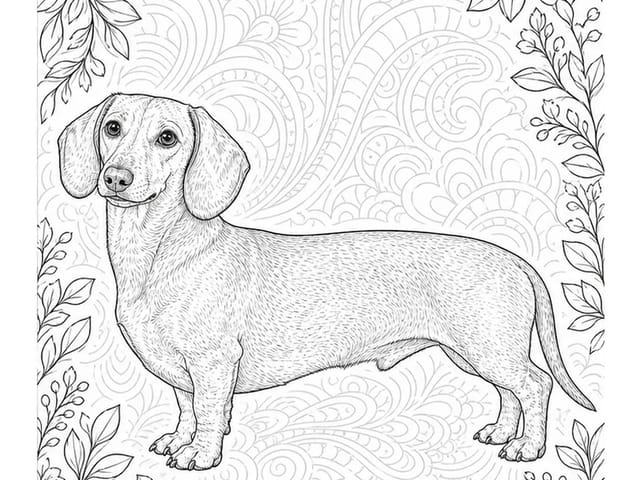
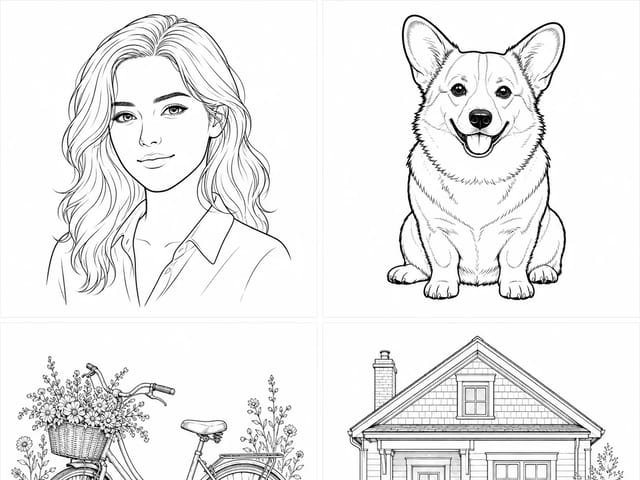
A black-and-white coloring sheet from your photo

Preserve the subject and pose while simplifying texture into readable closed outlines. Pets, portraits and everyday objects become personal coloring activities. The result is a raster image, not a vector or pre-sized PDF. Inspect small details and set print scale in your printer dialog.

See the original example and result

The sample characters, input photographs and reference scenes were newly generated with AI for NanoPic.

Black-and-white coloring sheet

The sample characters, input photographs and reference scenes were newly generated with AI for NanoPic. Preserve the subject and pose while simplifying texture into readable closed outlines. Pets, portraits and everyday objects become personal coloring activities.

Try My Photo
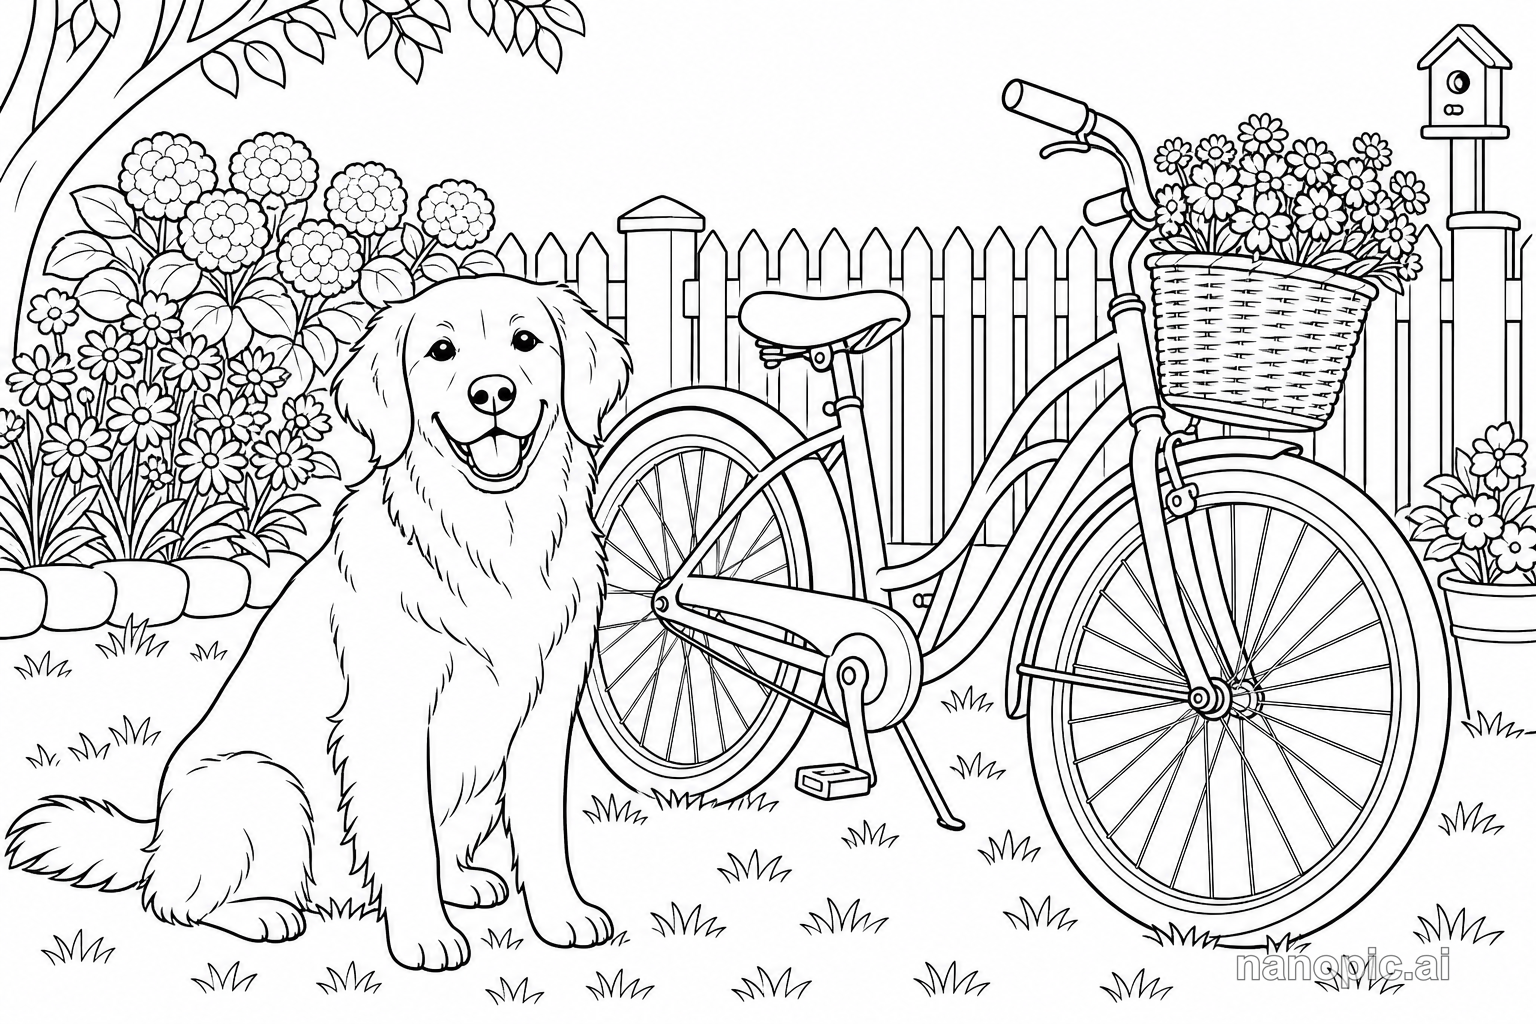
black-and-white coloring sheet

How it works

1. Choose a clear reference

Start with an in-focus photograph, an unobstructed subject and even lighting. Try the sample to understand the transformation, then use your own image. A clean input makes the result easier to judge.

2. Check the roles and credit estimate

Preview the uploaded image and make sure the important subject is not cropped out. Check the displayed model, settings and credit requirement before submitting.

3. Review and download

When the task finishes, inspect the complete output before downloading. Your generation history keeps the task available if you leave the page. Check the existing task before submitting the same input again.

Choose inputs that make the result readable

Subject and edges

Keep the complete subject inside the frame. Avoid cutting off faces, hands, ears or important object edges. A less crowded background helps separate the subject from details the model might interpret differently.

Review the transformation

The result is a raster image, not a vector or pre-sized PDF. Inspect small details and set print scale in your printer dialog.

Allow for variation

AI can change small details, proportions or movement. The example demonstrates a particular input and output, not a promise that every photograph will behave identically. Check important details at full size before sharing.

A practical guide to choosing, creating and reviewing

Choose a subject that leaves room to color

A useful coloring sheet has areas a person can fill with a pencil, marker or crayon. Start with one clear subject rather than a photograph full of tiny competing details. A pet sitting on a simple background, a favorite toy or a recognizable portrait can give the page a strong center. Look for shapes that will still make sense when color and texture are removed. Fur, grass, patterned clothing and shelves of small objects may create more lines than you want. You do not have to find a completely empty background, but a less crowded photograph gives the transformation a clearer focus. Before uploading, imagine the picture as outlines only. If the main subject would disappear into many similar edges, choose a closer image or a simpler scene. The aim is a pleasant activity, not an inventory of every detail in the photograph.

Match the detail to the person doing the coloring

Think about the intended activity before you select the photo. Large, open shapes are easier to fill quickly, while a detailed subject can suit someone who enjoys slower, more careful coloring. The template does not offer a guaranteed age-specific difficulty setting, so the input and your review matter. A close photograph of one toy may work better for a short activity than a wide picture of an entire room. For a family keepsake, recognizable features can matter more than a large number of decorative lines. For a classroom activity, a single object connected to the lesson can be easier to discuss than an unrelated busy scene. Look at the generated page before printing several copies. You can decide whether its spaces and details suit the person who will use it instead of relying on a generic easy or hard label.

Understand how an outline differs from a sketch

This workflow aims for black-and-white coloring outlines, simplifying photographic texture into shapes that can be filled. A decorative pencil sketch may look attractive while containing shading and crosshatching that leave little room for color. A coloring sheet has a different job. When you inspect the output, look for readable boundaries, reasonably open areas and a subject that remains recognizable without gray tonal detail. Some small features may be simplified or interpreted differently, particularly around hair, fur and overlapping objects. That is why the result should be reviewed as a new drawing rather than treated as a pixel-perfect tracing. If you mainly want expressive shading or an artistic portrait, another illustration effect may suit you better. Here, the practical question is whether someone can comfortably understand and color the shapes on the page.

Check closed shapes and recognizable features

Open the finished image at a size close to the one you plan to print. Tiny gaps may be easy to miss in a thumbnail, while dense lines can merge together when reduced. Check the outline of the face, the eyes, the ears or any feature that makes the subject familiar. For a pet, look at the muzzle and legs; for a toy, check that its main parts are still attached sensibly. A coloring page does not need photographic precision, but it should not become confusing. Look for closed or clearly understandable areas where color can go. If several boundaries run into each other, decide whether the page is still enjoyable or whether a simpler input would work better. One quick review can prevent a whole set of printed sheets from becoming an activity that is frustrating to use.

Print the raster image at a sensible scale

The download is an image, not a vector drawing or a ready-sized multipage PDF. Use your printing application to choose the paper size, margins and scaling. A fit-to-page option can help keep the full drawing inside the printable area, but check the preview so that the subject does not become unexpectedly small. Avoid stretching the width and height independently, which can distort faces or objects. If you want a smaller activity card, test whether the fine lines remain readable at that size. Print one copy first when preparing a class, party or family activity. Printer settings, paper and ink can change how light lines appear, so a screen preview is not a complete substitute for a test print. Keep the original downloaded file in case a later edit or export reduces the quality.

Build personal activities around familiar photographs

The most useful reason to convert a photo is often the connection to something familiar. A child may enjoy coloring the family pet, while an adult may want a quiet activity based on a favorite object or a memory. For a party, individual photos can make separate activity sheets without requiring everyone to color the same scene. For a lesson, the source can be an object the group has just discussed or observed. Choose photographs you are allowed to use and be thoughtful about sharing images of other people. This tool creates the outline image; organizing a booklet, adding names or placing several sheets in a printable document happens in your own layout software. Keeping those steps separate makes it easier to review each drawing before building a larger collection around it.

Improve the source when outlines become too busy

If the page contains too many small areas, try a closer photograph of the same subject or a version with fewer objects behind it. If a face loses its expression, choose an image where the facial features are larger and evenly lit. If important edges disappear, avoid a source where the subject and background have nearly identical tones. These changes address the information the model receives rather than expecting a repeat of the same image to solve everything. Compare the outputs at the same intended print size, because a page that looks more detailed on screen may be less usable on paper. Check the credit requirement before generating another version. Images created with free credits include the NanoPic watermark; paid-credit generations do not add that watermark. Choose the appropriate generation before printing the version you intend to use.

Choose between converting a photo and inventing a coloring scene

Use this page when you already have a photograph and want its subject to become the center of a coloring activity. The source image gives you a recognizable starting point, even though details can change in the transformation. If you want to invent an illustration from a broader idea rather than preserve a photographed subject, the general coloring page generator is a different starting point. If the goal is a comic sequence or another visual style, choose the relevant photo effect instead of asking coloring outlines to do that job. After generation, the most important checks remain practical: can you recognize the subject, are there enjoyable areas to fill, and does the page print clearly? A simple drawing that answers those questions well is more useful than a heavily detailed result that only looks impressive in a preview.

Photo to Coloring Page questions

What will I receive?

You receive a black-and-white coloring sheet. The result is a raster image, not a vector or pre-sized PDF. Inspect small details and set print scale in your printer dialog.

Do I need to write a prompt?

No. Upload the required photograph or photos and start the generation. NanoPic applies this effect automatically, so you can focus on choosing the subject and reviewing the result.

Which photos should I use?

Use a clear photograph you have permission to use. Keep the important subject inside the frame and choose an input that fits this effect. Check the preview before submitting.

Does generation use credits?

Each generation consumes the displayed credits. Images generated with free credits include a NanoPic watermark; paid-credit generations do not add that watermark.

How is this different from nearby tools?

This page focuses on turning an existing photo into coloring outlines. The general AI Coloring Page Generator serves broader illustration ideas.

Choose a related creative workflow

Choose by the input you have and the result you want to make.

Clean printable line art from the AI coloring page generator

Create coloring illustrations

Compare the example and input requirements before choosing a workflow for your idea.

Explore tool
Explore photo effects

Explore photo effects

Compare the example and input requirements before choosing a workflow for your idea.

Explore tool

Start with your own photo

Review the example, choose your input and check the credit estimate.