







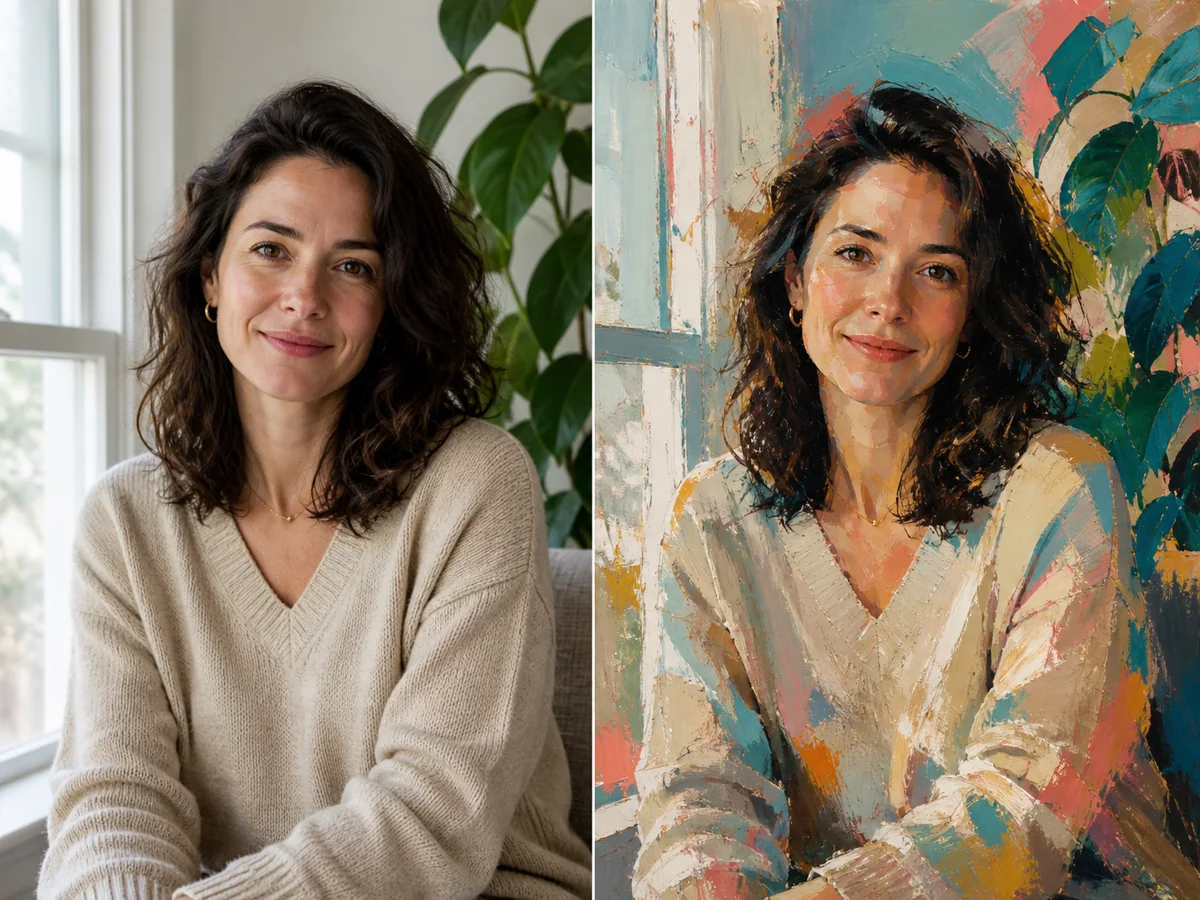
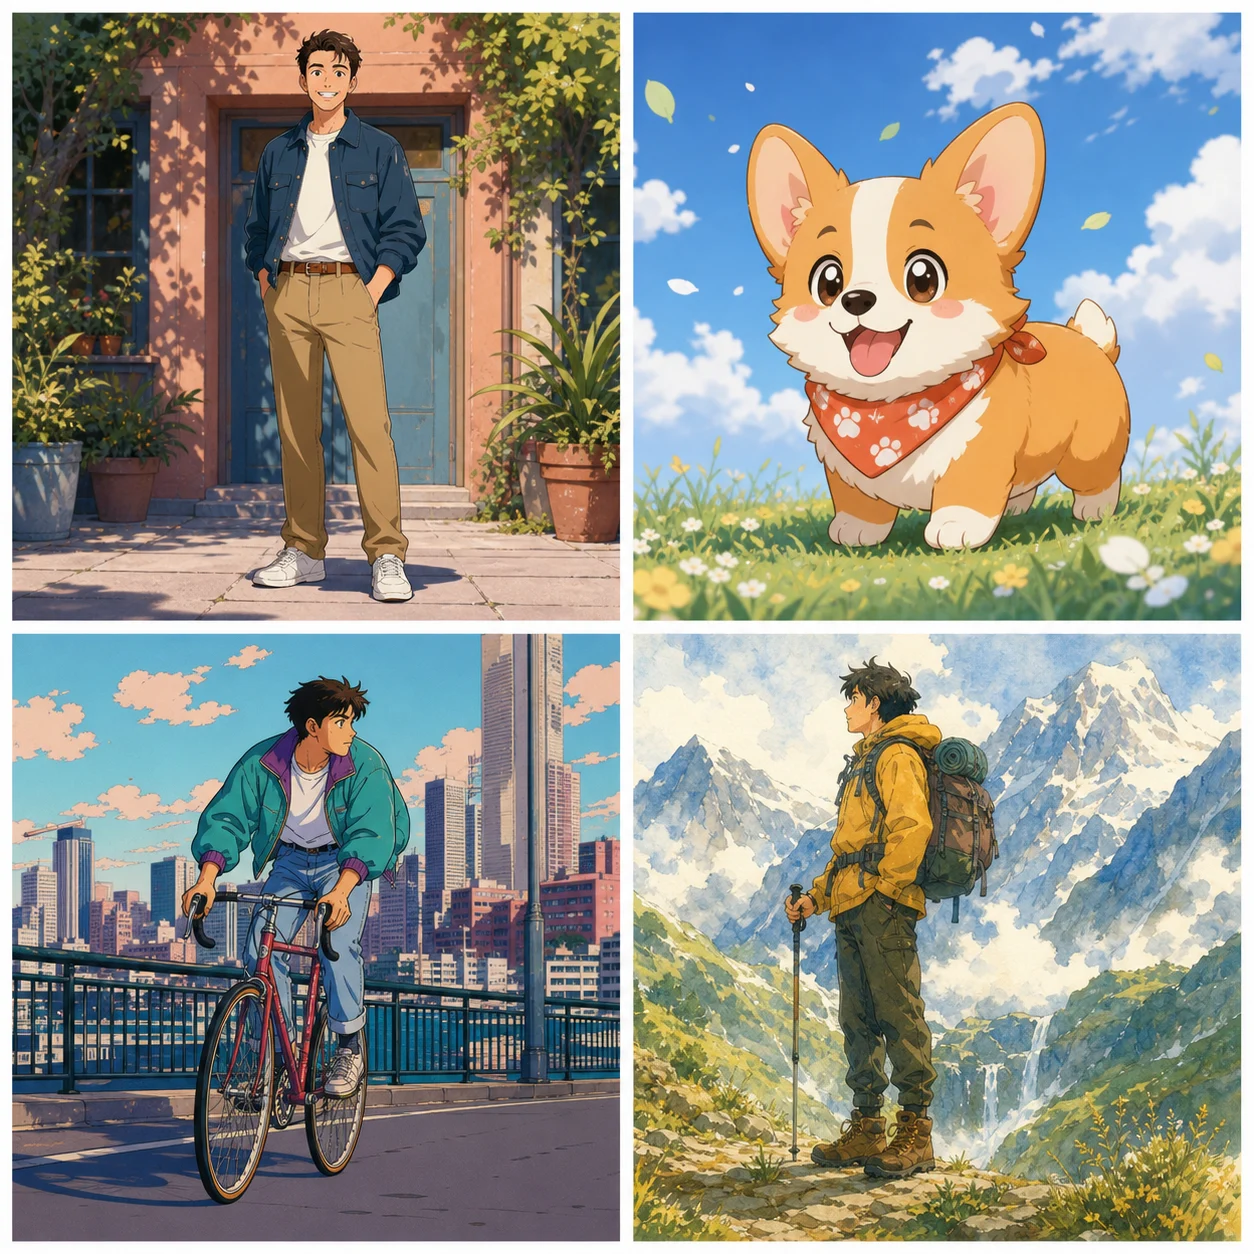
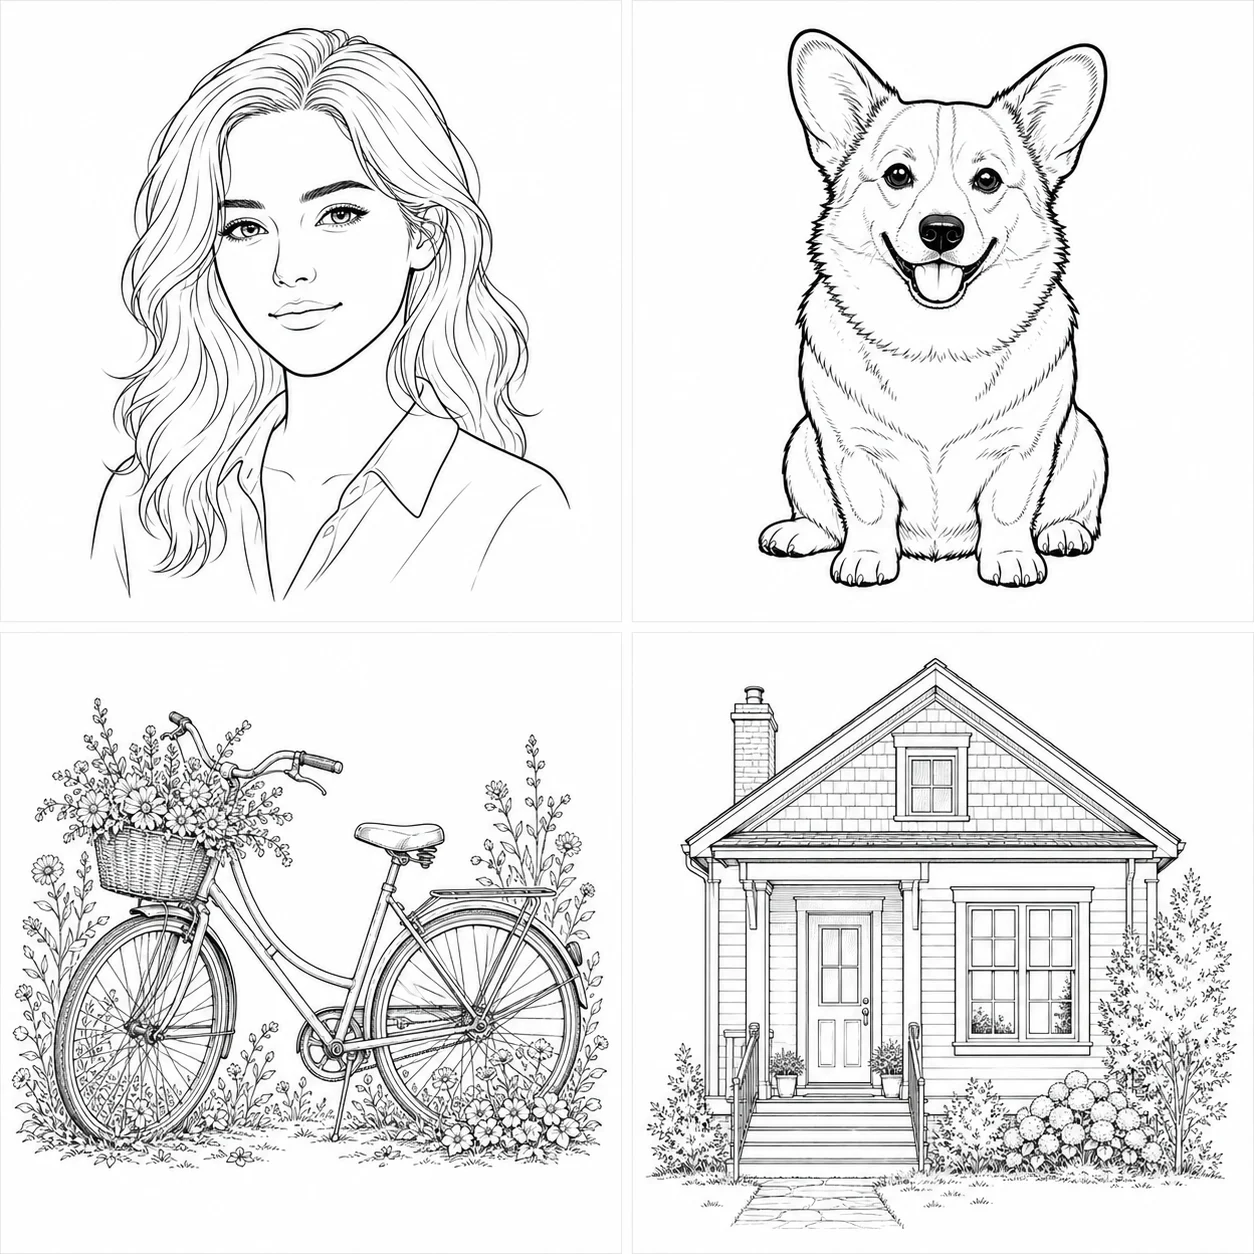
Photo and Portrait Stitch Art
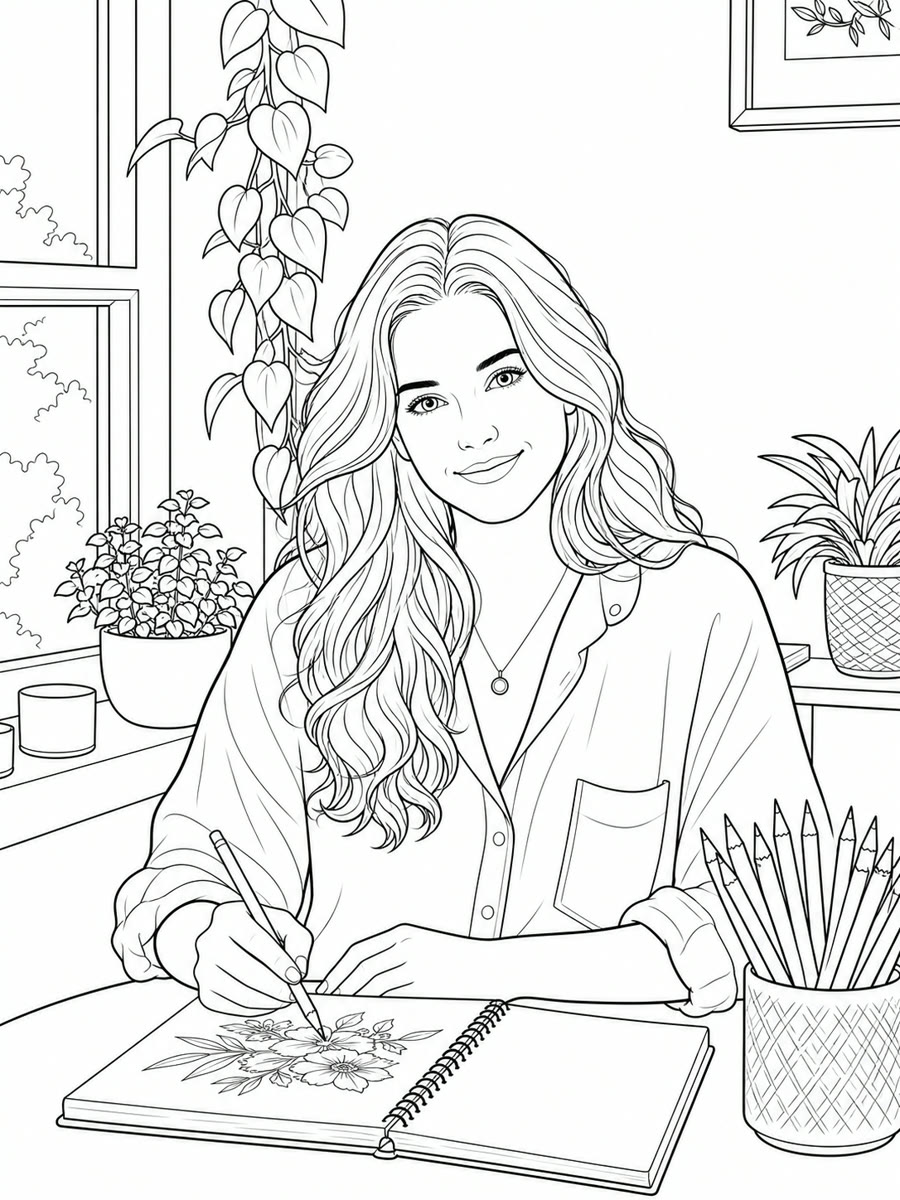
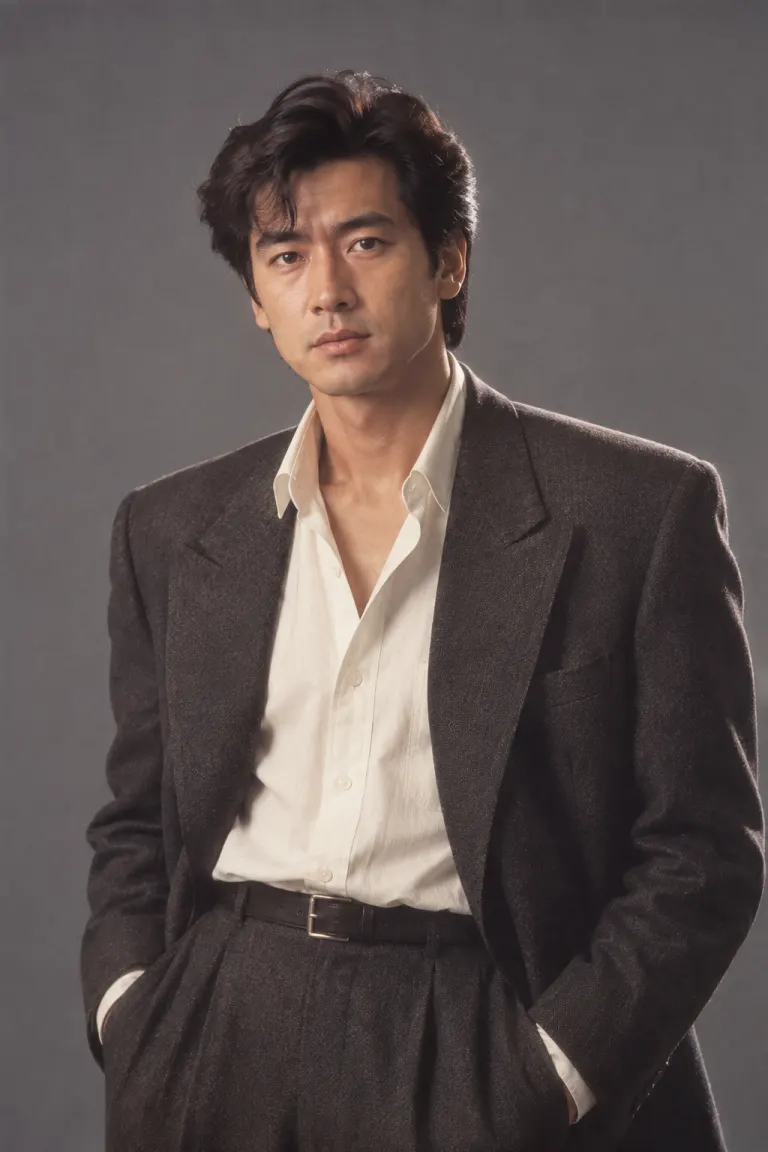
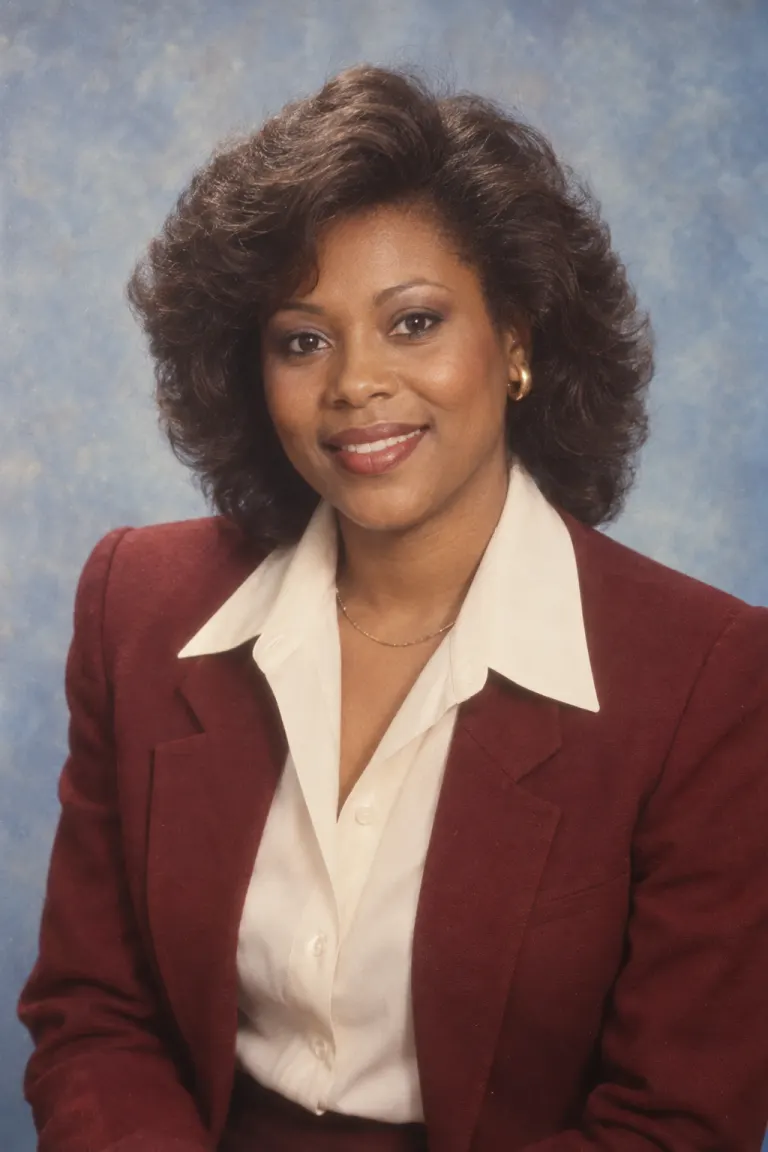
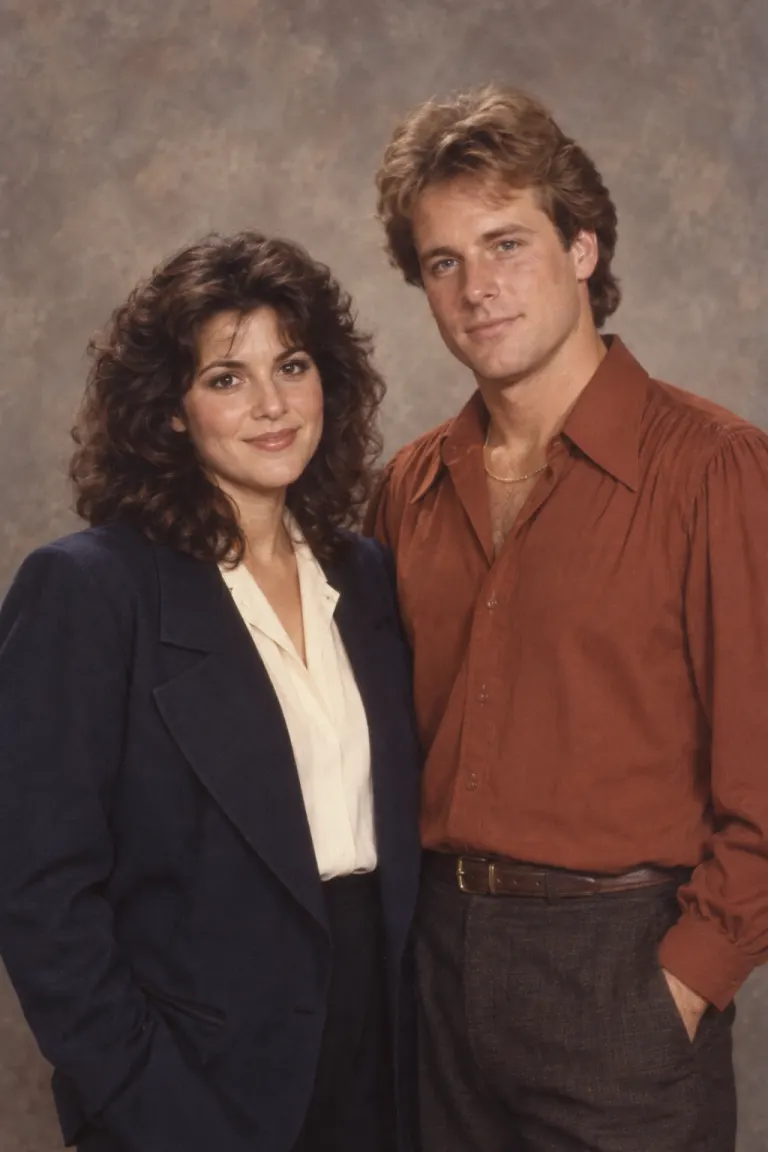
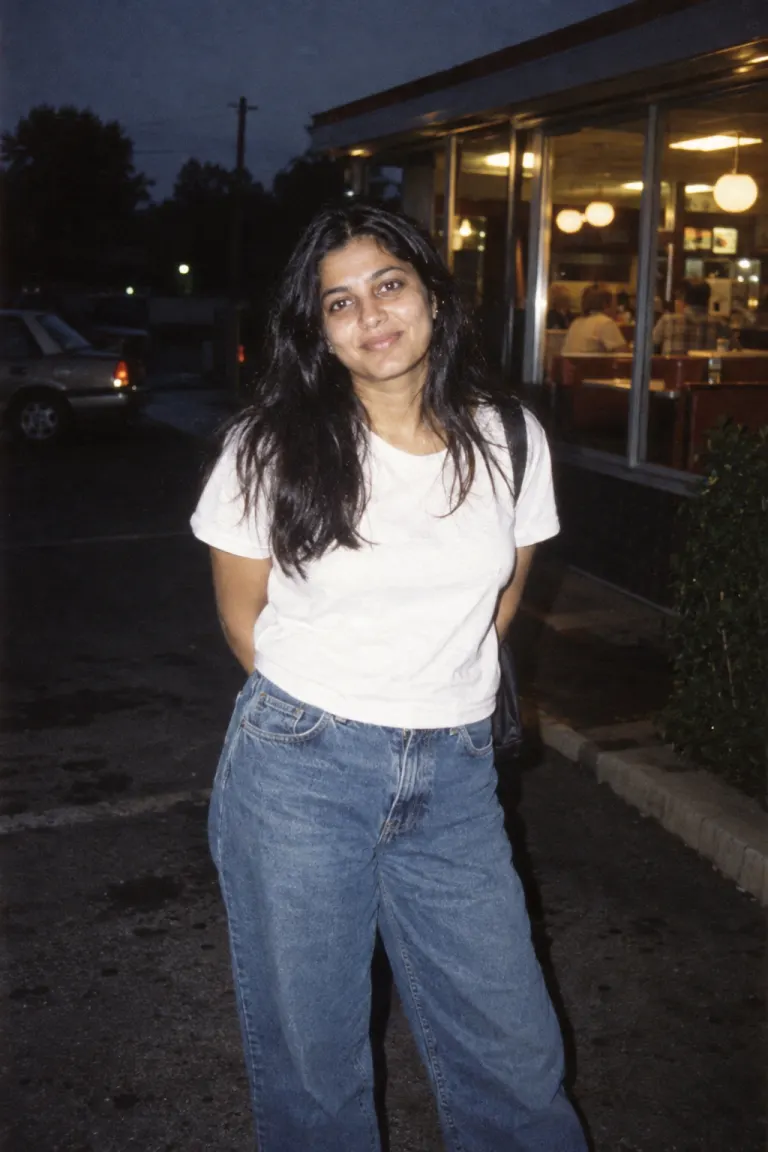
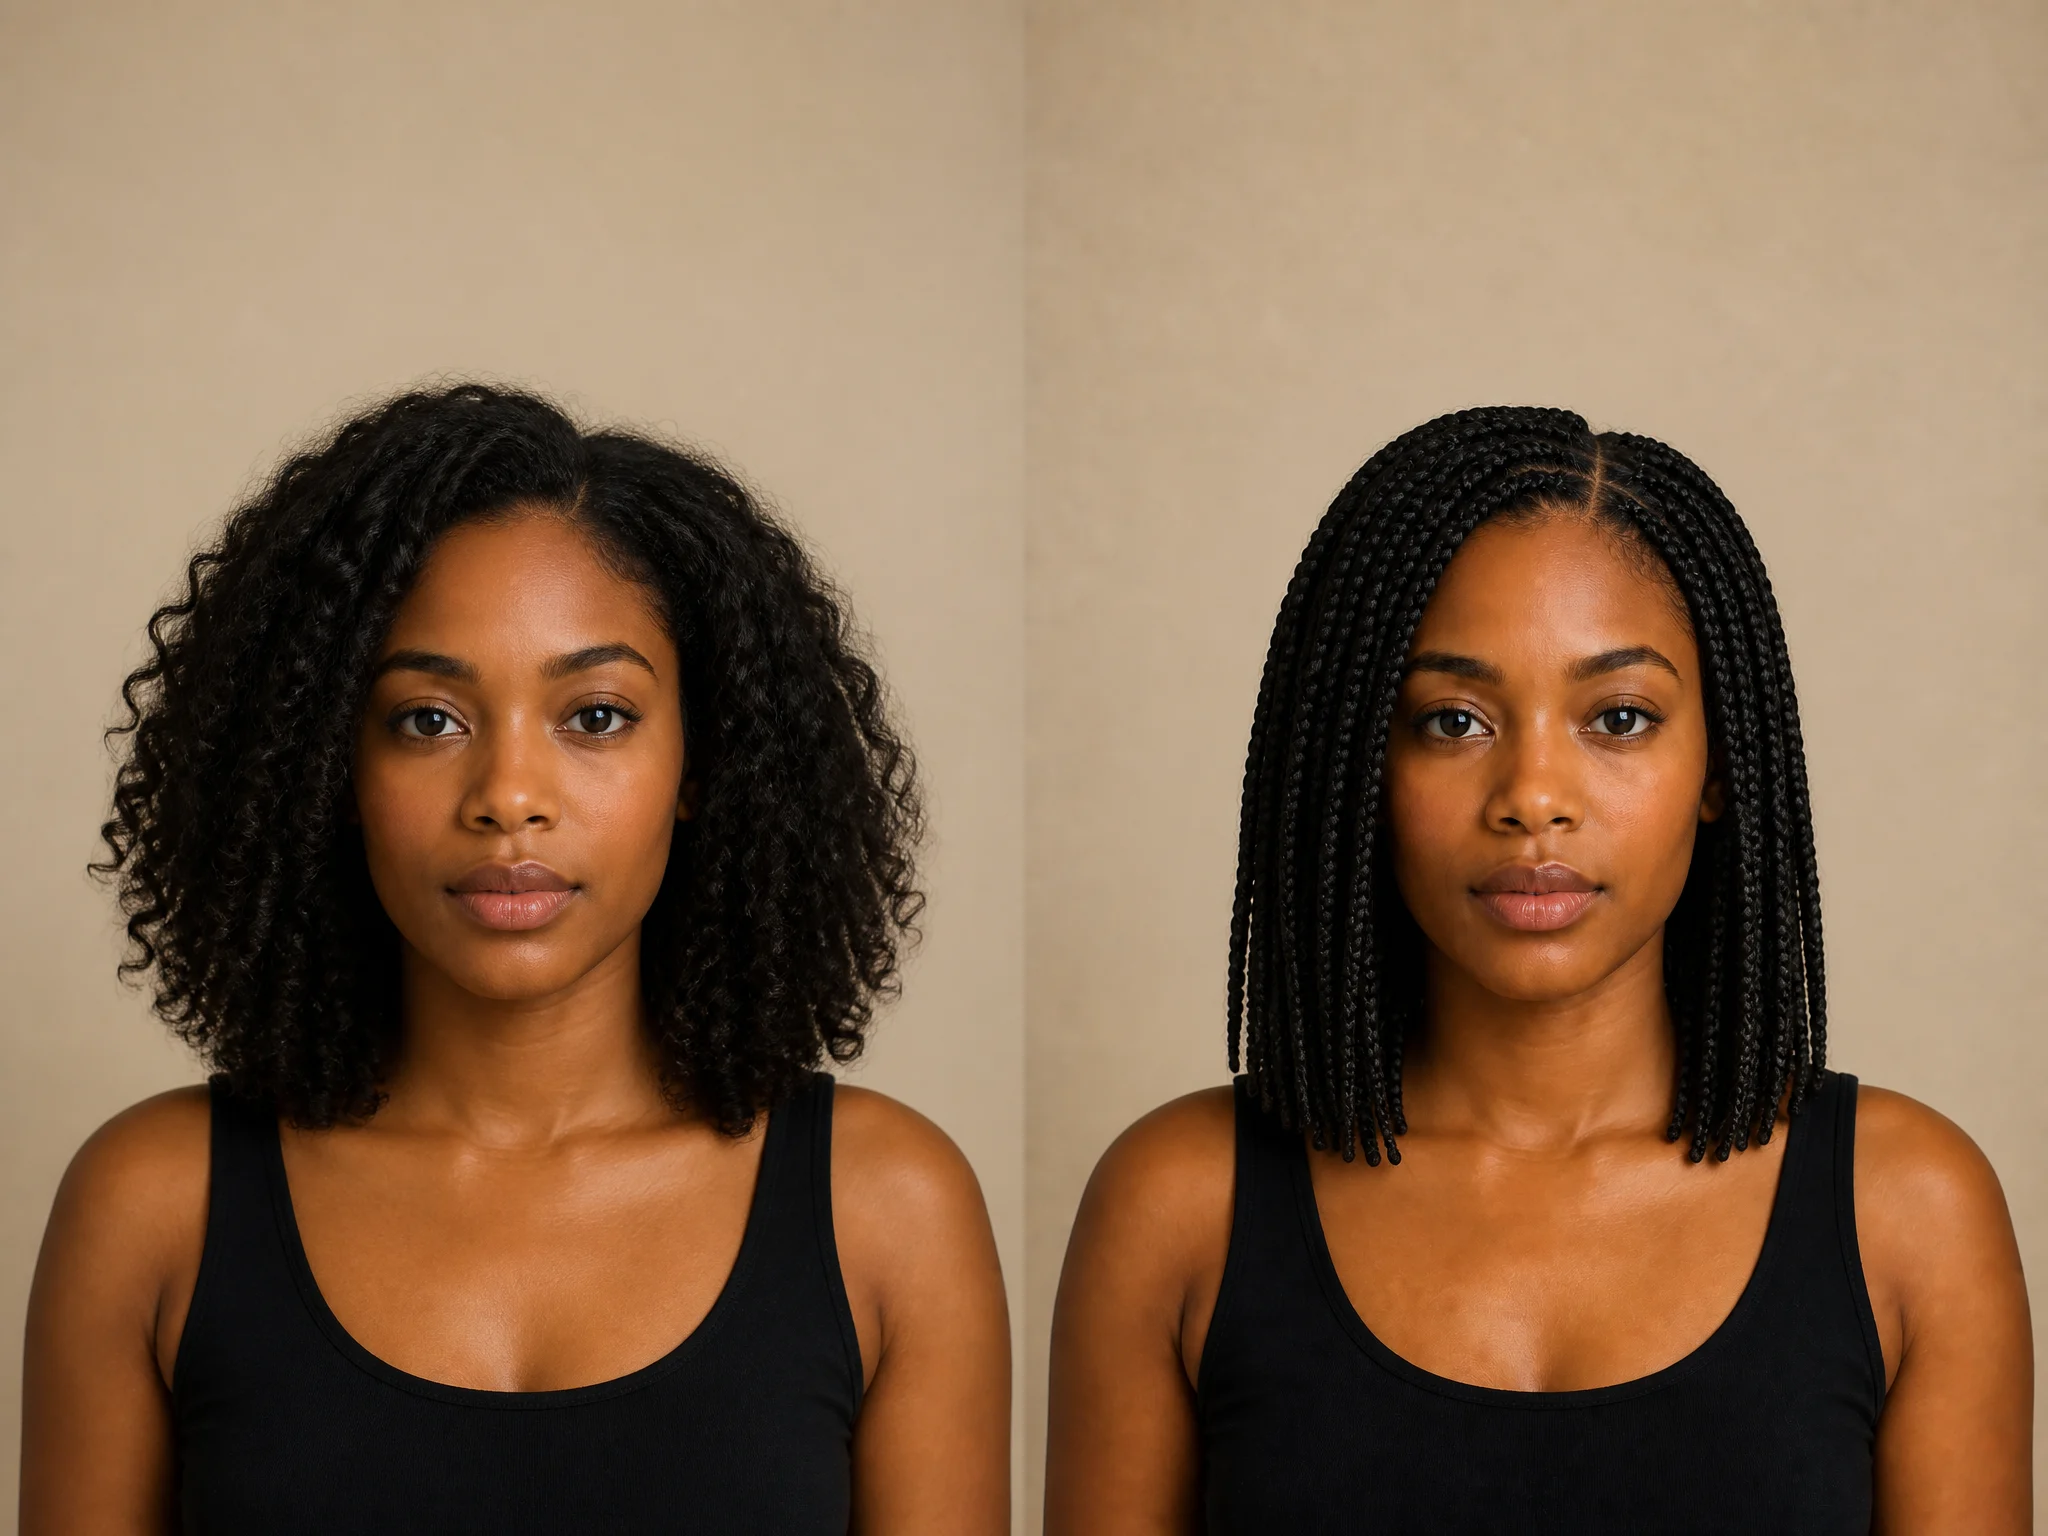
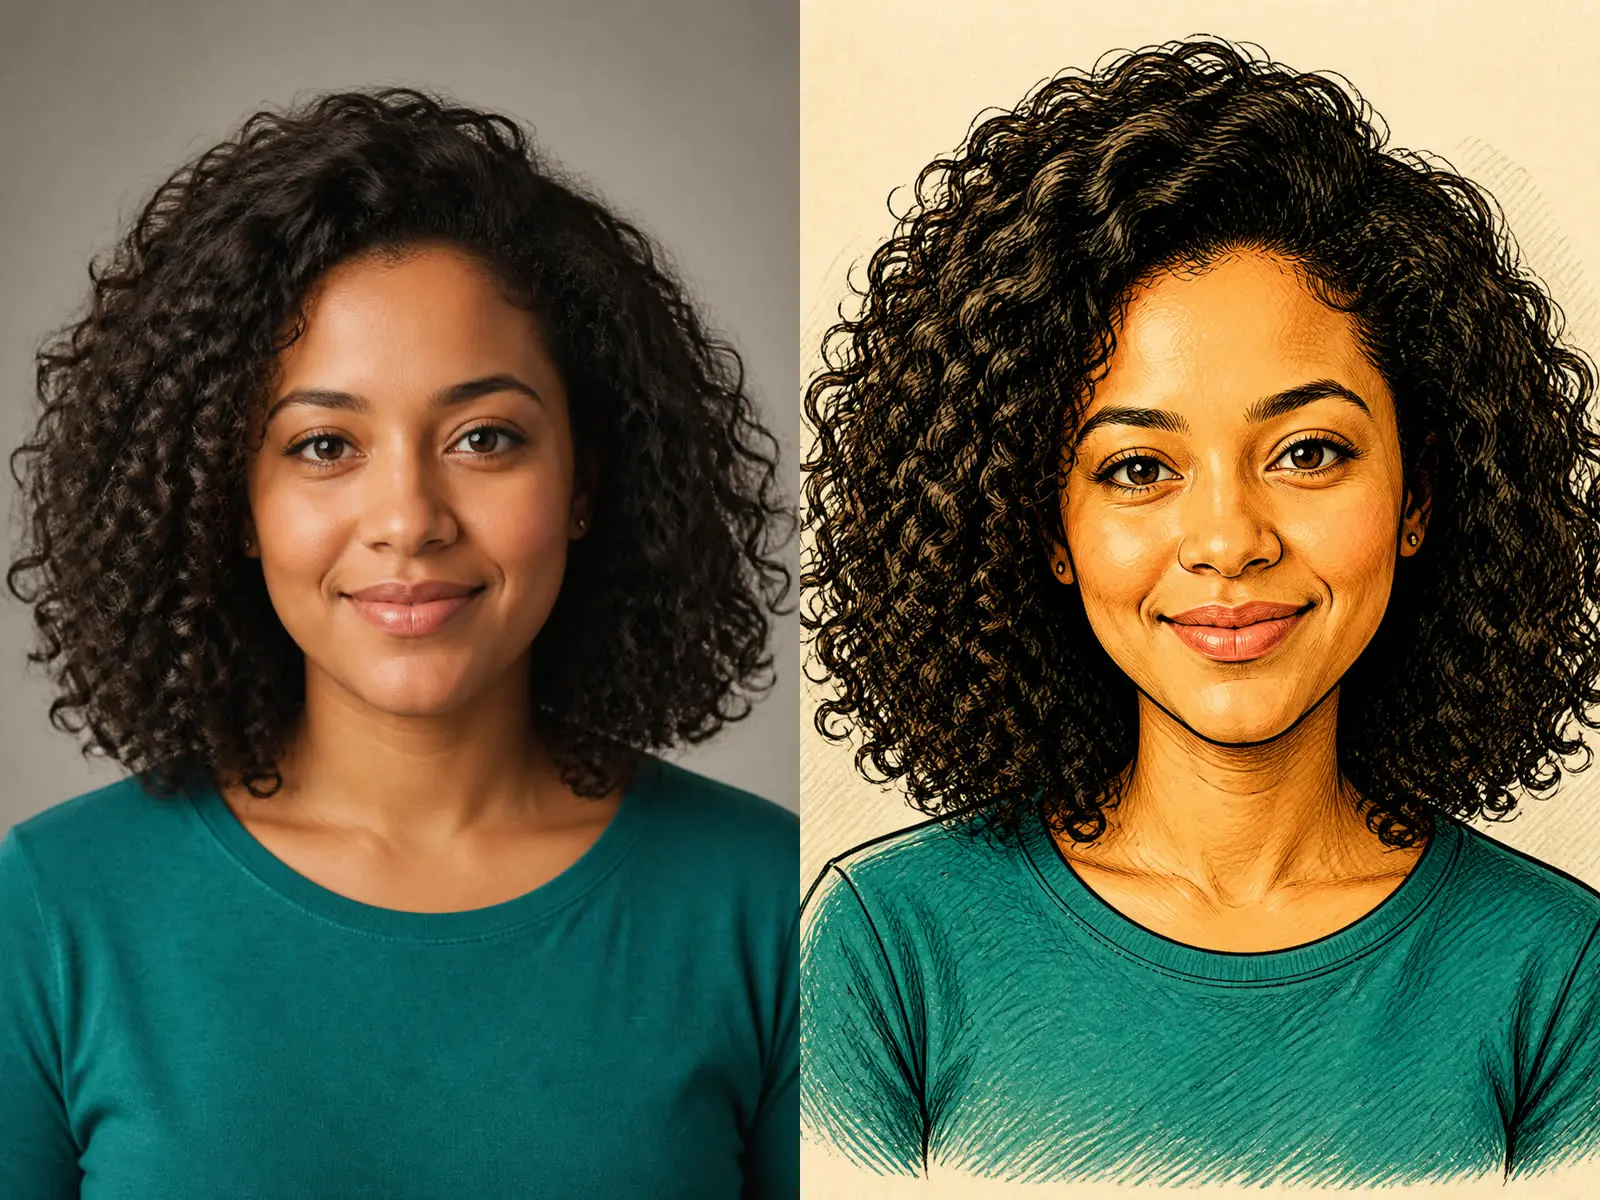
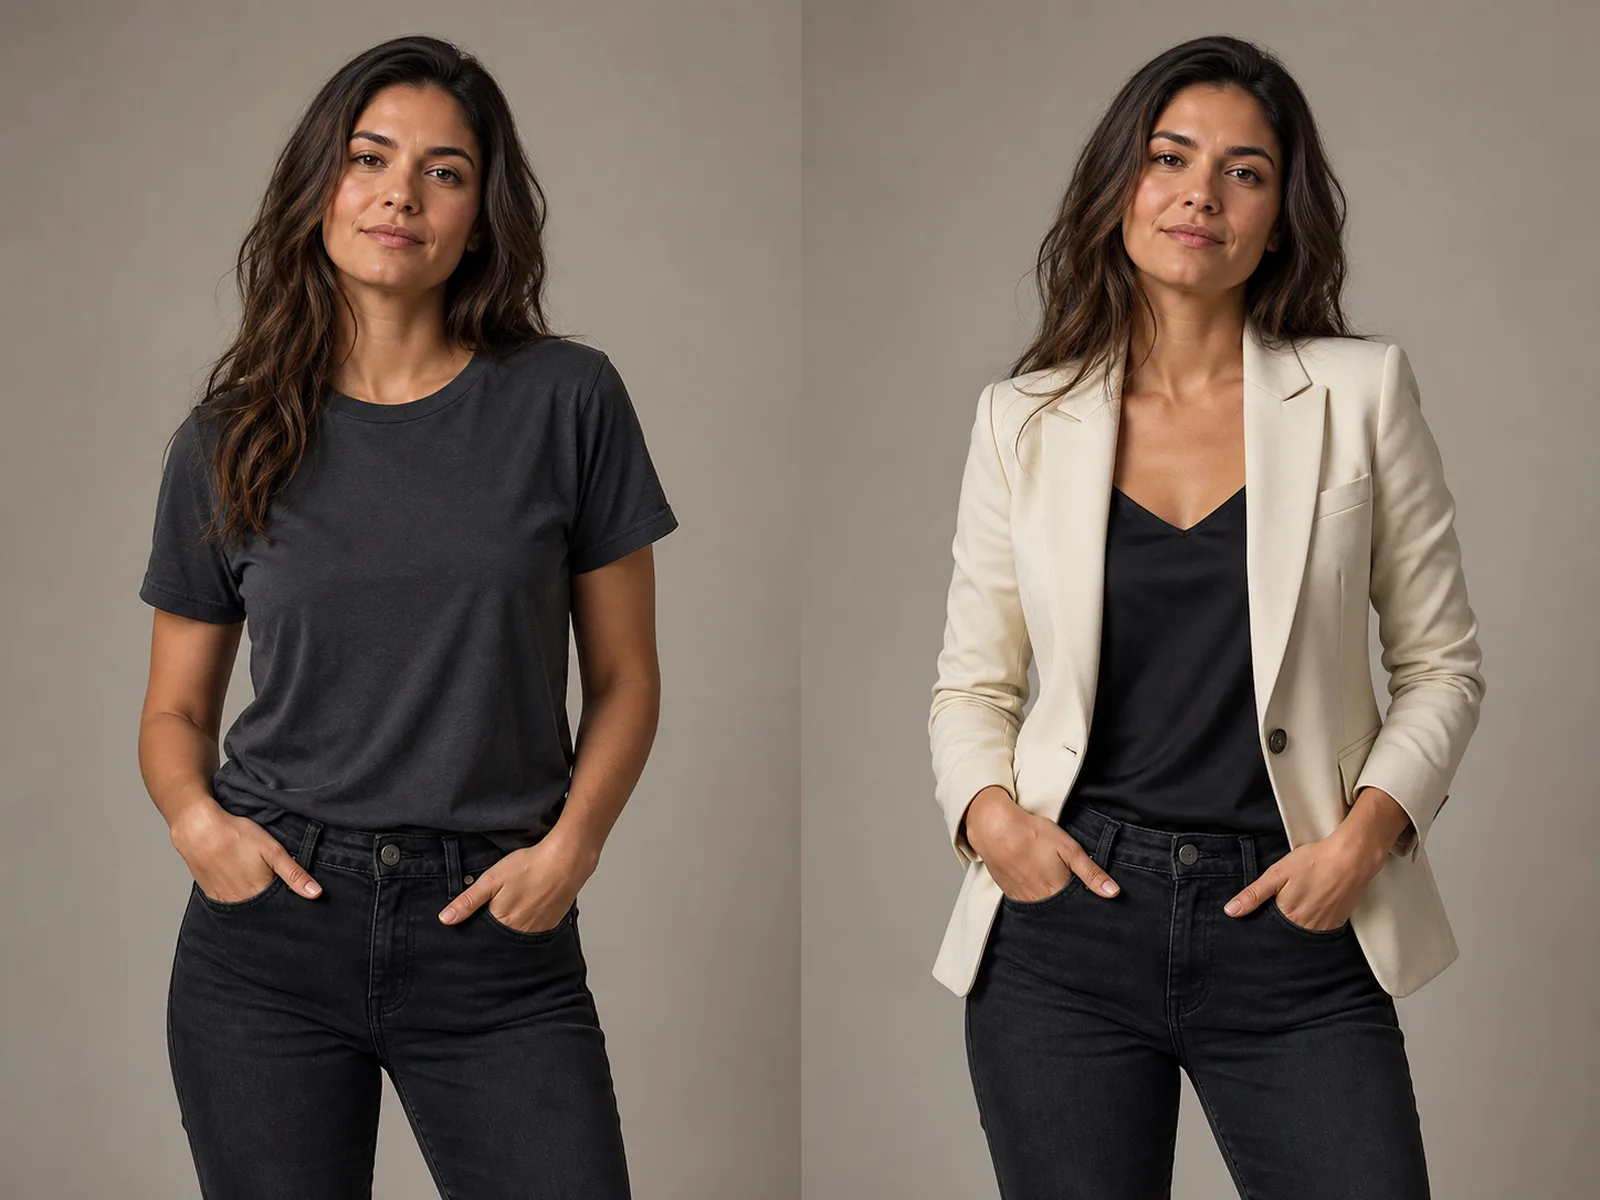
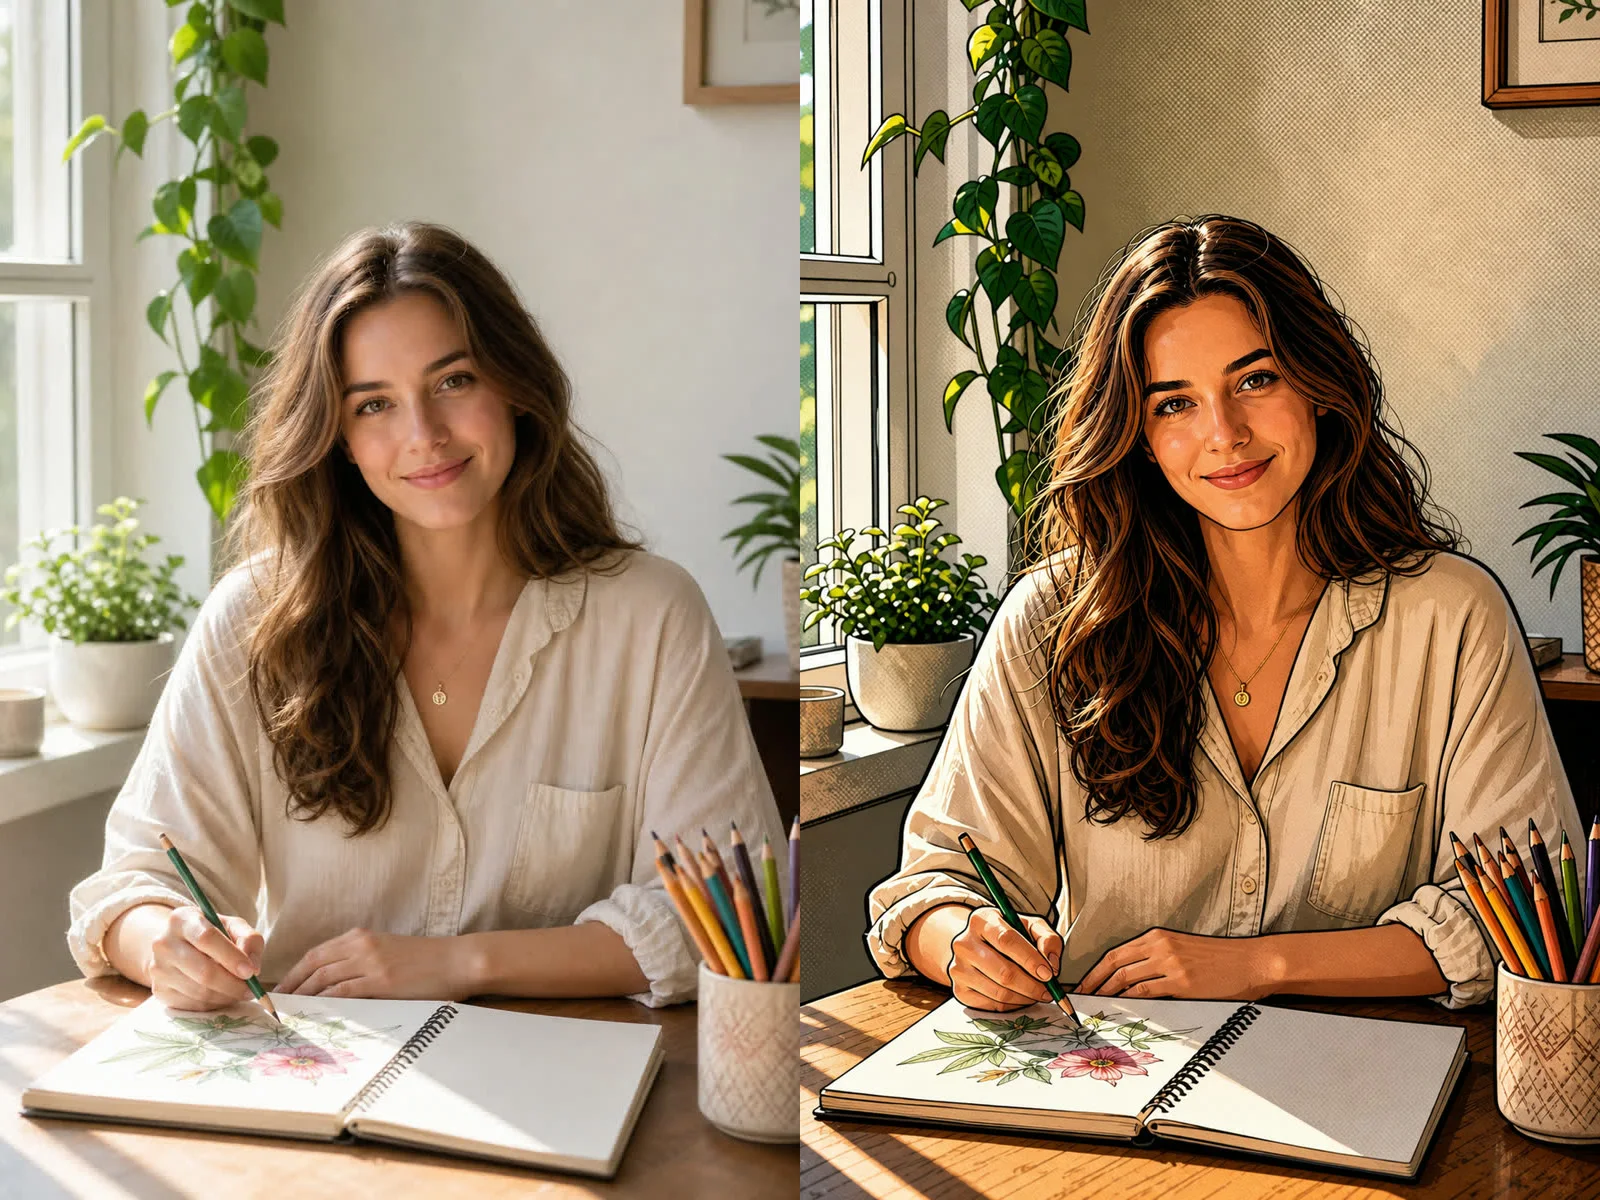
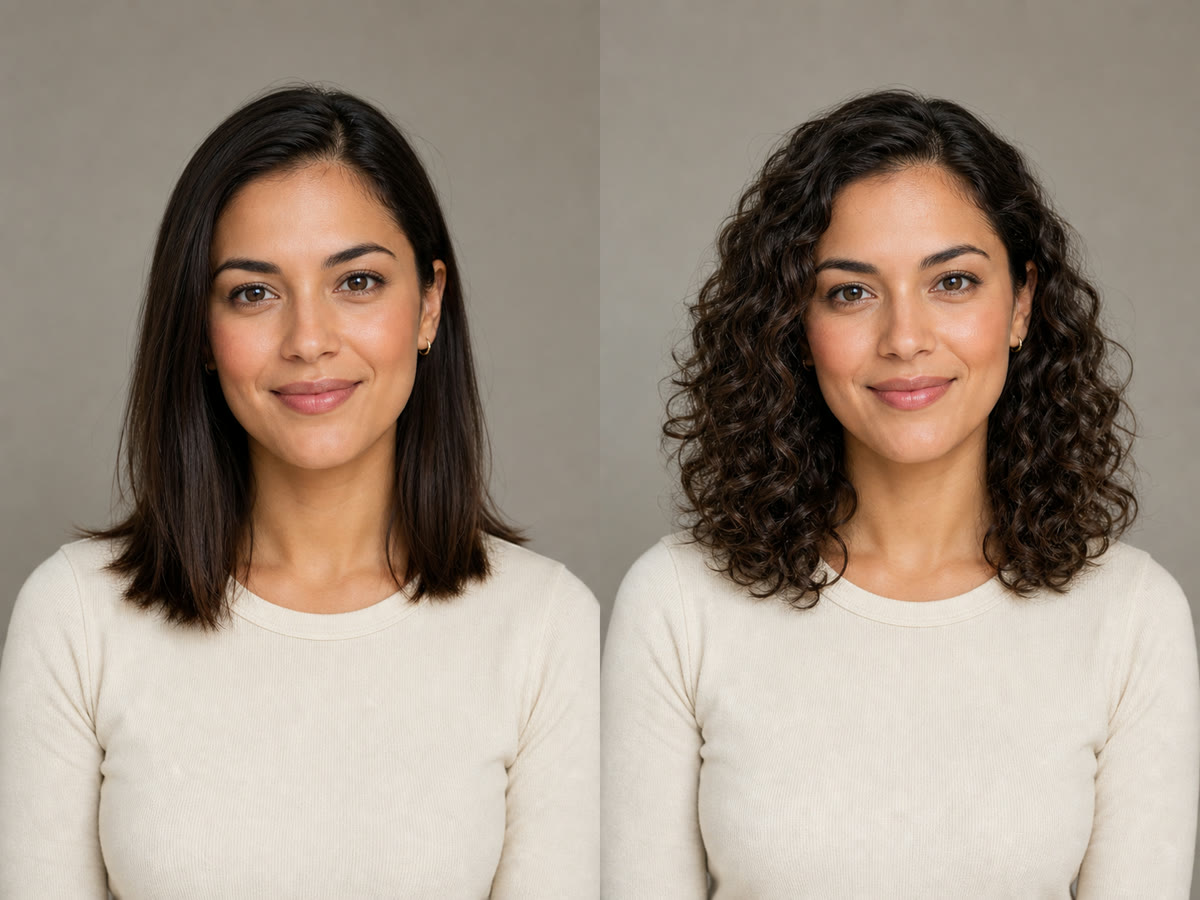
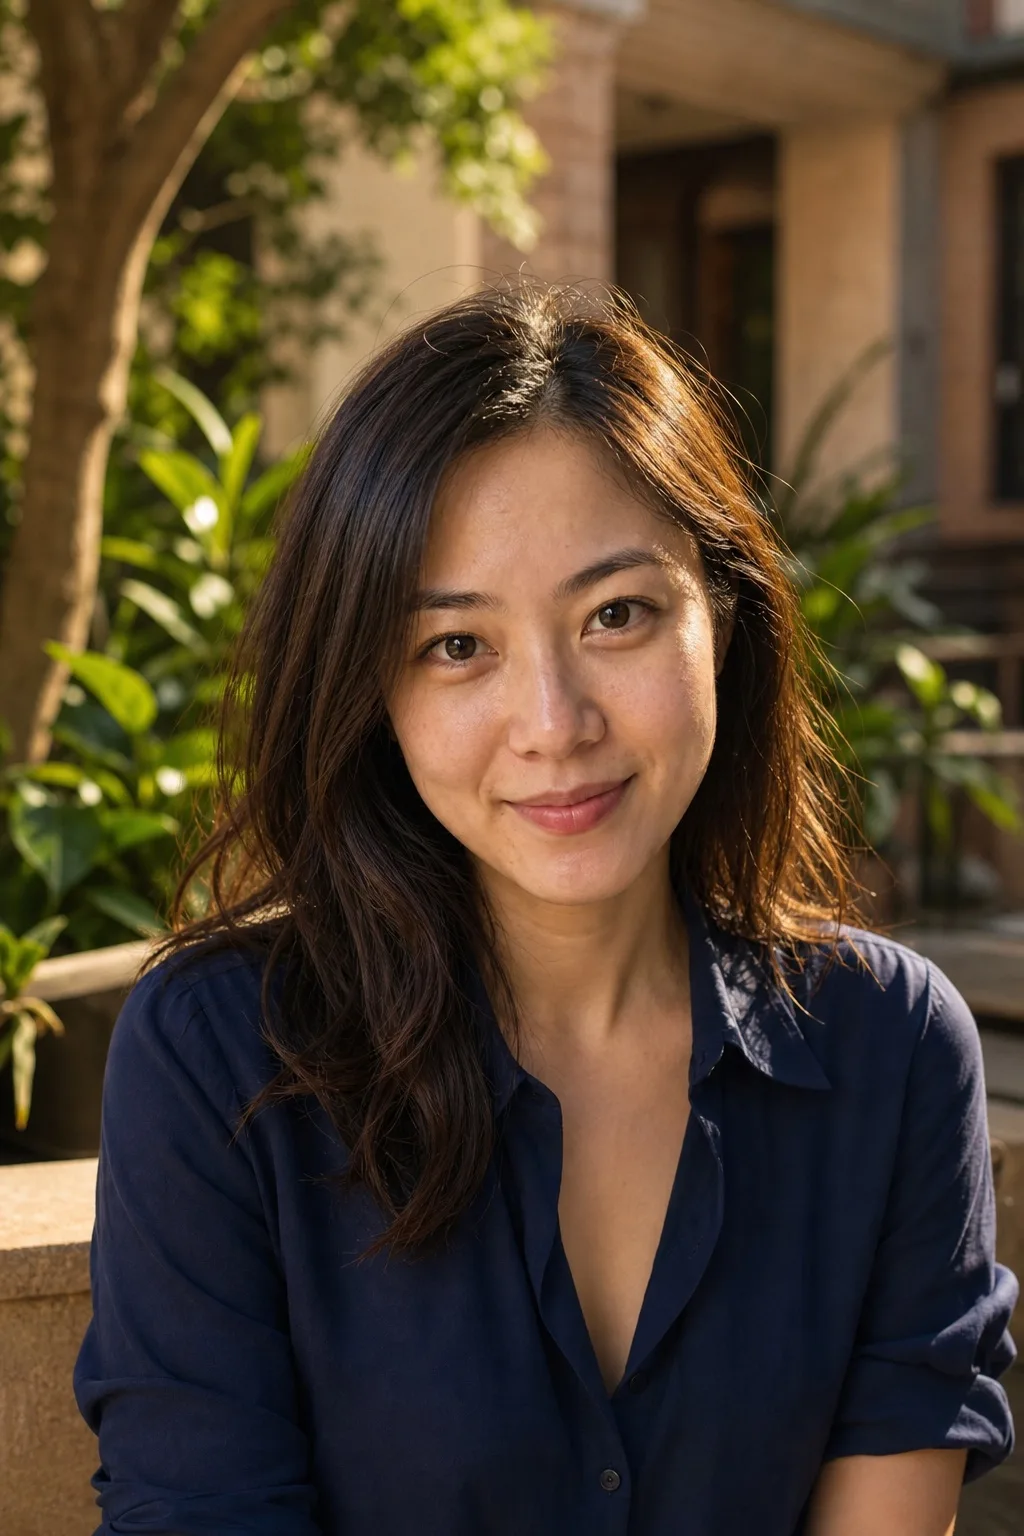
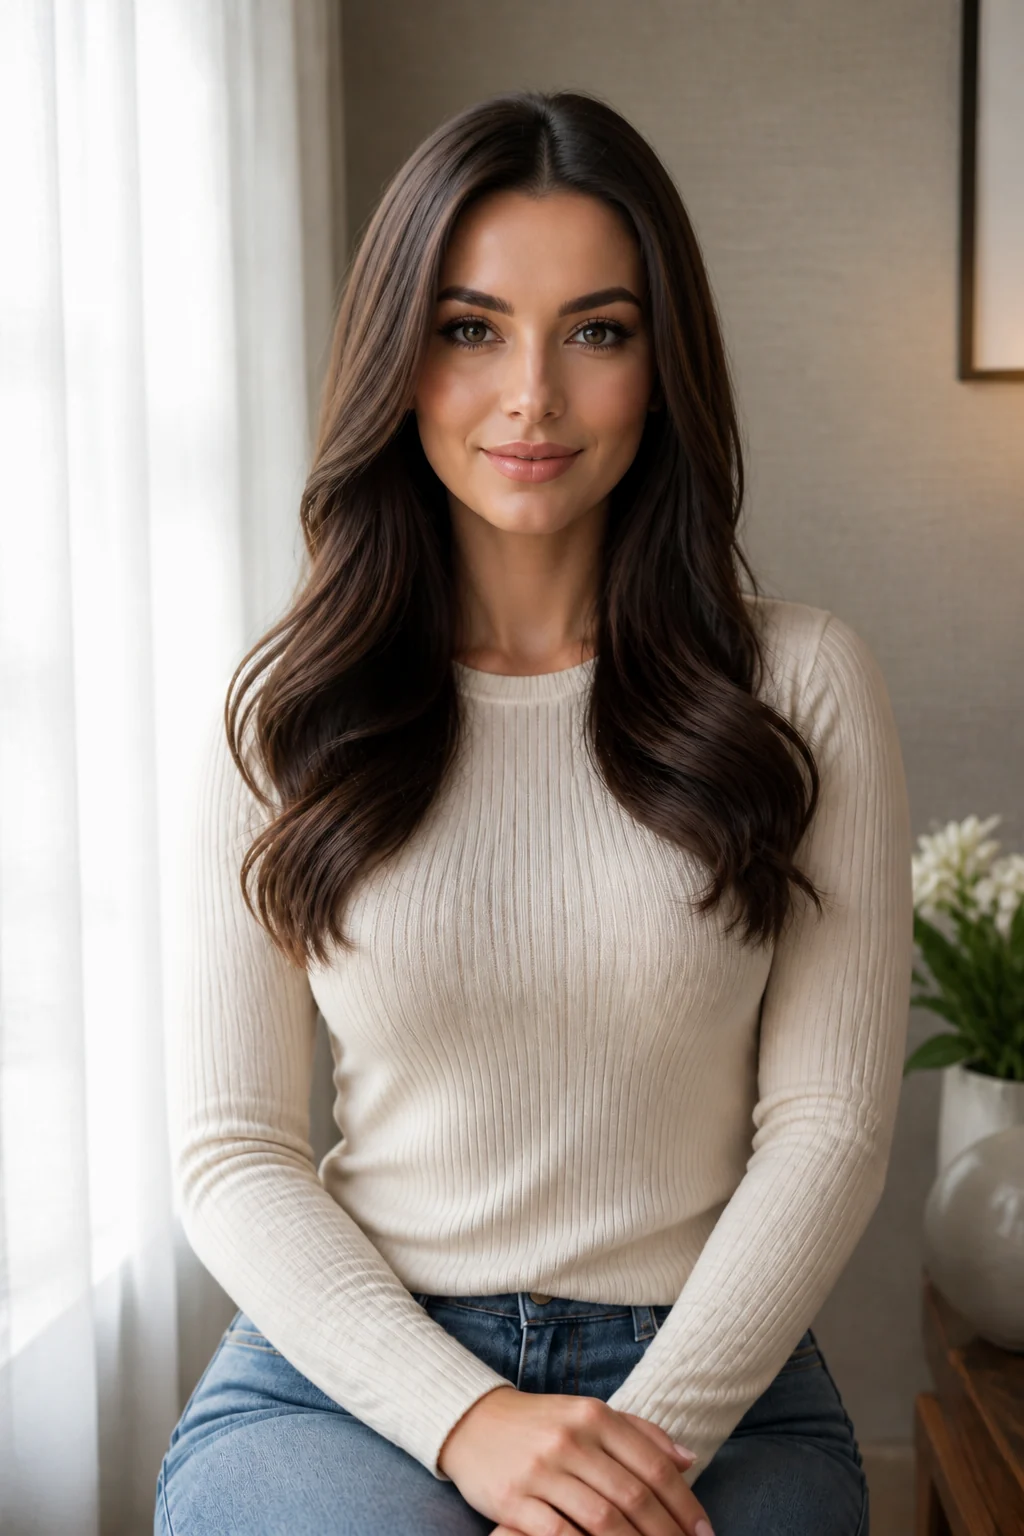
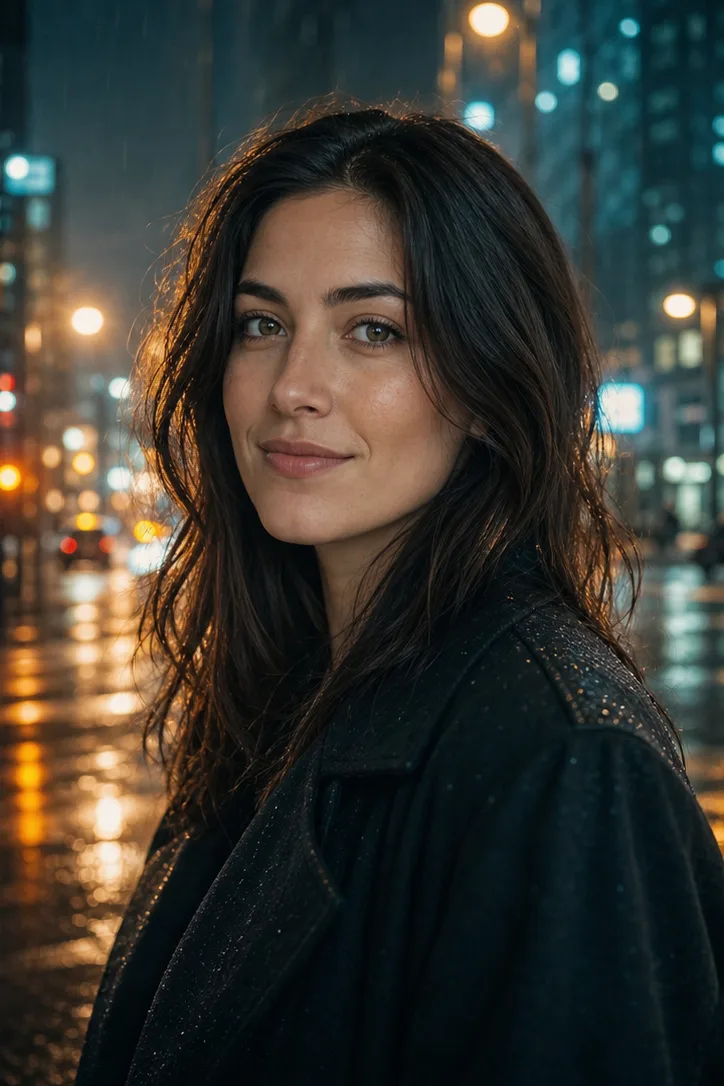
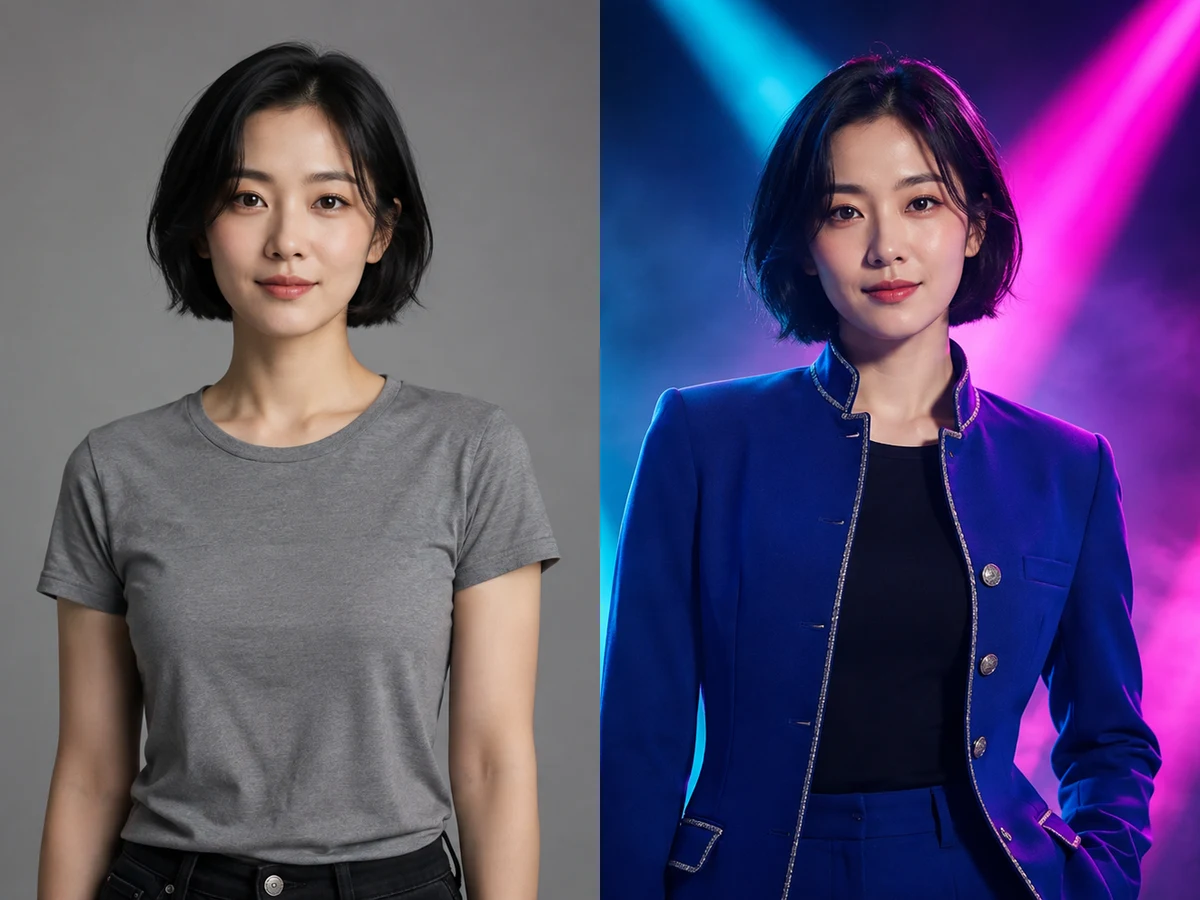
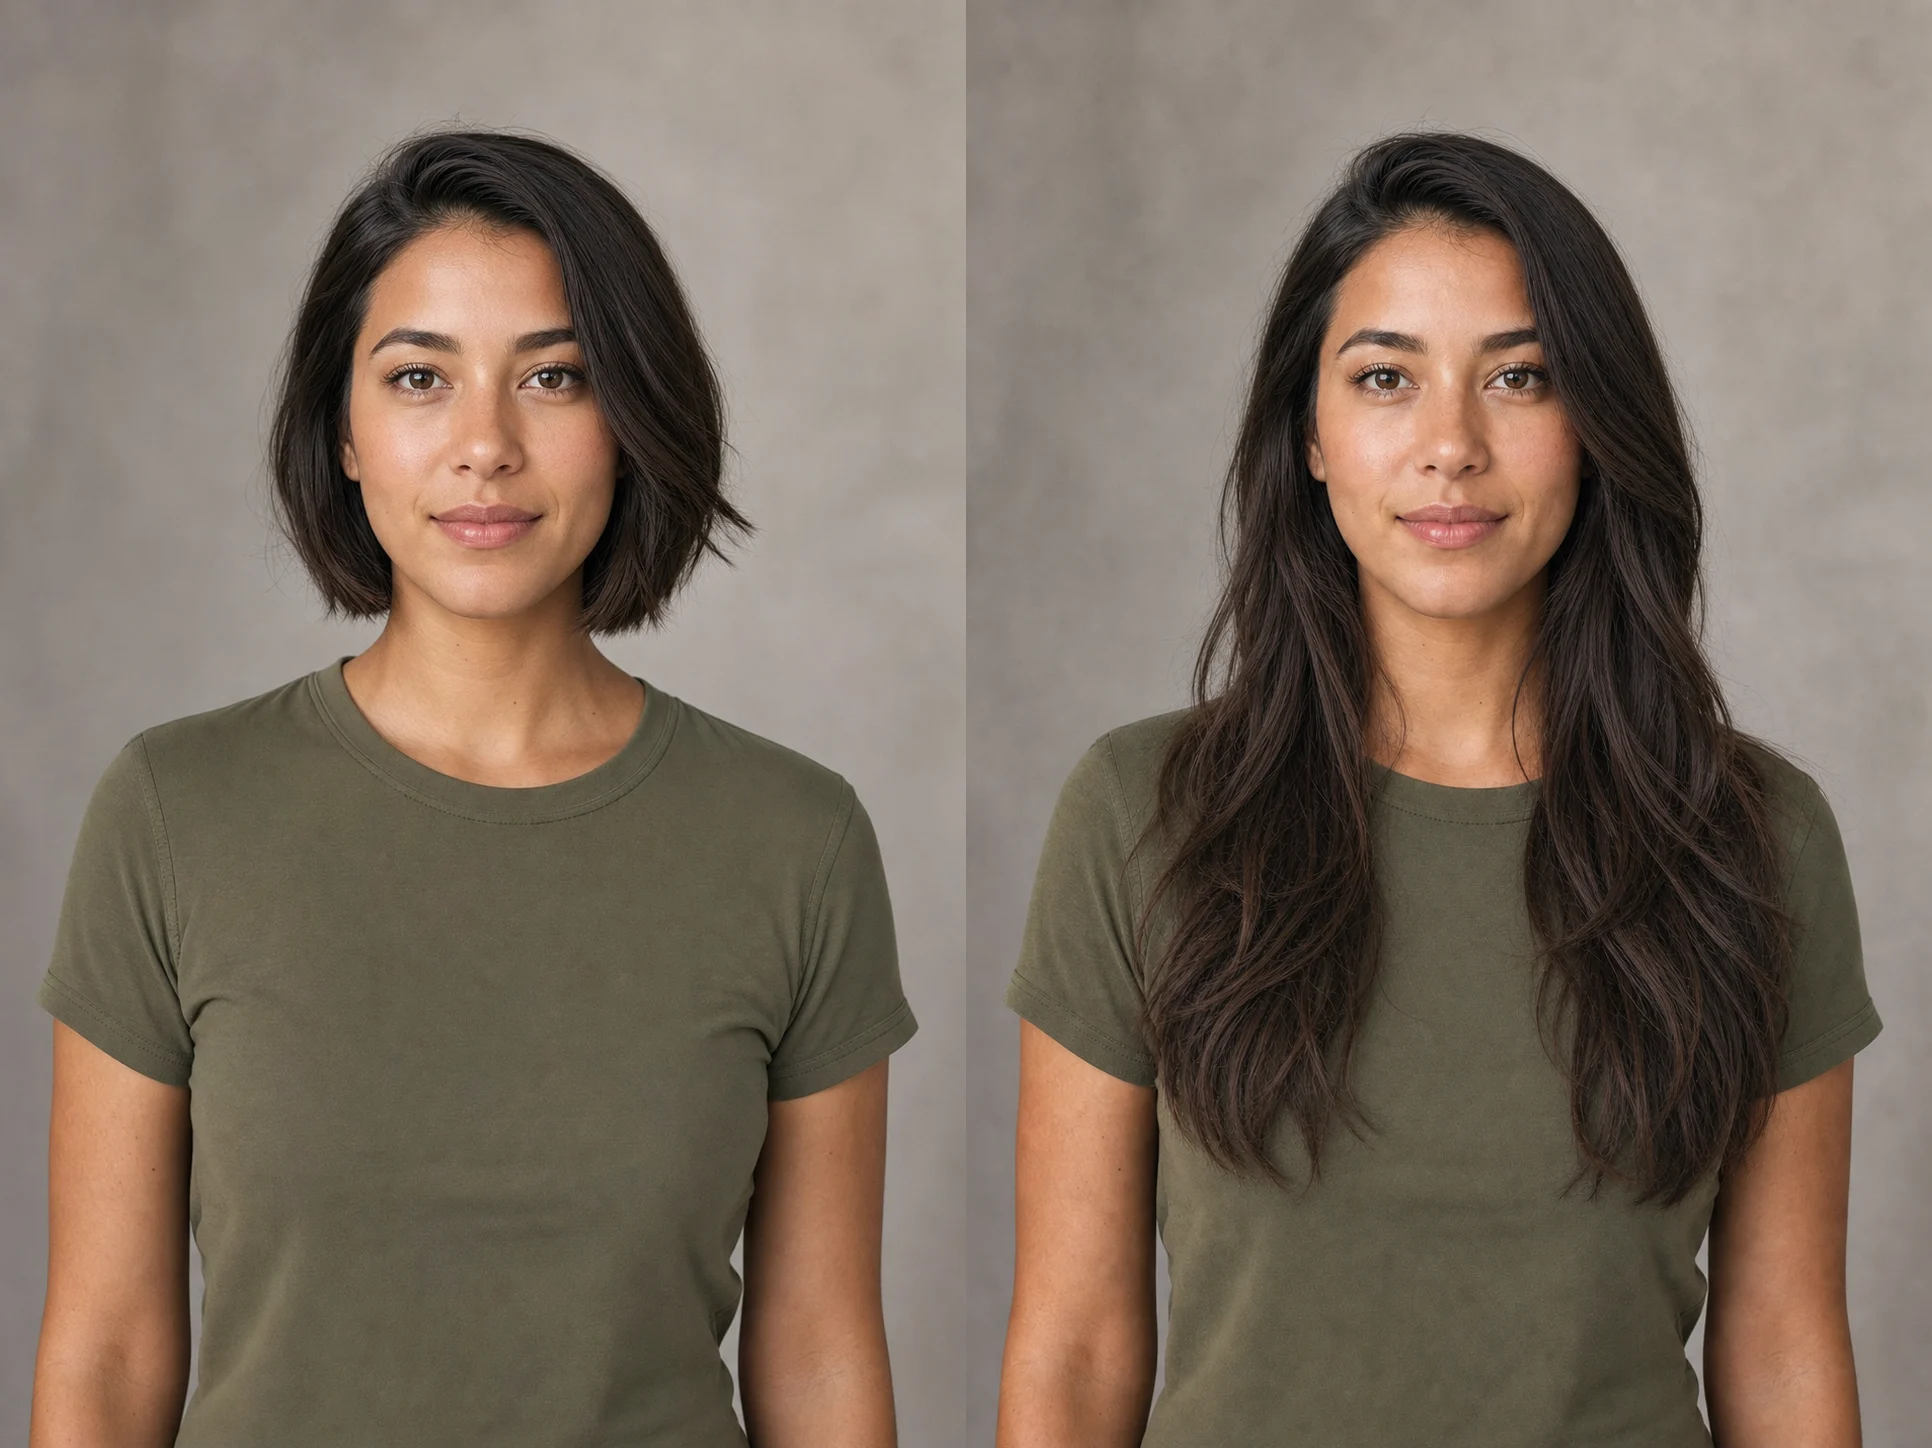
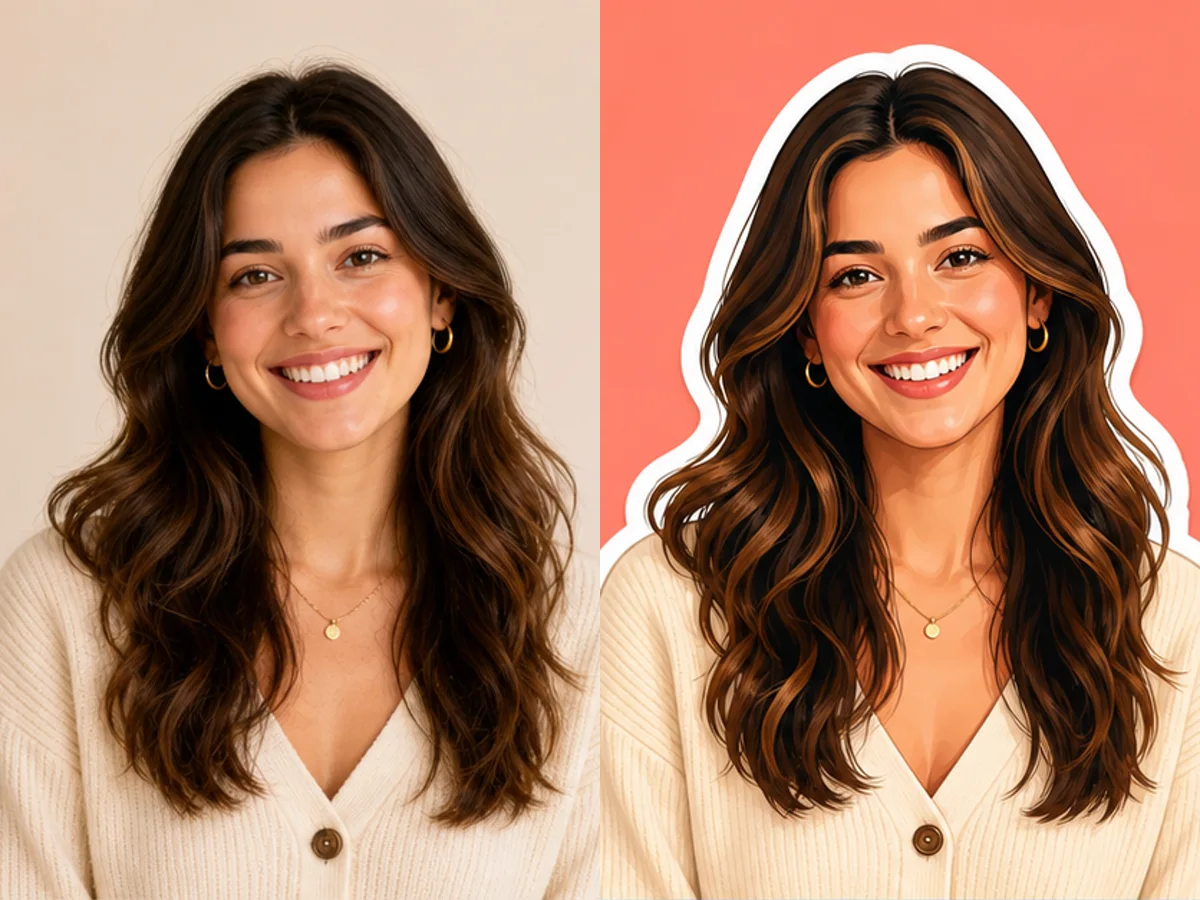
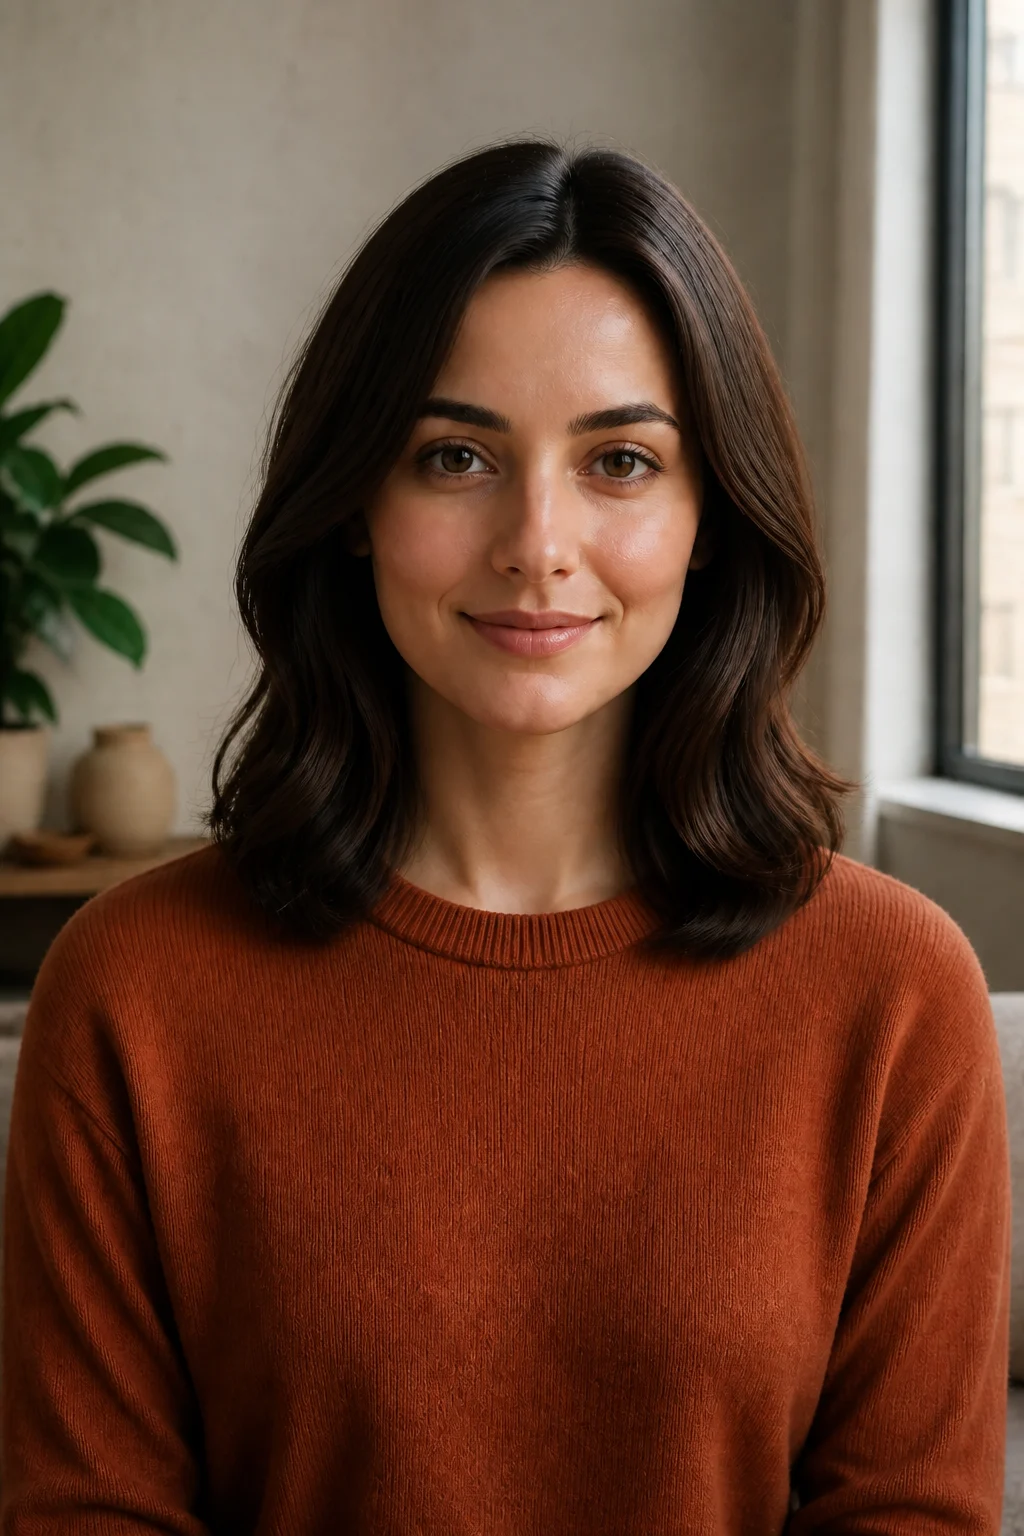
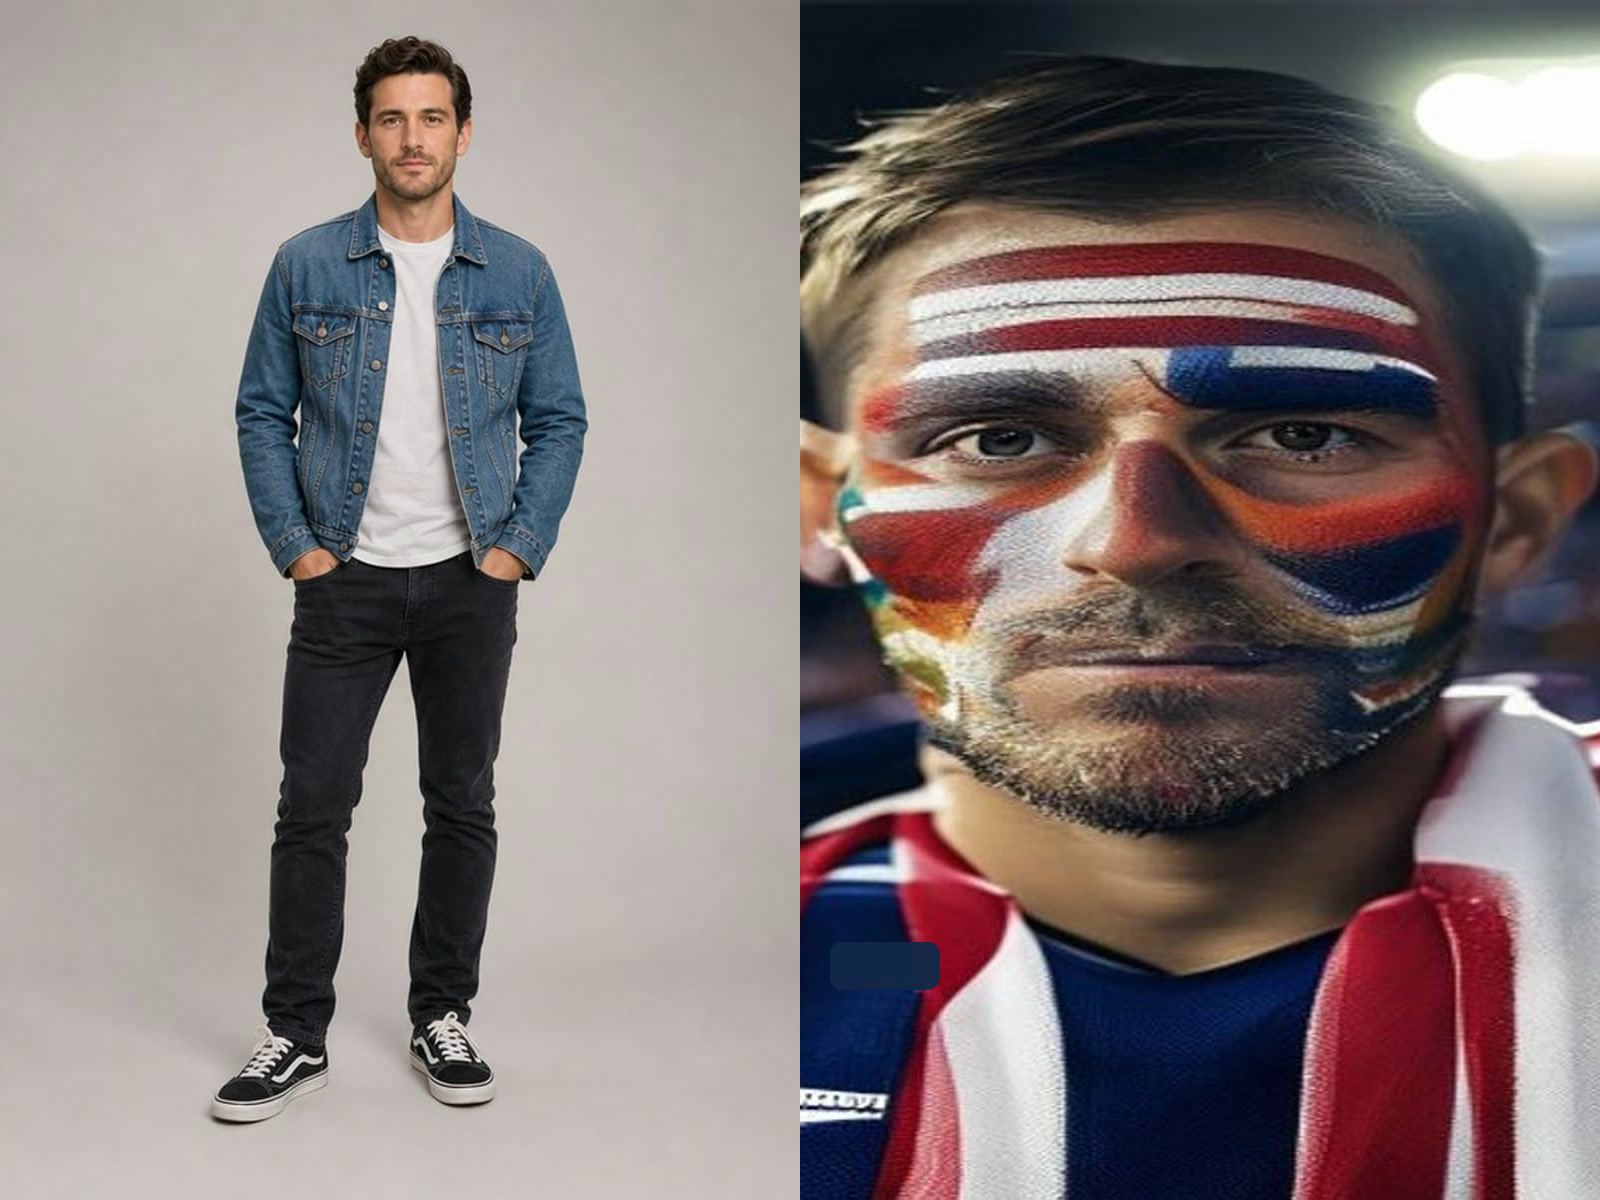
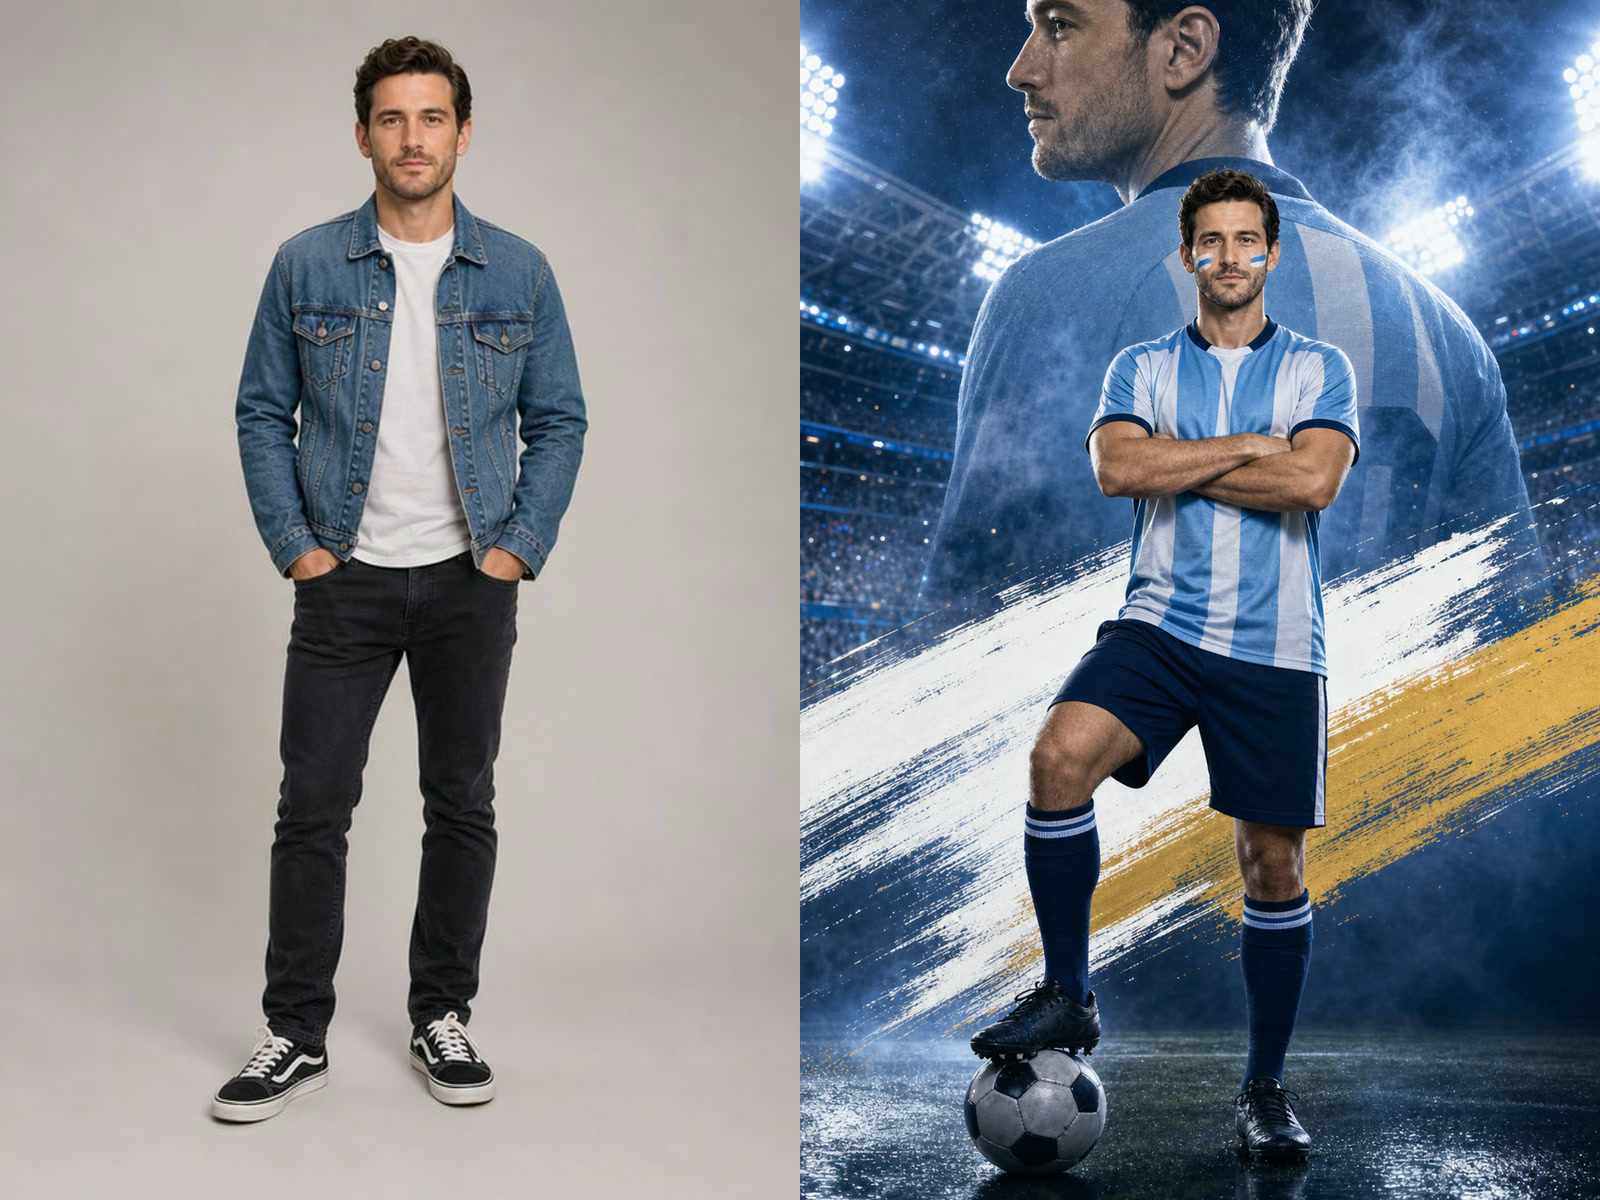
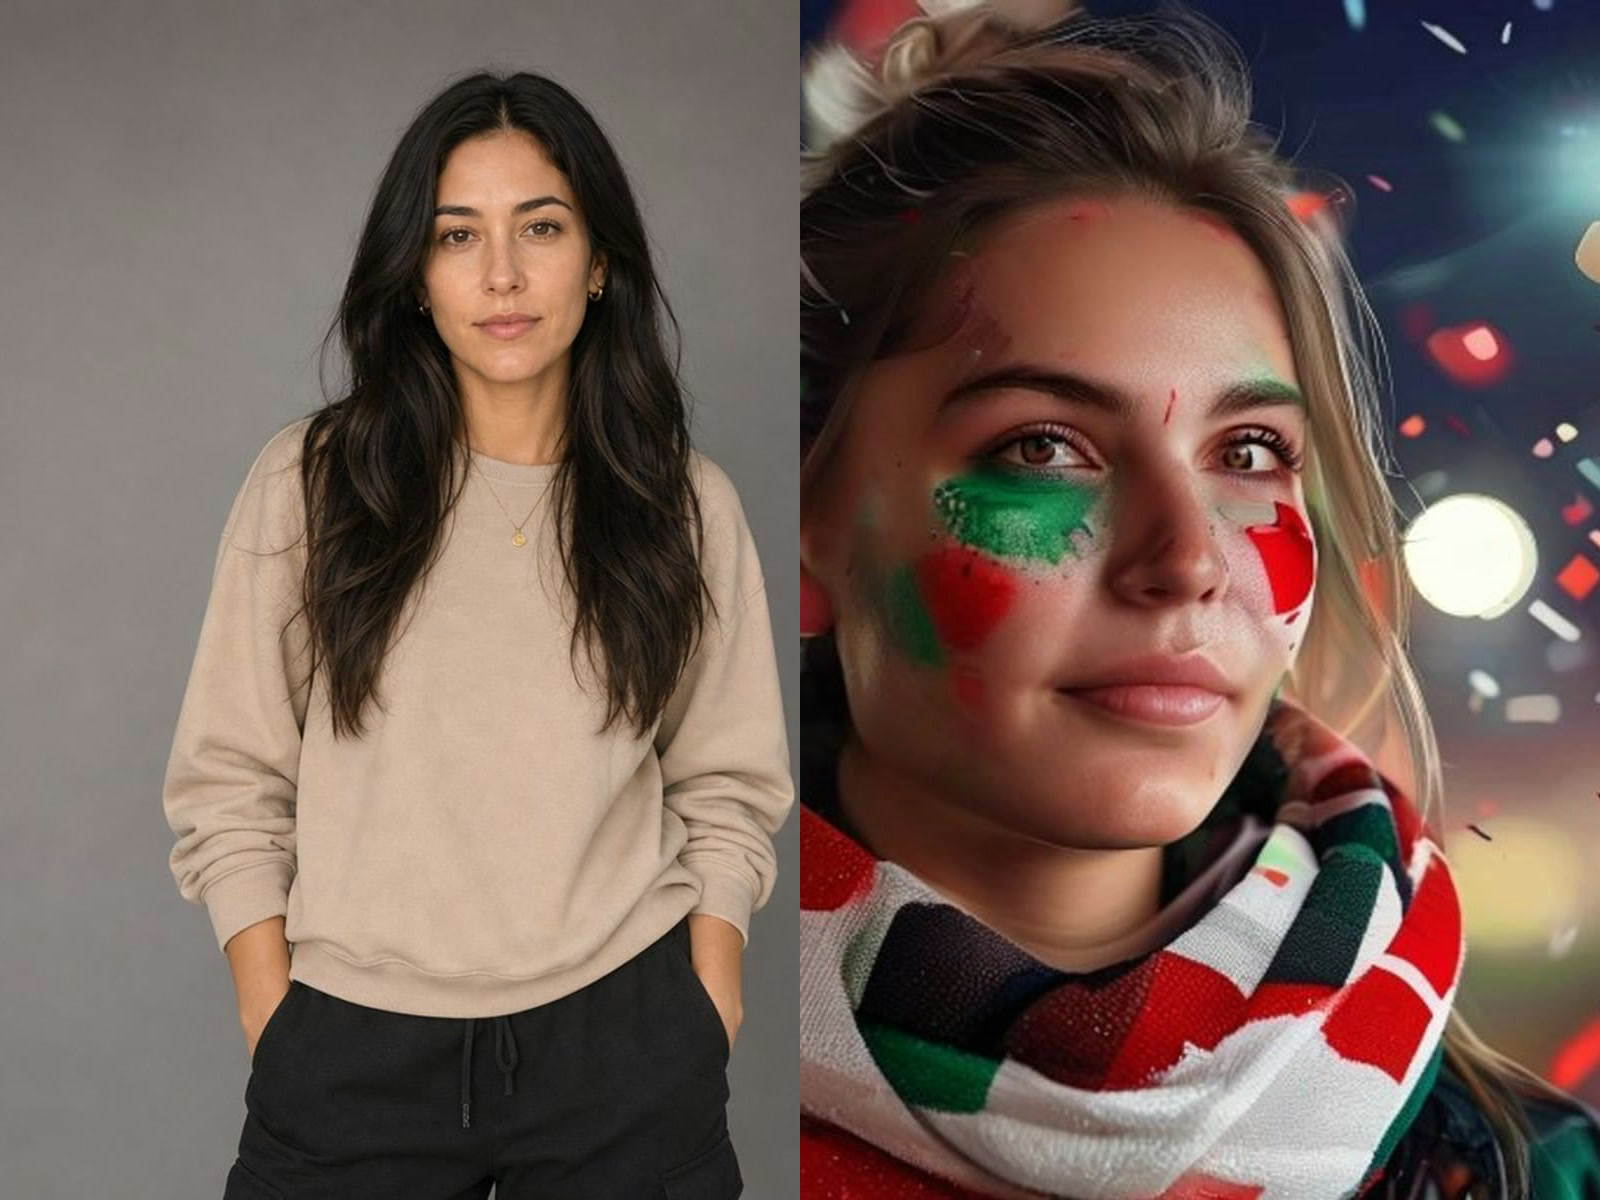
Use a sharp photo with the complete head visible. Ask for medium density and a simple background so the face, hair, expression, clothing edge, and main colors remain readable in thread.
Save up to 73% on plans
Image
Browse every other AI image model and effect published on this site in a continuous carousel.
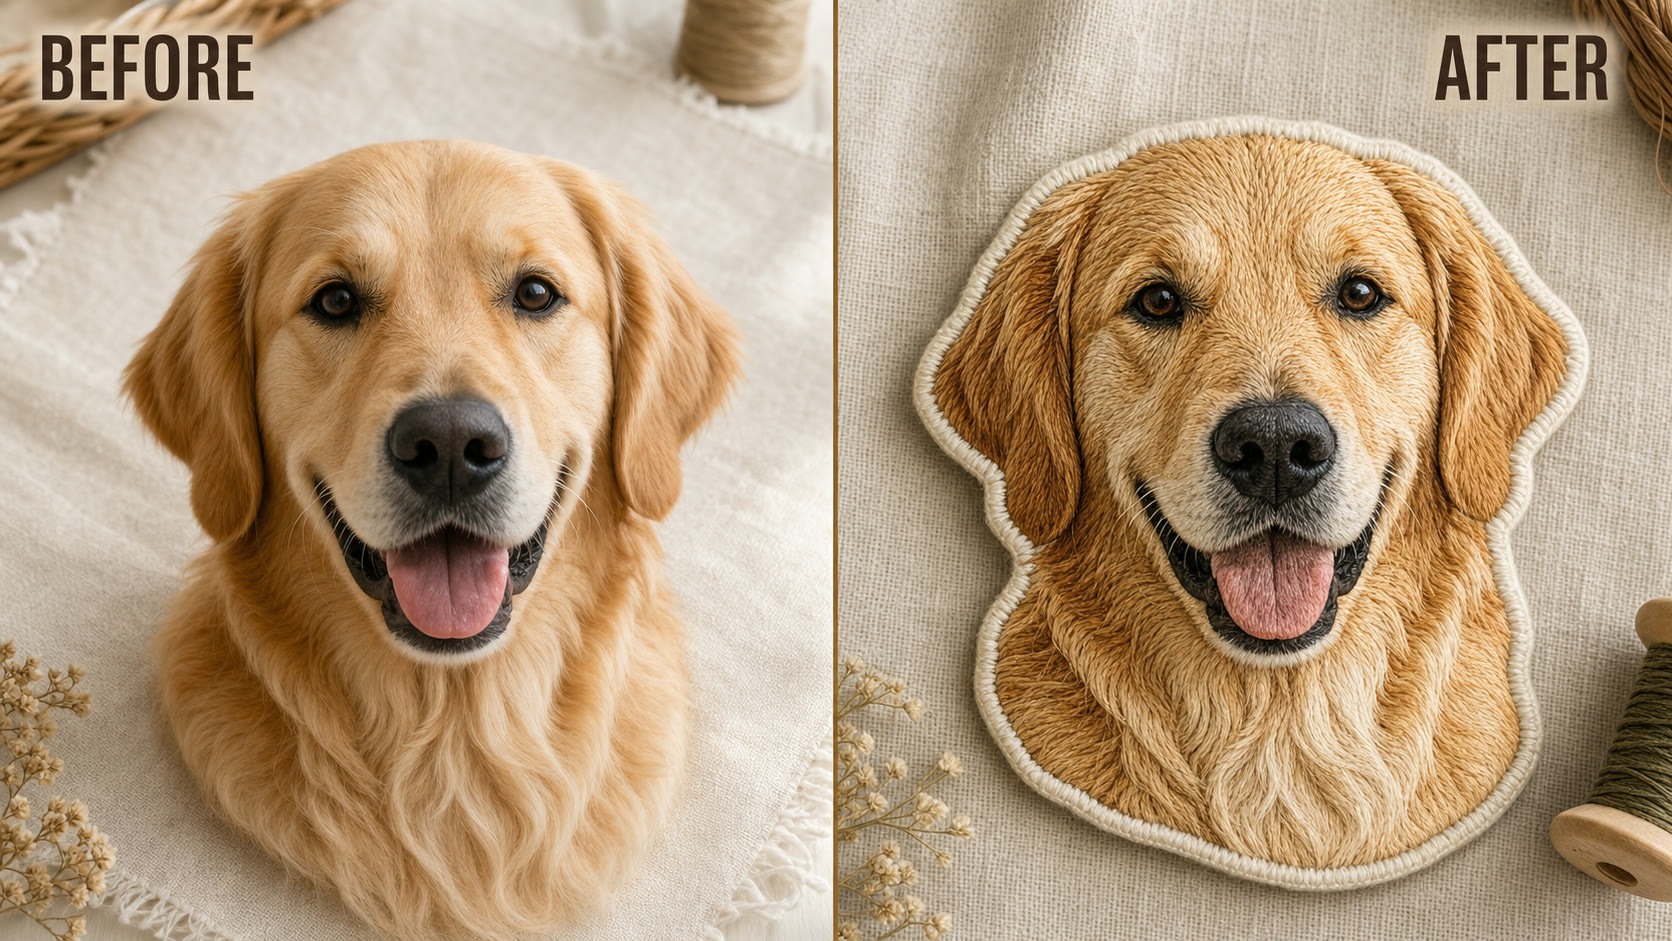
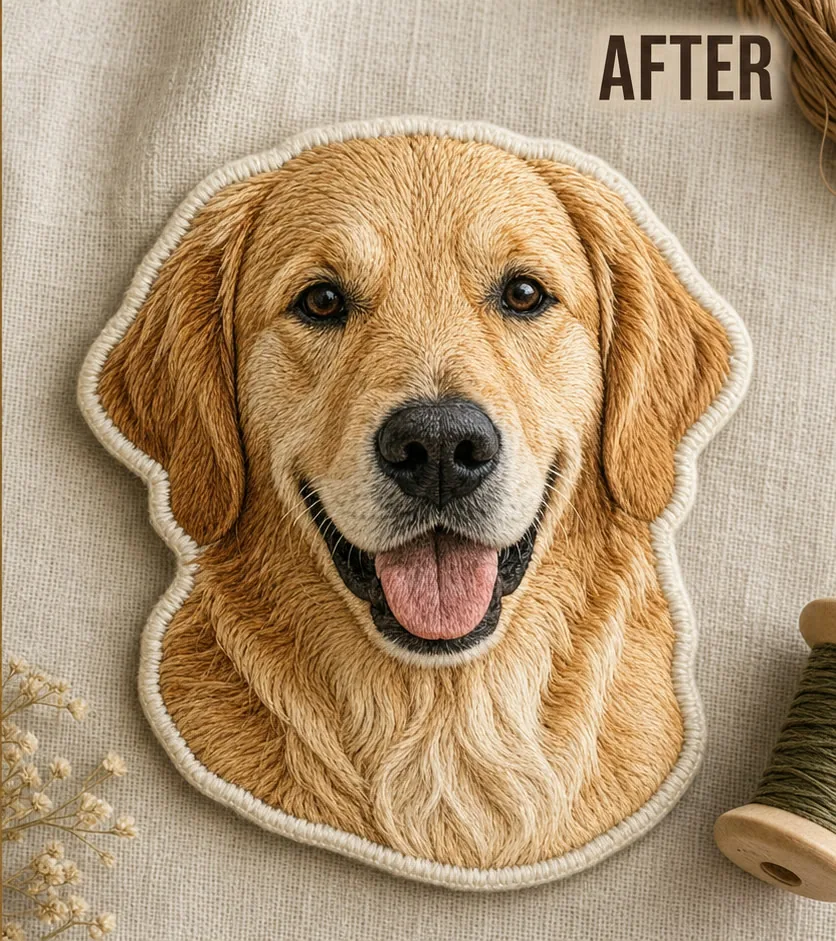
NanoPic uses your uploaded image as a visual reference, then translates recognizable shapes, colors, expressions, markings, and negative space into visible thread direction and textile texture. Start with a pet portrait, person, logo, mascot, badge, or simple illustration. Choose a stitch language, then specify thread colors, fabric, border, and density. The result is a realistic mockup for comparing creative directions, briefing a client, or planning a patch. It is concept art, not embroidery machine data.
Clear silhouettes and intentional color groups give the model better visual information than tiny, noisy, or heavily compressed uploads.
Use a sharp photo with the complete head visible. Ask for medium density and a simple background so the face, hair, expression, clothing edge, and main colors remain readable in thread.
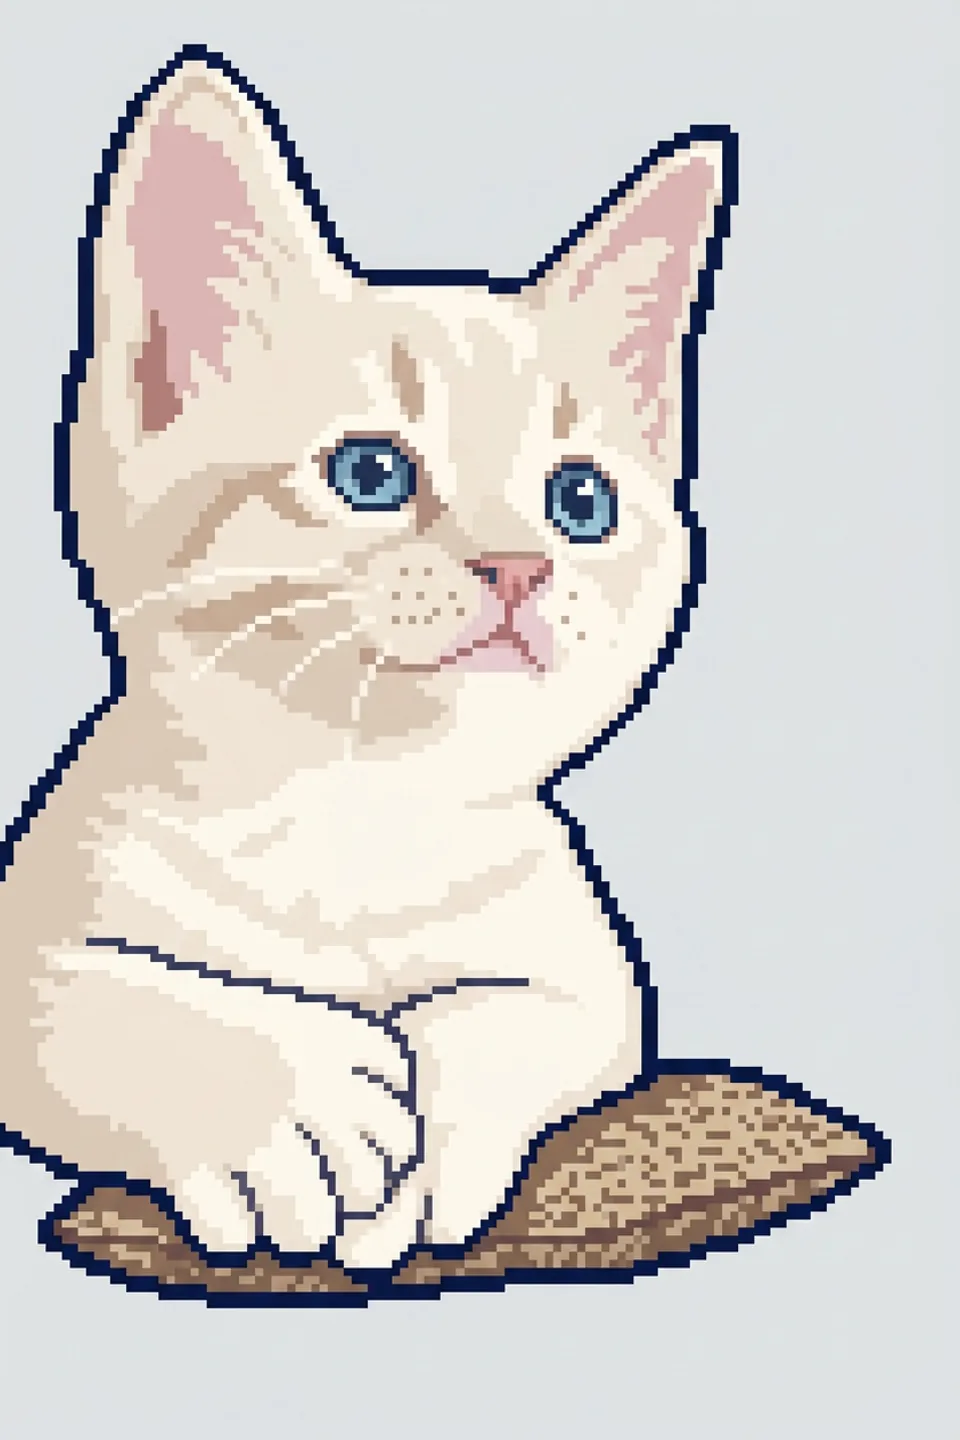
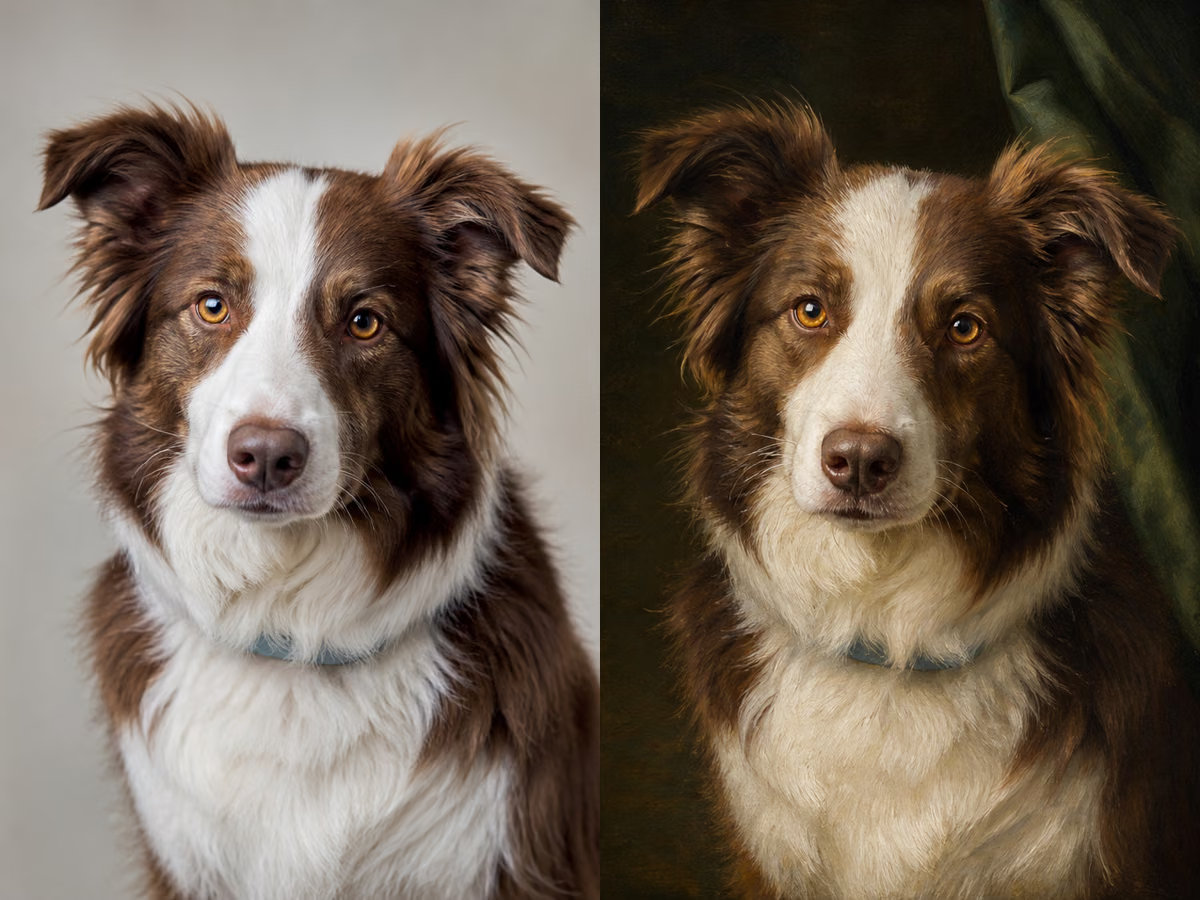
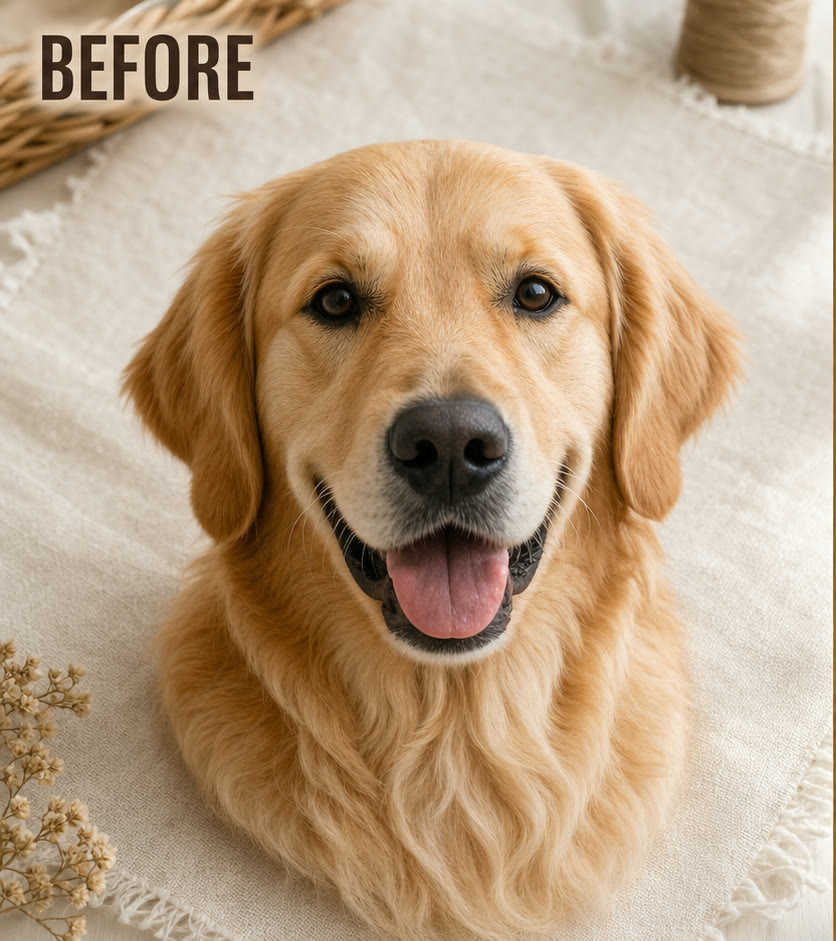
Choose a front-facing pet photo with clear eyes and markings. Name the eye color, muzzle, ears, collar, and two or three coat colors; dense thread can turn fine fur into noise.
Bold shapes, limited colors, and generous negative space adapt more reliably than tiny lettering or gradients. Treat generated text and geometry as a draft; restore exact brand artwork during digitizing.
Preserve the mascot silhouette, face landmarks, signature colors, and defining props. Request a clean border and remove clutter so the character reads at badge size.
The generator stays at the top of the page so you can upload, select a stitch style, adjust notes, and generate before reading the longer guide.
Use a high-quality photo or artwork you have the right to use. Keep the subject large, focused, and fully in frame. Give logos clean edges and little background detail; avoid clipped ears, hair, hands, or distant faces in photos. You can select a sample or local file before signing in; a deferred local file is uploaded only when generation needs it.
Choose a Source ImagePick Satin Stitch for glossy fills, Cross-Stitch for counted X cells, Embroidered Patch for a raised edge, or Outline Stitch for line art. Add notes such as “navy and cream thread,” “natural linen,” “3 mm cream border,” or “medium density; keep the eyes open.” Separate material decisions are easier to follow than conflicting styles.
Choose a Stitch Style AboveCreating an image requires sign-in and NanoPic credits. Open the result at full size and check the silhouette, face or logo landmarks, thread direction, border, fabric scale, colors, and lettering. Download a convincing visual direction, but do not send it to an embroidery machine. A production specialist still needs the source artwork, size, fabric, thread palette, and machine constraints.
Generate and ReviewEach recipe matches a control in the generator. Select the matching style above, or copy its wording into Embroidery Notes and replace the colors, fabric, border, or density.
Copy: “Polished satin stitch, dense parallel thread following each shape, directional sheen, clean underlay, controlled edges, natural twill, simplified micro-detail, preserve the silhouette and two-color palette.” Use for bold marks and smooth fills; inspect small lettering separately.
Select Satin Stitch AboveCopy: “Counted cross-stitch on visible evenweave, consistent X stitches, limited six-color cotton palette, readable grid, preserve the silhouette and markings, no painted gradients or details below one stitch cell.” Increase the grid when a face looks muddy.
Select Cross-Stitch AboveCopy: “Realistic patch mockup, layered fill stitches, raised cream merrow border, natural canvas, subtle shadow, medium-high density, preserve the eyes, expression, markings, and silhouette.” Add the intended patch shape and border color.
Select Patch Recipe AboveCopy: “Minimal outline embroidery using running and stem stitch, plain linen, consistent spacing, preserve contours, face or logo landmarks, and negative space, charcoal with one rust accent, no dense fill.” Use a simple, high-contrast source.
Select Outline Stitch AboveNanoPic creates a raster mockup; it does not calculate needle paths, underlay, pull compensation, trims, color changes, hoop limits, or stabilization. Give a digitizer the original vector or best source, chosen mockup, physical size, placement, fabric, thread references, border, and minimum detail. The digitizer chooses stitch types and density, then returns the machine format your shop needs. Test-sew on comparable fabric before a full run. The sew-out—not the AI image—reveals puckering, gaps, registration, tiny-lettering, and color problems.
Practical answers about free access, credits, source images, prompts, downloads, and the boundary between visual stitch art and production embroidery.
You can open, upload or try the sample, choose a recipe, and configure notes for free. Creating an image requires sign-in and NanoPic credits. Free-credit images include the standard watermark; paid-credit images do not. The generator shows the current cost before generation.
No. NanoPic does not export DST, PES, JEF, EXP, VP3, or other machine formats. It creates a raster stitch-art or patch mockup. A digitizer must convert approved artwork into stitch paths and the format required by your machine or shop.
Use one sharp, well-lit subject with a readable outline, visible face or logo landmarks, and little clutter. Avoid tiny screenshots, clipped heads or ears, blur, crowds, very small lettering, and low-contrast shapes.
Satin Stitch suits smooth fills and short lettering; Cross-Stitch creates counted sampler art; Embroidered Patch adds dense fill and a raised border; Outline Stitch keeps running or stem-stitch contours. Choose one primary construction.
Name a small palette, fabric, border, and relative density in separate phrases—for example, “navy, cream, and rust thread; natural linen; 3 mm cream border; medium density; keep both eyes open.” These are visual directions, not calibrated machine settings.
The template asks to preserve shape, expression, colors, markings, and negative space, but the result is not pixel-locked. Faces, text, geometry, and brand details can change. Compare with the source and keep exact artwork for the digitizer.
Download the image as a visual reference, but a machine needs digitized stitch data, not a JPG or PNG. Give the source, mockup, size, fabric, placement, colors, and border to a digitizer, then approve a test sew-out.
Use only authorized images, likenesses, logos, and characters. Review geometry, text, colors, and rights before publishing. For merchandise, rely on approved artwork, professional digitizing, and a test sew-out—not the AI image as production proof.
Upload one clear source, apply a stitch recipe, refine the thread and fabric notes, and create a realistic embroidery-style mockup to review before professional digitizing.