




















































Save up to 73% on plans

Make Image Higher Resolution
Sign In

Make Image Higher Resolution

Make Image Higher Resolution with real 2× or 4× browser resizing. Compare pixel dimensions and download PNG without claiming recovered detail.

JPG / PNG / WebP · up to 20 MB · processed locally

More AI Image Models & Effects

Browse every other AI image model and effect published on this site in a continuous carousel.

Actual Inputs and Result

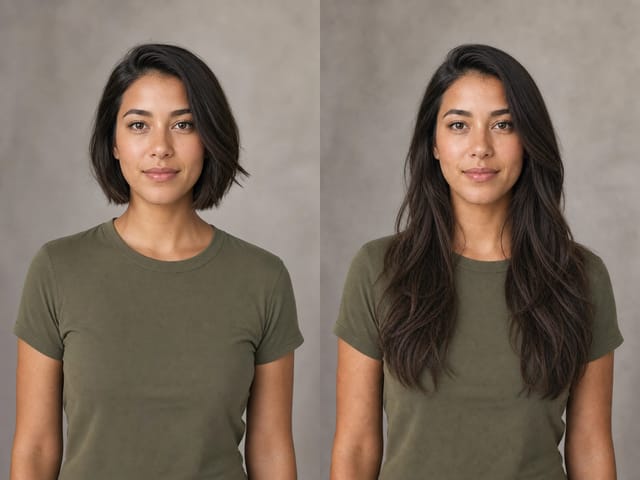
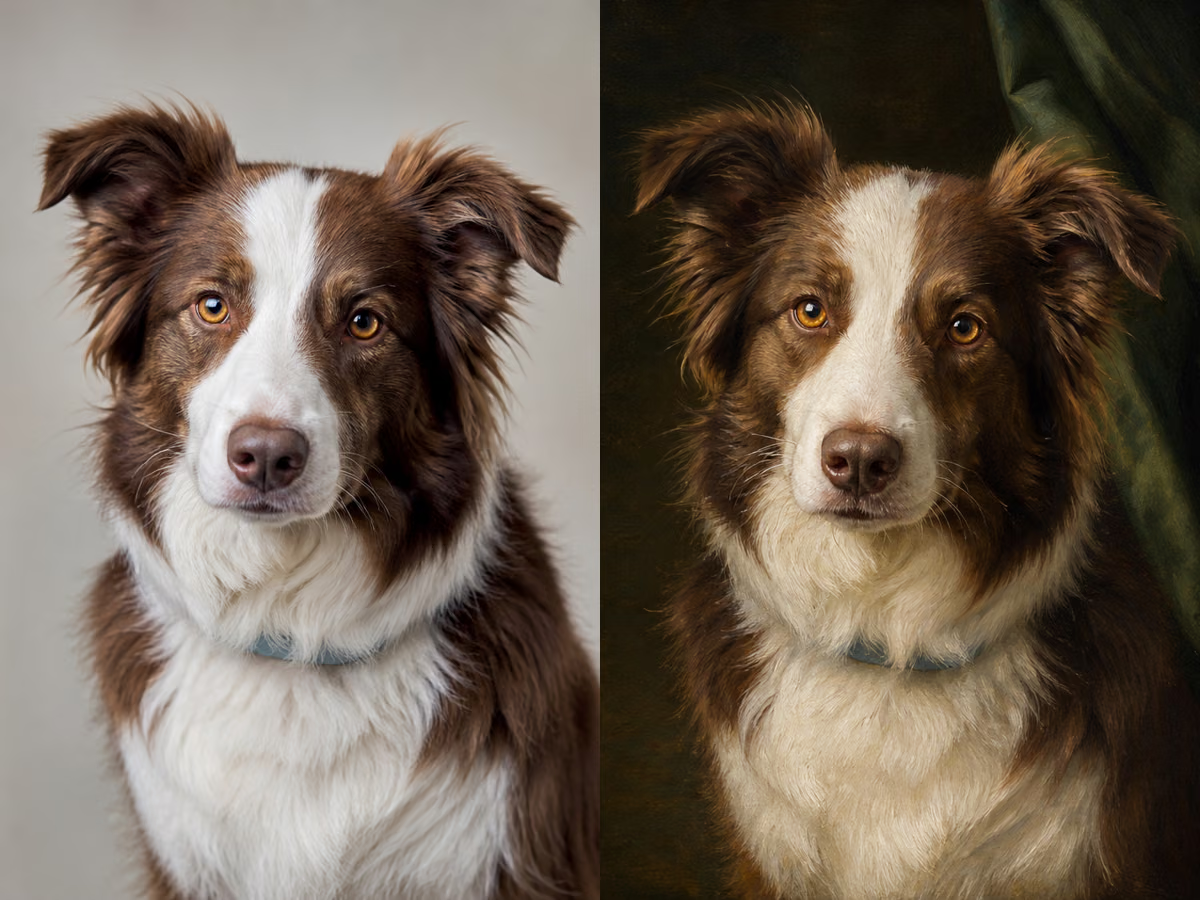
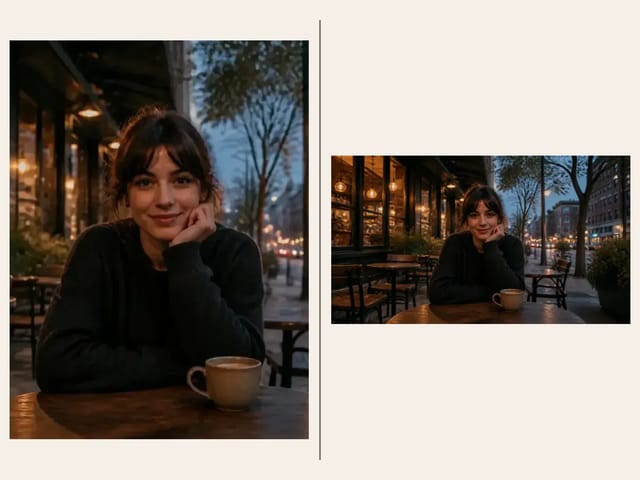
From 800 × 1200 to 1600 × 2400

An actual 2× export preserves the original proportions. A larger pixel canvas can meet layout requirements, but interpolation cannot recover detail absent from the source. Inspect edges at full size; resizing is not AI detail restoration.

From 800 × 1200 to 1600 × 2400

Increase pixel dimensions with a real resize

Upload a still image and choose a two-times or four-times enlargement. The browser creates a new PNG with larger pixel dimensions, shows the exact before-and-after size, and lets you download the result. The operation is resampling rather than AI reconstruction.

More pixels, with an honest limit

If your input is 600 by 400 pixels, a 2× enlargement produces 1200 by 800 pixels and a 4× enlargement produces 2400 by 1600 pixels. Those are actual output dimensions, not just a larger preview on the page. The new pixels are calculated from the source; they are not recovered camera detail. A small blurry face will not become a verified sharp portrait, and unreadable text will not become trustworthy evidence merely because the file is larger.

Choose this when dimensions are the problem

This tool is useful when a layout or upload form requires a larger raster image and you understand the limits of the source. It can prepare a working copy for a presentation, mockup, or image slot without changing the composition. If the real problem is focus, damaged content, missing objects, or poor lighting, a size increase alone will not solve it. Identify the task before processing so you do not mistake a dimensional requirement for an image-quality problem.

Keep the original aspect ratio

Both dimensions are multiplied by the same factor. A square remains square, a portrait remains tall, and a landscape remains wide. There is no stretching to an unrelated shape and no automatic crop. If a destination requires a different aspect ratio, make that composition decision in an editor. Enlarging first does not give you extra scene content to crop into; it only distributes the same picture across more pixels.

Understand the difference between size and detail

Resolution is often used to mean several things. A clear distinction between pixel dimensions, file size, display size, and print density helps you decide whether this tool fits your goal.

Pixel width and height

Pixel dimensions describe the raster grid. Multiplying both sides by two creates four times as many pixels; multiplying both sides by four creates sixteen times as many. The width factor is therefore not the same as the total pixel-count factor. The tool displays both width and height after processing so you can check the actual result. For a strict delivery specification, open the downloaded PNG in your image viewer and confirm those dimensions again.

File size is a separate measure

A PNG with more pixels may take much more storage than a compressed JPEG, but storage size is not a quality score. A larger file can still contain the same visible blur or compression artifacts as the input. Do not judge success by megabytes alone. Consider whether the image is usable at its intended display size and whether the destination accepts PNG. If you later convert it to JPEG, inspect that converted file for a new round of compression artifacts.

Print density is a layout choice

Print size depends on how many pixels are assigned to each physical inch. This tool changes the raster dimensions, not a promise about print sharpness or a particular printer. Check the print application’s size and density settings, make a proof when necessary, and judge the image at the intended viewing distance. Adding pixels does not create the same evidence as a higher-resolution original photograph, even when the final document accepts the file.

Choose between 2× and 4×

Start with the smallest enlargement that meets your dimensional requirement. The larger option demands more memory and creates more interpolated pixels without adding genuine source information.

A practical 2× first pass

Choose 2× for a modest increase that is easier to inspect and download. A 900 by 600 image becomes 1800 by 1200, keeping its original proportions. Compare a high-contrast edge and a textured region before deciding that the result is suitable. Smooth interpolation can soften some edges, which may be acceptable for a photograph but less desirable for a tiny pixel-art asset. The original is still the reference for judging what was actually present.

Use 4× for a specific need

A four-times enlargement is appropriate only when the resulting dimensions are useful to your layout and remain within the tool’s limits. It produces sixteen times the source pixel count, so memory and file size can rise quickly. Do not select it simply because it is the largest number. If a smaller export meets the requirement and looks the same at the intended display size, the smaller file may be more practical to store, share, and upload.

Respect the output cap

The output must be no larger than 8,192 pixels on either side and 16 megapixels in total. The tool rejects an enlargement beyond those bounds instead of silently returning a smaller factor. For example, a 2000 by 2000 input fits at 2× with a 4000 by 4000 output, while 4× exceeds the total-pixel limit. Choose a smaller source or lower factor when prompted, and keep enough memory available in the browser.

Process and verify the downloaded PNG

The visible result is part of the workflow, but the downloaded file is the deliverable. Check that file rather than relying solely on a scaled browser preview.

Upload a clean source

Select a static JPG, PNG, or WebP up to 20 MB. Use the original export when possible, with the complete composition and a sensible orientation. A screenshot includes any interface elements or borders captured in it; the tool does not remove those. Very small sources may already lack the information needed for the final design. If a higher-resolution original exists, obtaining it is often more useful than enlarging a heavily compressed copy.

Apply the selected multiplier

Choose 2× or 4× and press Enlarge image. The browser decodes the source, draws it into the larger raster using high-quality smoothing, and encodes a PNG. The displayed dimension pair identifies the completed operation. Changing the multiplier clears the previous result to avoid downloading a stale size by accident. Apply the new setting before downloading again, and use the filename suffix to distinguish the enlargement from your original.

Open the file at native size

After downloading, inspect the PNG’s width and height in an image viewer or editor. Look at the image at one hundred percent as well as at its intended display size. Check text edges, fine lines, hair, and repeated patterns for softness or ringing. A browser fit-to-window preview can conceal those issues by scaling the image down again. Accept the result based on the actual use case, not the impression of a larger on-page panel.

Match the workflow to the image type

Different content responds differently to smooth enlargement. The tool performs one general-purpose operation, so it is useful to recognize cases that deserve a different method.

Photographs and presentation imagery

Smooth resampling can be suitable for a photograph placed into a larger presentation or rough layout, especially when viewed from a distance. Check recognizable faces and textures because the process cannot restore missed focus. Do not represent an enlarged photograph as an untouched high-resolution original. For a final campaign or large print, try to obtain the source file with the required native detail and compare both versions in the destination layout.

Logos, diagrams, and small text

If a vector original exists, export it at the required size from the design application instead. Enlarging a small raster logo can soften its edges, and text remains limited by the source. For diagrams with precise line weights, rebuild or re-export from the editable document when possible. This tool does not trace vectors, recognize text, or correct spelling. An apparently cleaner letter in an enlarged image should not be treated as recovered information.

Pixel art and exact edge work

This tool uses smooth interpolation rather than a dedicated nearest-neighbor pixel-art mode. That choice can blur deliberately hard pixel boundaries. Use an editor with an explicit nearest-neighbor option when preserving block structure is essential. Likewise, avoid treating a resized technical scan as a measurement-preserving or forensic enhancement. The dimensions are predictable, but the visual interpolation is not a substitute for the specialized processing your project may require.

Keep files organized after enlargement

A simple file routine prevents accidental reuse of an old result and makes it easier to compare alternatives later.

Preserve a source copy

Keep the original file beside the enlarged export with a distinct filename. Repeatedly enlarging an already enlarged result compounds interpolation without discovering new information. Return to the original for another multiplier or editing decision. If you need a crop as well, decide the crop carefully and record which version became the final source. This is especially useful when several people share image assets and the origin of a file can become unclear.

Test the destination

Upload the PNG to a draft of the intended page or document and check its rendered size. Some applications reduce images automatically or impose their own limits, so a successful local enlargement does not guarantee the destination will retain every pixel. Review transparency against the actual background, inspect any conversion performed by the platform, and confirm the resulting layout does not stretch the image. The final context matters more than the intermediate preview.

Questions before you create

Is this an AI upscaler?

No. This page uses browser image resampling. It increases the actual raster dimensions with smooth interpolation and does not call an AI detail-recovery model. The distinction is visible because a larger grid of pixels does not mean missing source detail has been reconstructed.

How do I know the download is really larger?

Compare the input and output dimensions displayed after processing, then open the downloaded PNG and inspect its image properties. For example, a 320 by 240 source must become 640 by 480 at 2× or 1280 by 960 at 4×. The browser preview size alone is not the test.

Can it repair unreadable text or a blurred face?

No reliable recovery is promised. The output interpolates existing information and can retain blur or compression defects. Use the original source where accuracy matters. Do not infer identities, fine markings, or factual text from a resized image as if the enlargement created new evidence.

Does the file leave my device?

This tool processes the selected file in the browser without sending it to an AI image service. Results are temporary until you download them. They are not saved to account History, and refreshing or closing the page removes the temporary download link.

Can it preserve transparency?

PNG output supports alpha, and a supported transparent source can retain transparency through the resize. Edge pixels may be interpolated during enlargement. Check the result against the intended background, particularly around fine outlines or partially transparent material.

Why can I not enlarge a large photograph by 4×?

The output cap is designed to limit browser memory consumption. A 4× change in width and height creates sixteen times as many pixels. Choose 2× or a smaller working copy if the result would exceed 8,192 pixels per side or 16 megapixels overall.

Will it keep camera metadata and animation?

The result is a freshly encoded still PNG. Do not rely on original camera metadata, editing history, or animation being retained. Use a dedicated application for animated media, RAW workflows, or archival metadata preservation, and keep the original file separately.

Can I make the file smaller afterward?

Yes, a separate export or compression workflow can reduce storage size, but review its result because it may change dimensions, transparency, or visual quality. First decide the dimensions needed for your destination, then choose an appropriate final encoding. More megabytes are not automatically more useful.

Start with your own reference

Choose one clear goal, then inspect the result.

Related tools