









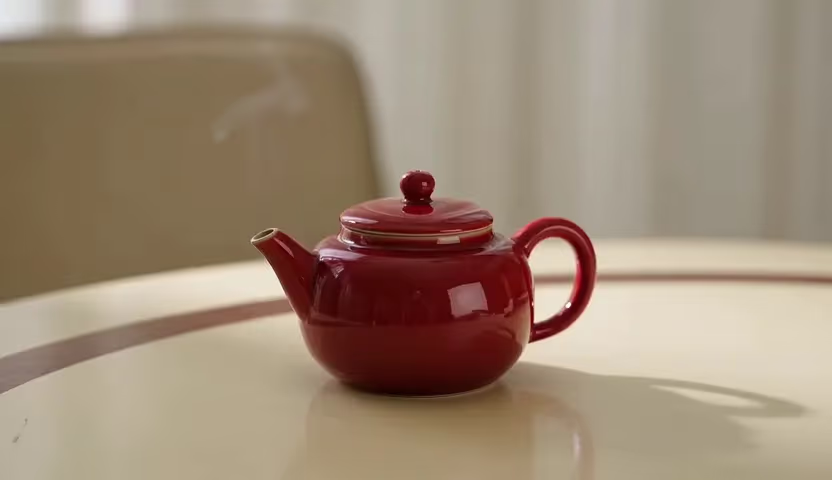
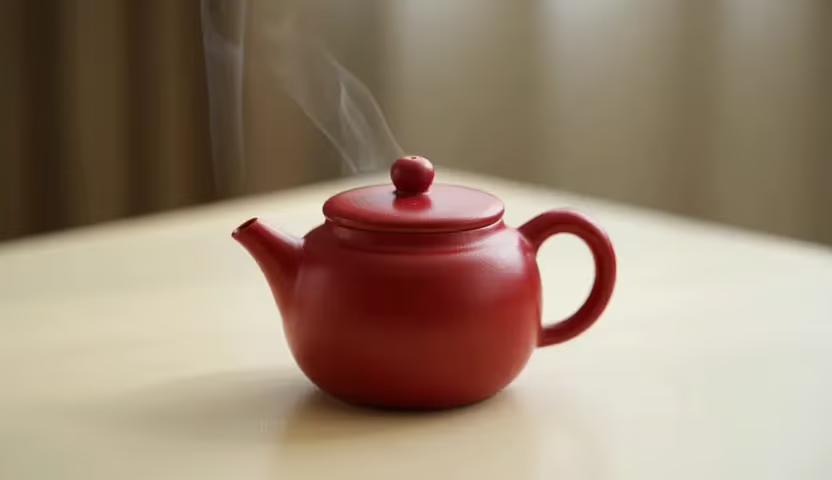

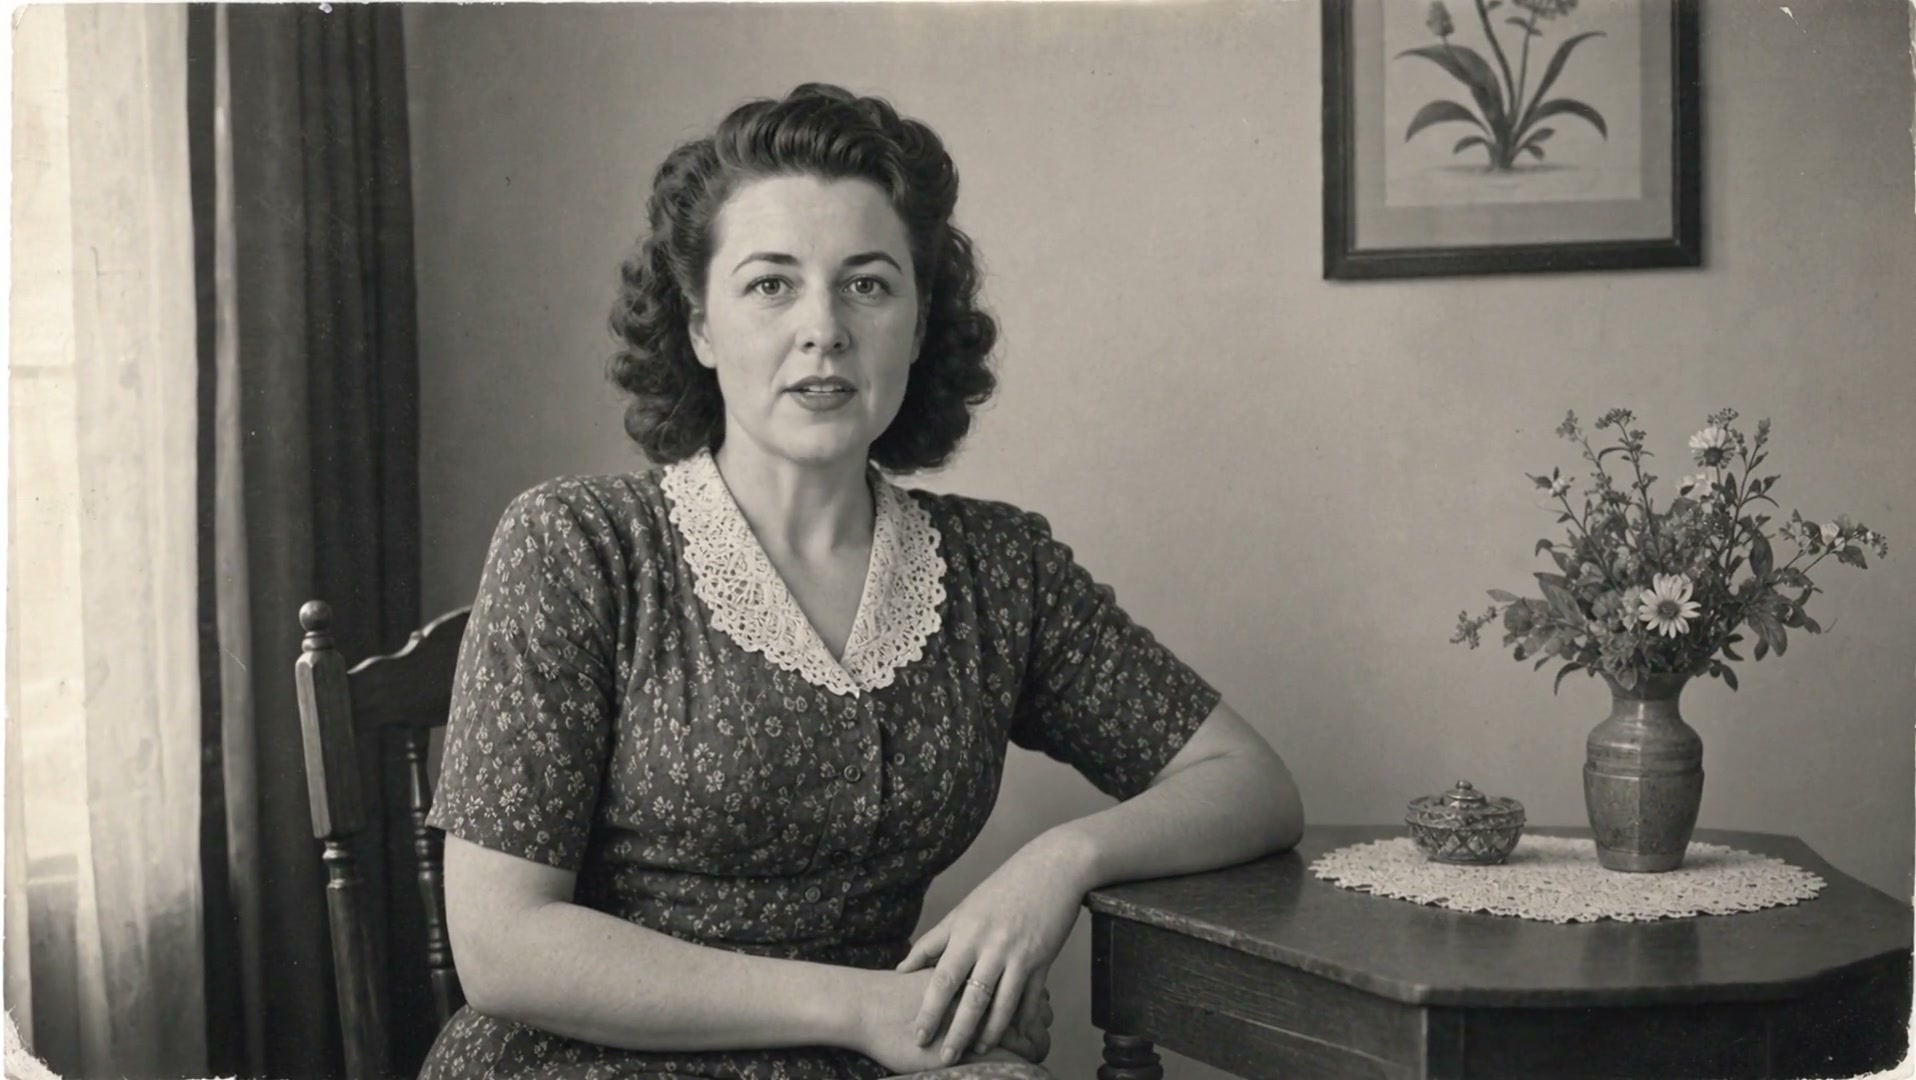
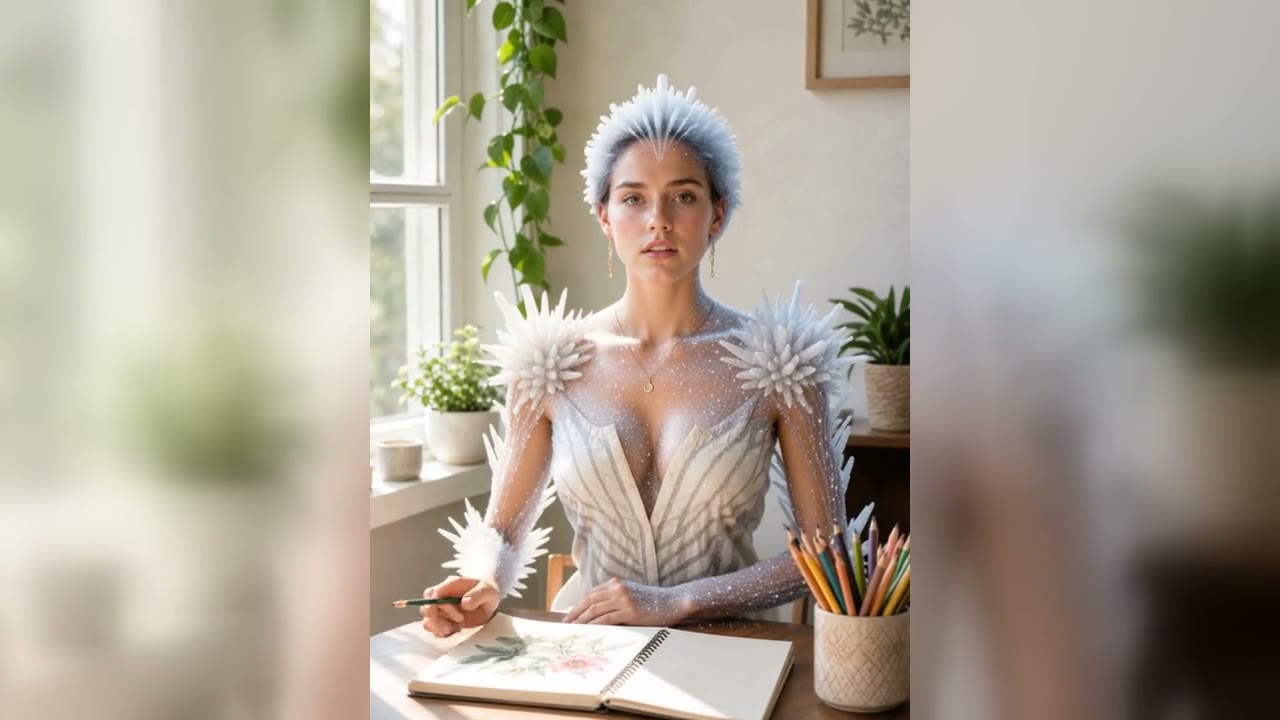
Text-to-video and image-to-video
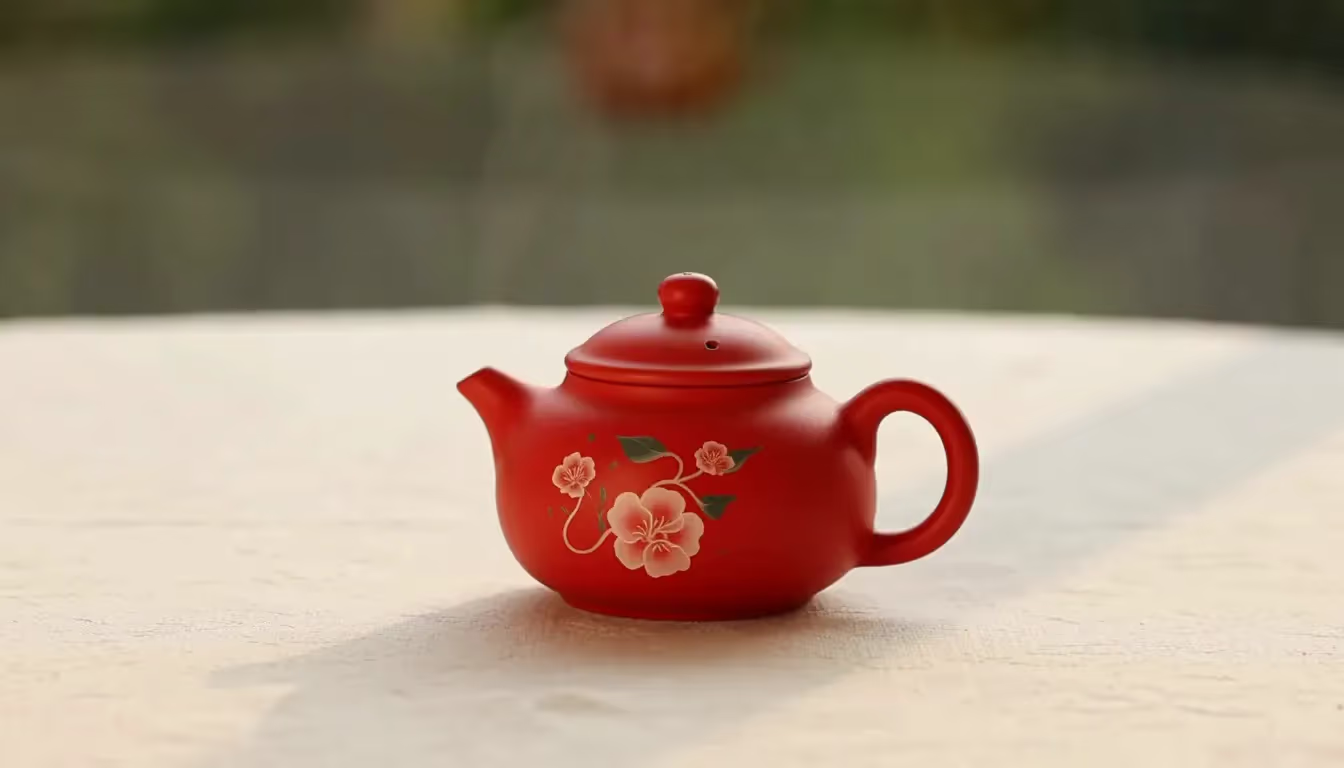
Start with a scene prompt or animate a single source image. Describe visible action, camera movement, pace, atmosphere, and the final state rather than writing a multi-scene synopsis.
Save up to 73% on plans
PixVerse V6
AI output preview
Browse every other AI video model and effect published on this site in a continuous carousel.

NanoPic brings the PixVerse V6 family into one practical page. Use the standard model for text-to-video or image-to-video, switch to PixVerse V6 Transition for a first-to-last-frame change, or choose PixVerse V6 Reference when visual guidance should shape the generated clip.
Select the workflow that matches the material you already have.
Start with a scene prompt or animate a single source image. Describe visible action, camera movement, pace, atmosphere, and the final state rather than writing a multi-scene synopsis.
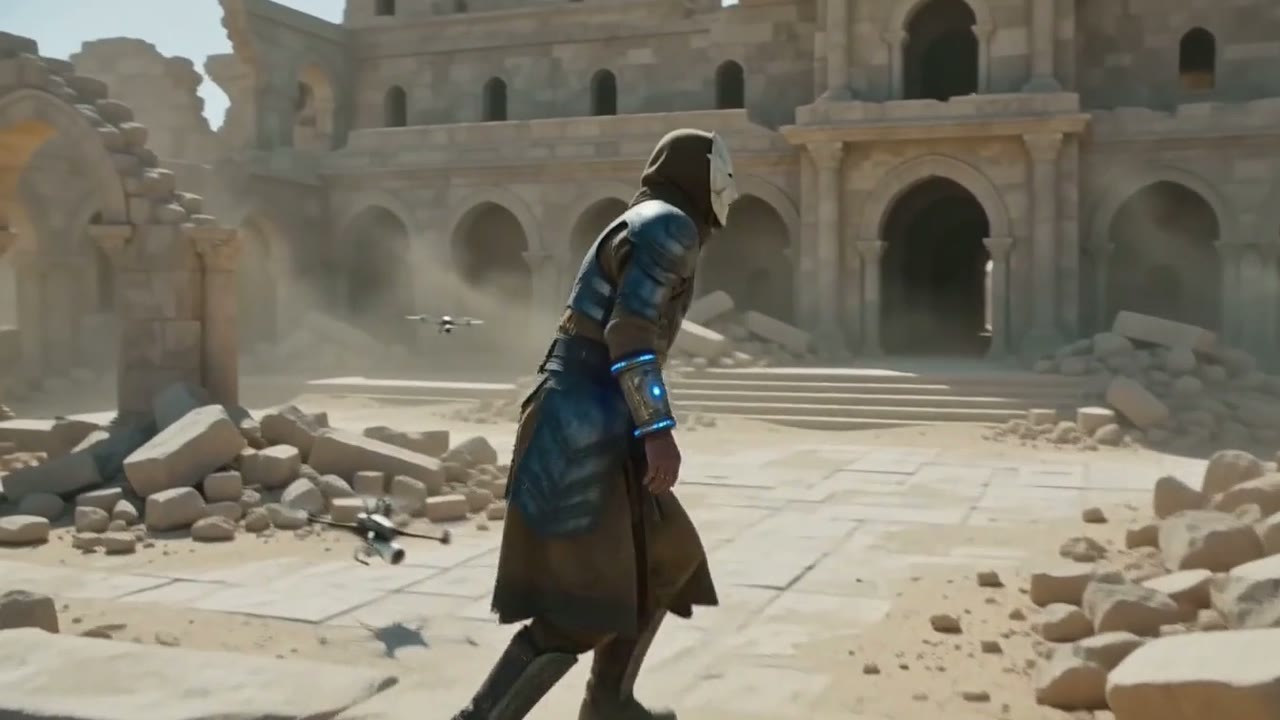
Use the Transition selector when both the opening and ending compositions matter. Choose frames with compatible subjects and explain how the scene should travel between them.
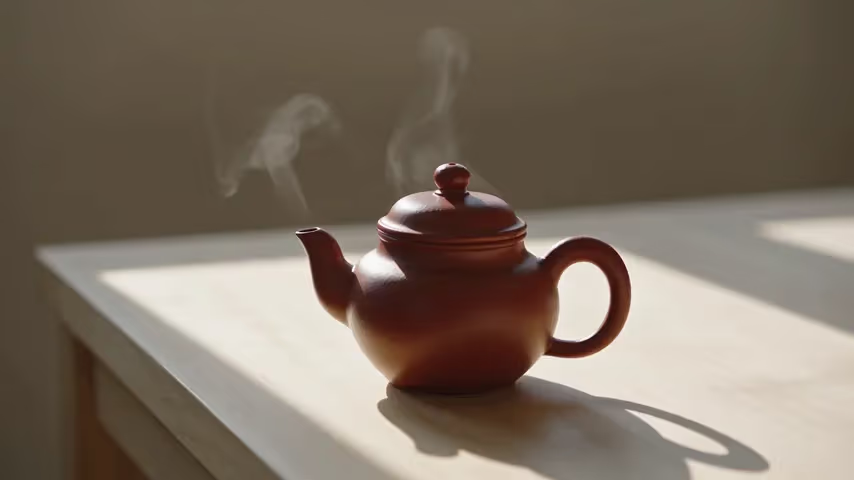
Use PixVerse V6 Reference when supporting visuals should guide appearance or direction. Keep the references relevant and state the role each source should play in the clip.
A compact motion brief makes the result easier to judge and revise.
Choose text, a starting frame, two transition frames, or references first. Your available source material determines which instructions the model can follow most directly.
Name the subject action, camera behavior, environmental movement, timing, and ending pose. Keep the first attempt short and avoid contradictory camera commands.

Watch for shape drift, sudden cuts, camera jumps, background warping, or unwanted text. Refine the weakest dimension while preserving the parts that already work.
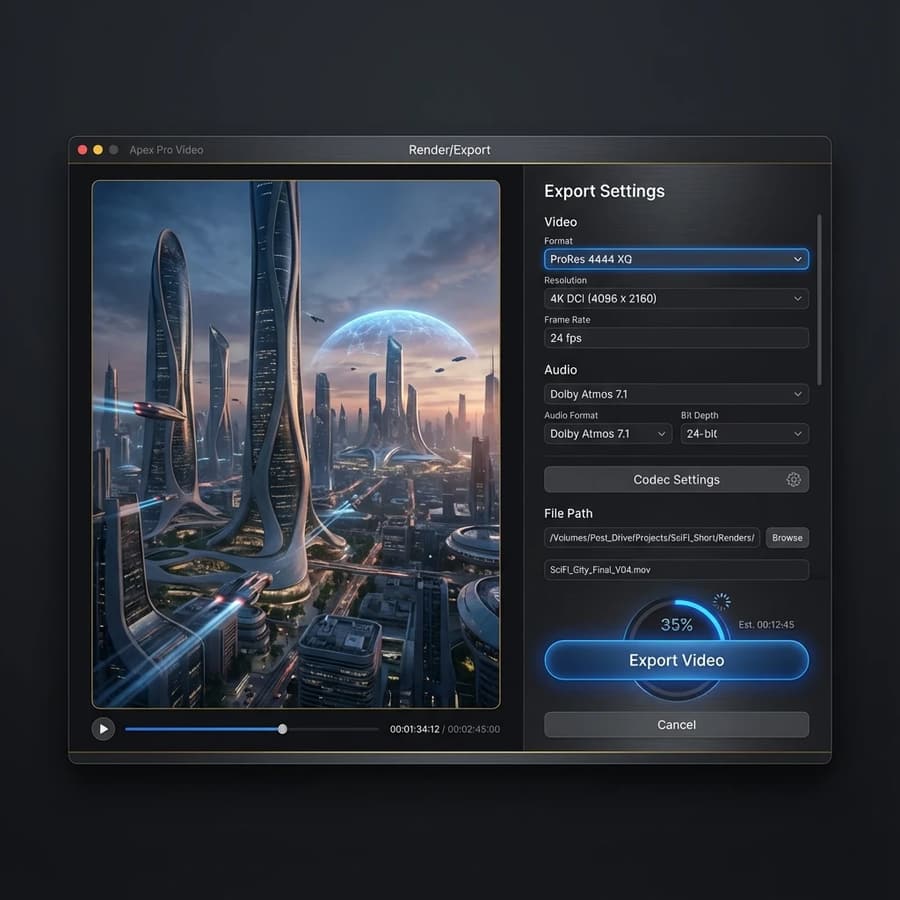
Pick the input route that matches the assets and continuity requirements of the shot, then record the prompt, sources, output settings, review criteria, and intended destination with the selected clip.
Use text-to-video for a new scene without a required opening frame. Keep the brief to one subject action, one camera behavior, a clear environment, and a visible ending condition. This route is useful for early story exploration, atmospheric inserts, and motion ideas where composition can remain flexible while the creative team evaluates timing and direction.
Choose image-to-video when an approved product, character, or composition must establish the first frame. Use a clean source with enough space for the requested movement and describe motion compatible with its geometry. Review shape, identity, labels, contact, shadows, and camera drift across the complete clip before treating the result as a usable product asset.
Use PixVerse V6 Transition when both boundary frames are deliberate and the value lies in connecting them. Align perspective, subject scale, lighting, and layout as much as possible before upload. Inspect every intermediate frame for hidden cuts, implausible morphs, object loss, and detours that reach the ending image without creating a coherent visual transition.
Choose the Reference model when supporting images should influence subject or style without acting as fixed keyframes. Assign each reference a clear purpose and remove contradictory material. Compare the result with a prompt-only baseline to confirm what the references contributed, then verify rights and make sure their influence did not introduce unwanted identity or composition drift.
How the PixVerse V6 family is organized on NanoPic.
NanoPic supports KIE's PixVerse V6 text-to-video, image-to-video, transition, and reference-to-video routes.
They are workflows in the same V6 family. This page explains their differences without creating thin, repetitive model pages.
Use it when you have both an opening frame and an ending frame and want the model to generate the motion between them.
Review subject identity, object geometry, camera continuity, frame transitions, text, logos, and usage rights for every uploaded reference.
Choose the right input route, describe one clear motion beat, and review the complete clip before reuse.