













Save up to 73% on plans

Face in Hole Generator
Sign In

Face in Hole Generator

Upload the face you have permission to use, then a destination photo. Describe the intended face area and generate one blended image.

1. Your authorized adult portrait*
Try 1. Your authorized adult portrait sample
2. Destination photo or template*
Try 2. Destination photo or template sample

Please add the required 1. Your authorized adult portrait, 2. Destination photo or template before generating.

253 / 1,200

Copy Protection
Public VisibilityAllow this result to appear in public inspiration surfaces.

Your Creative Photo Composite

Image

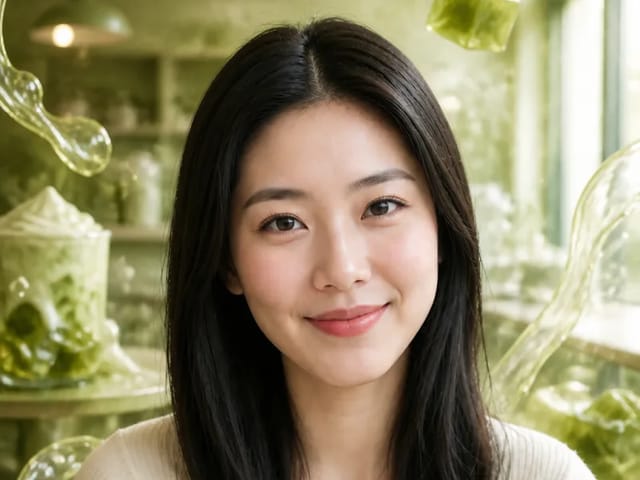
AI output preview
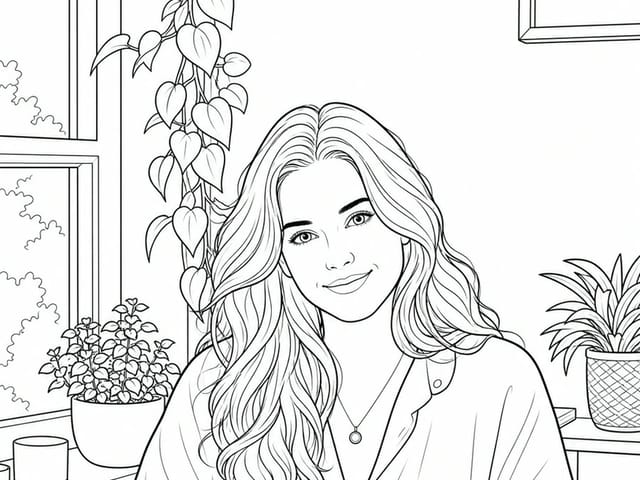
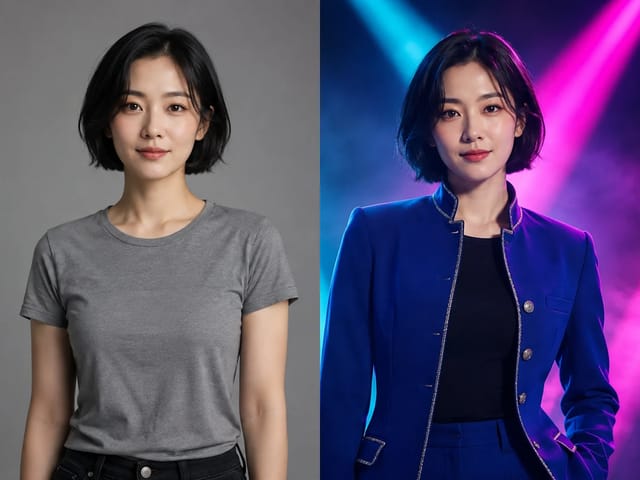
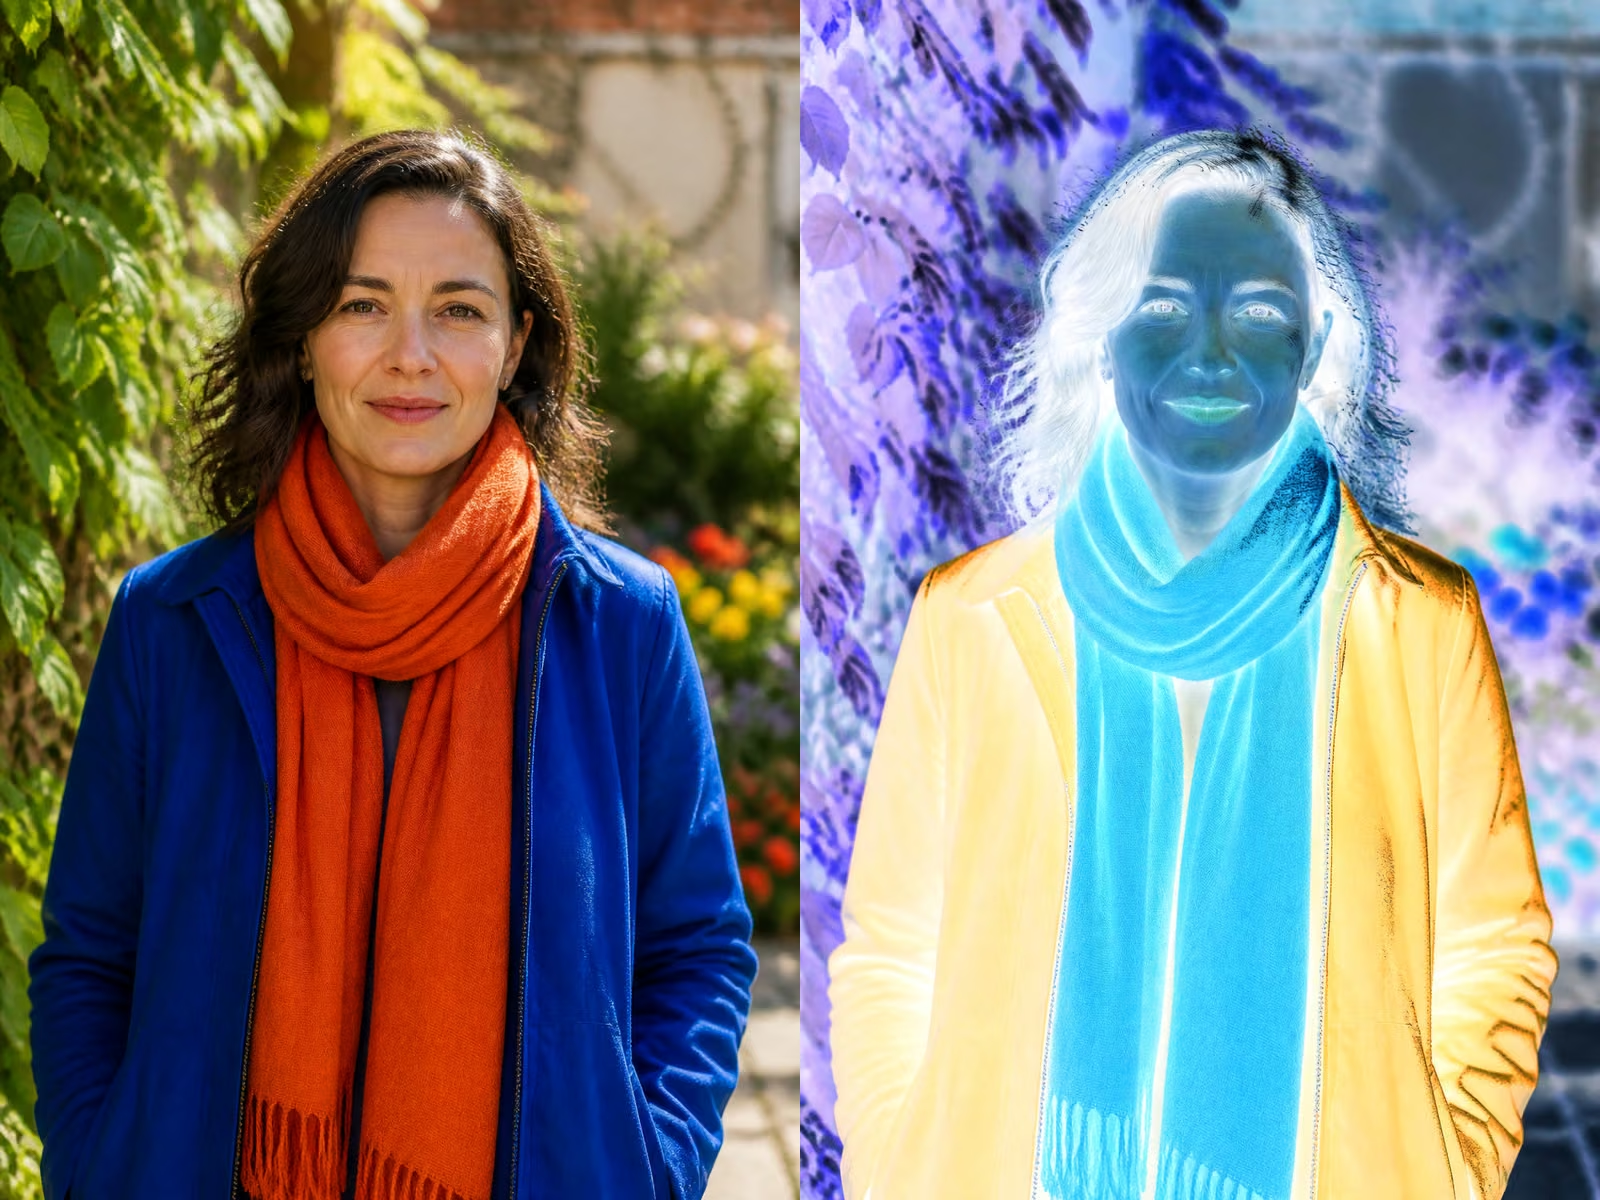
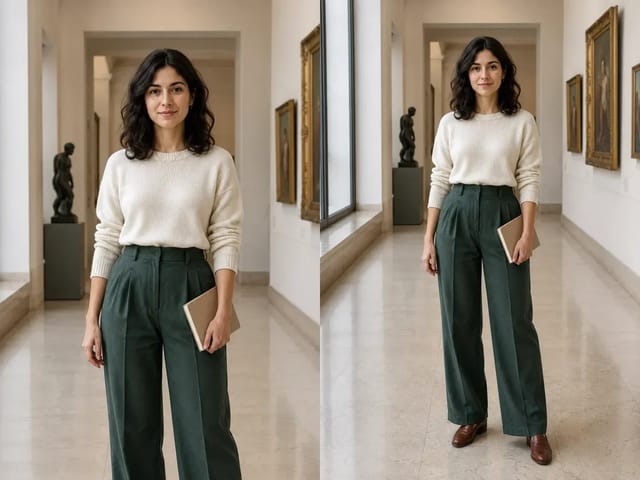
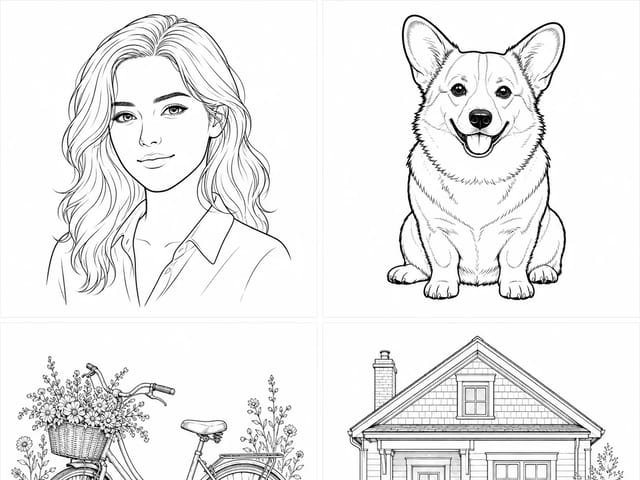
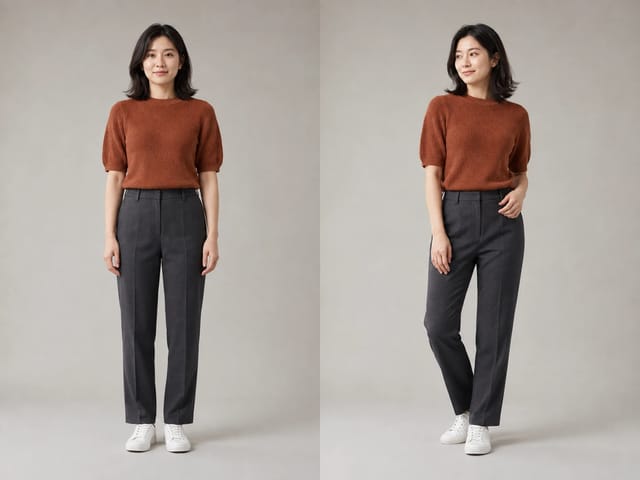
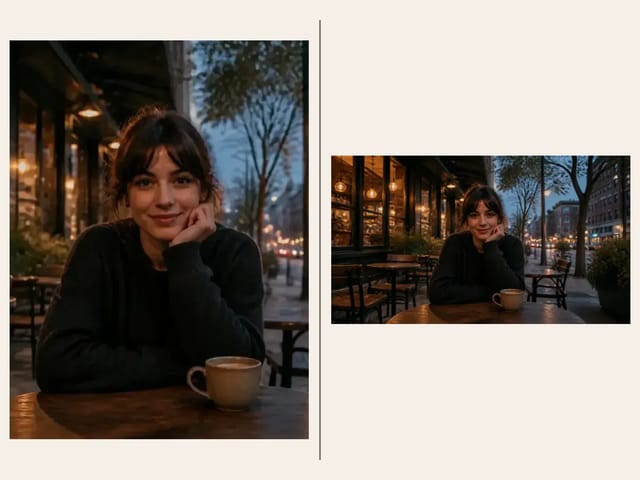
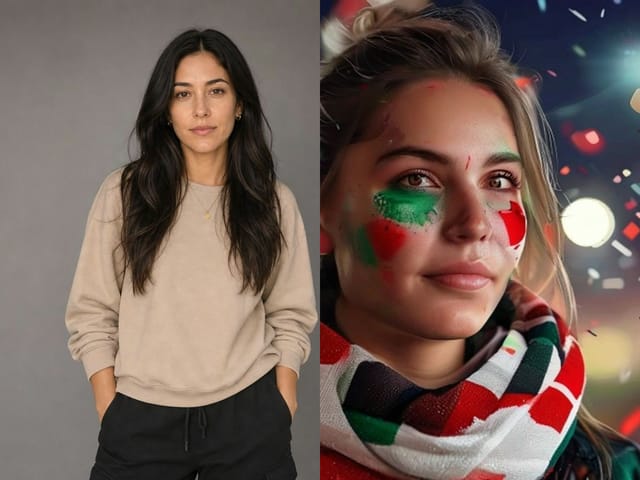
A portrait reference and a target composition

More AI Image Models & Effects

Browse every other AI image model and effect published on this site in a continuous carousel.

Actual Inputs and Result

A portrait reference and a target composition

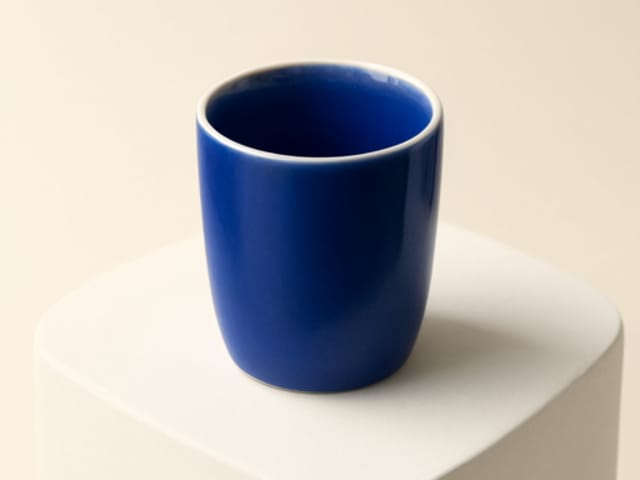
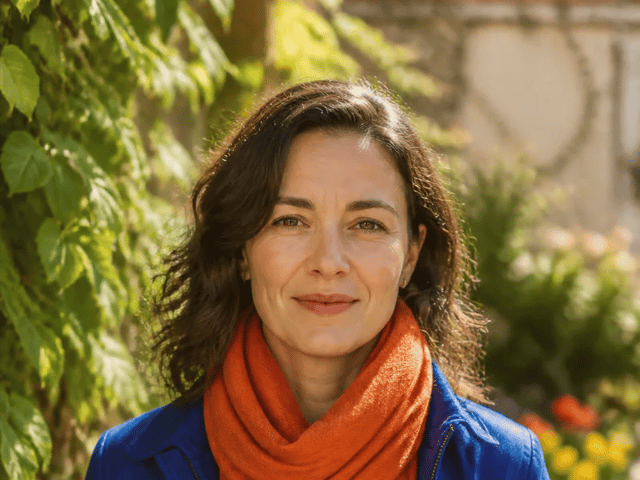
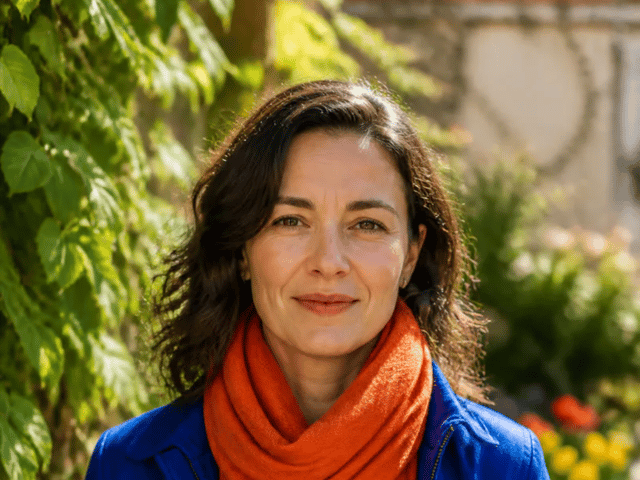
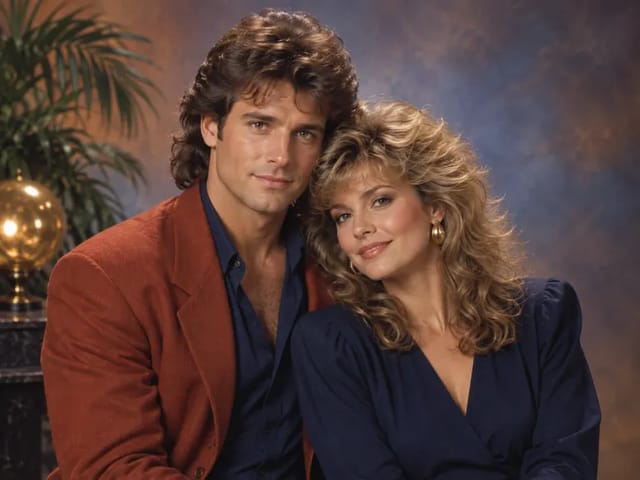
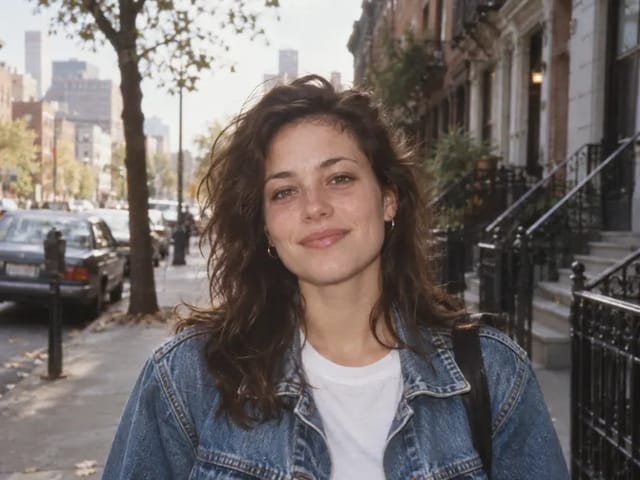
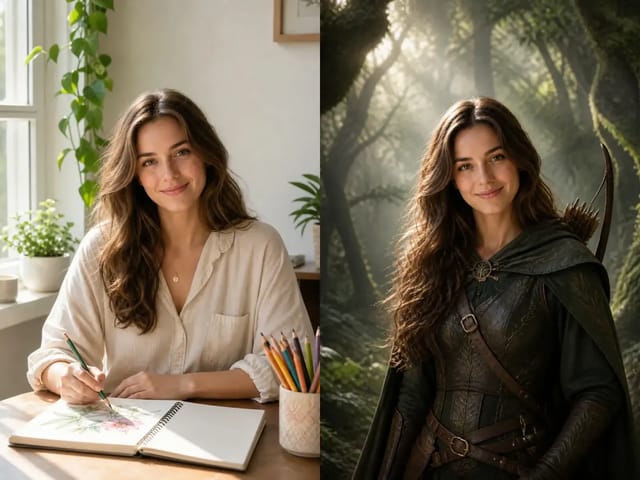
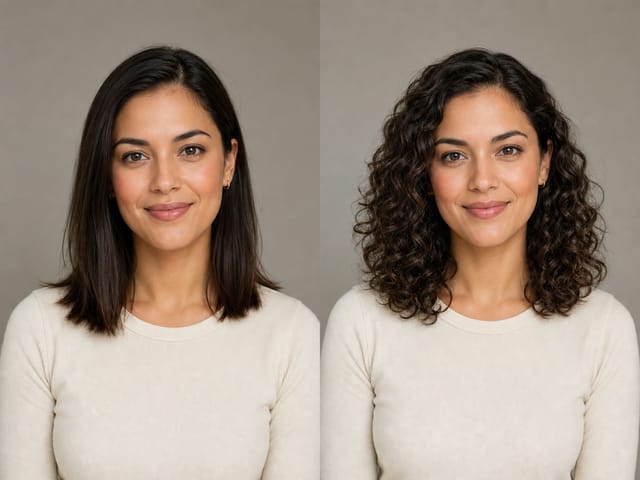
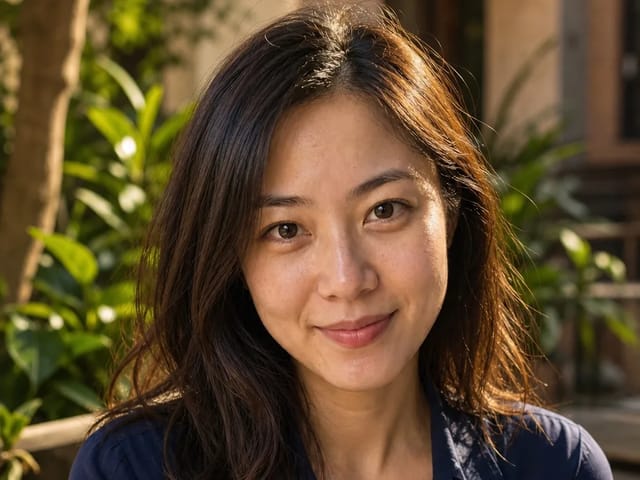
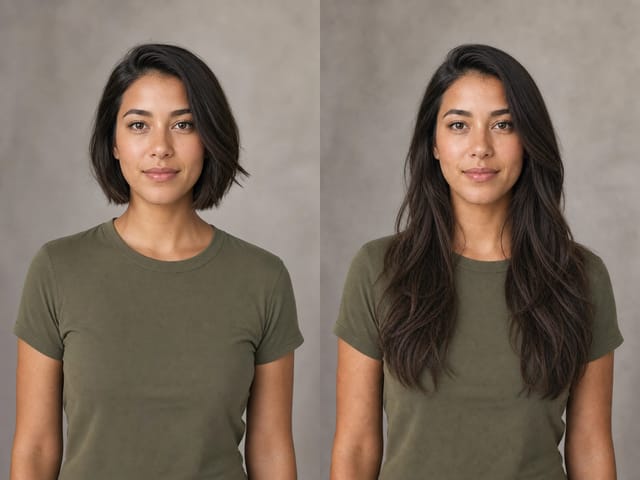
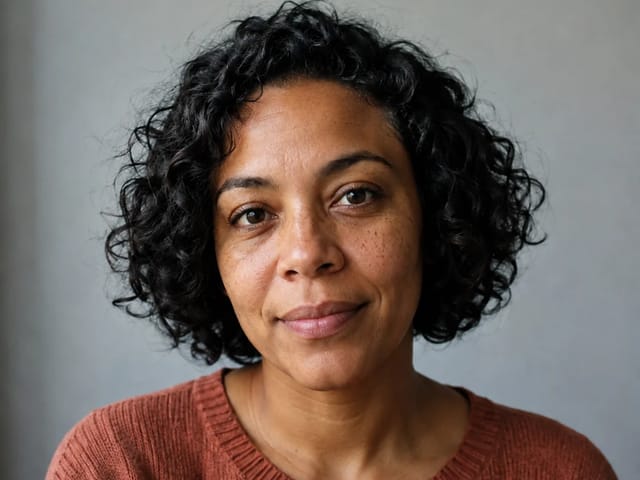
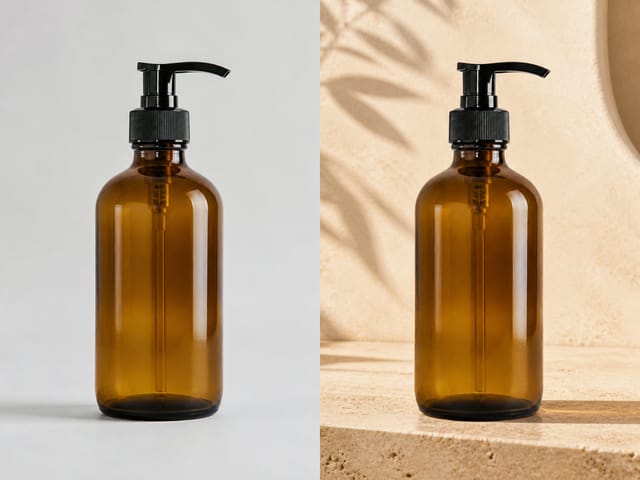
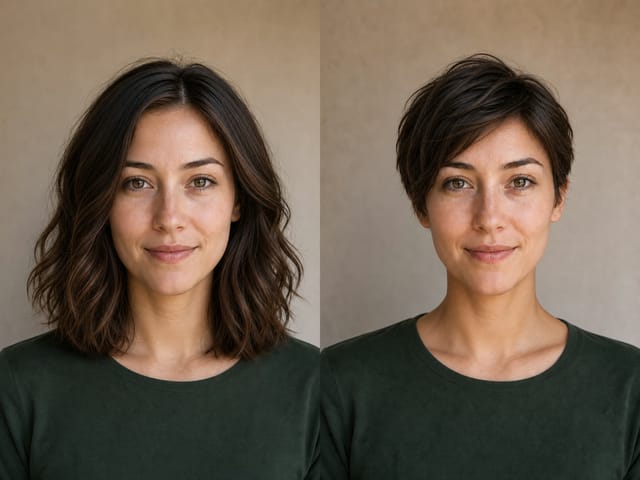
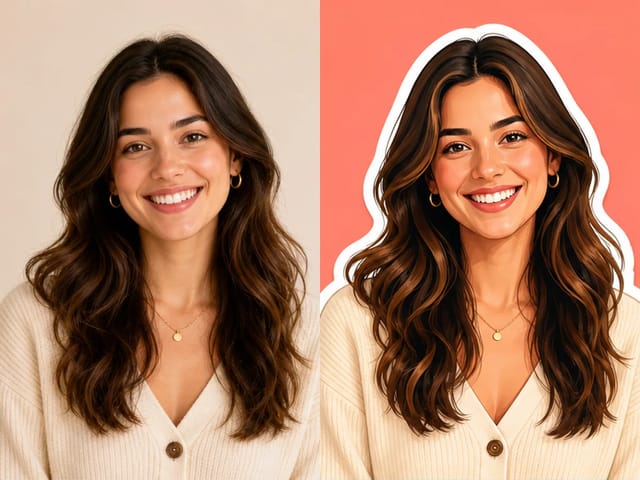
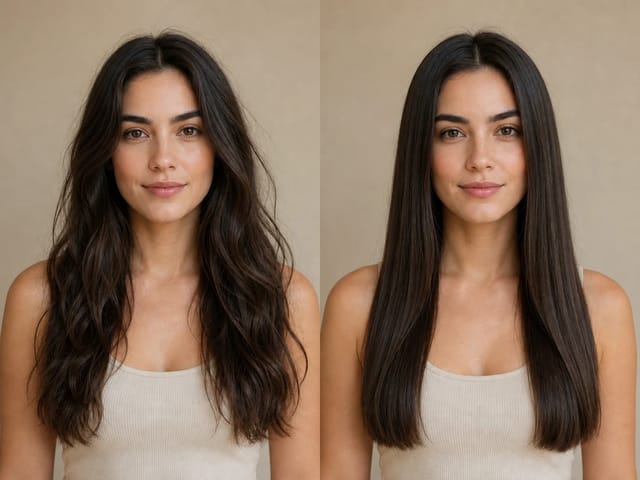
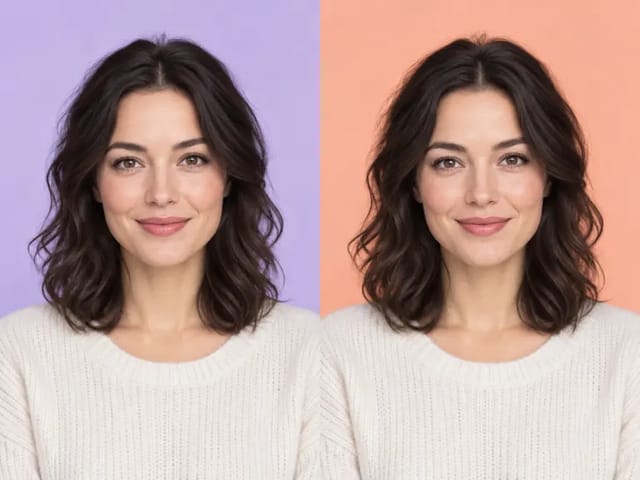
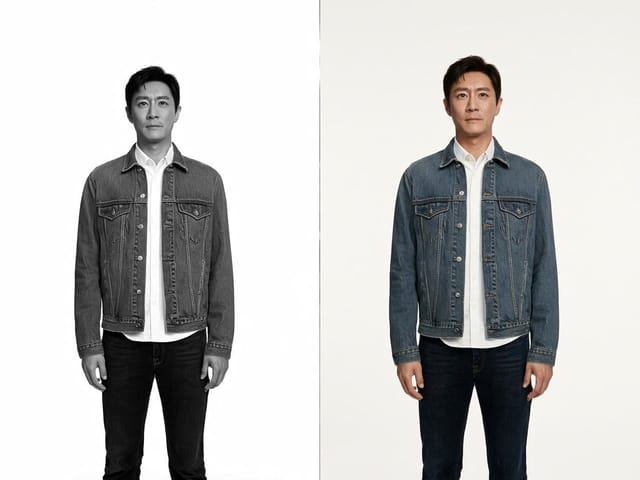
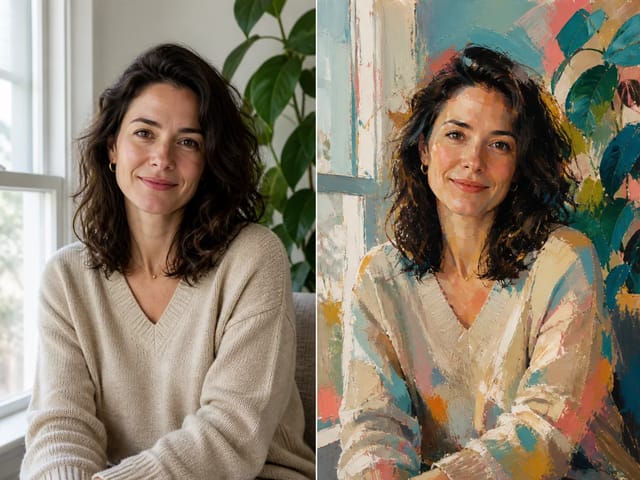
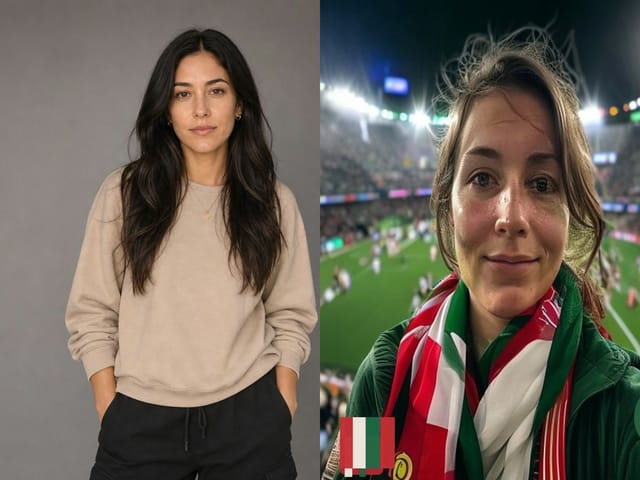
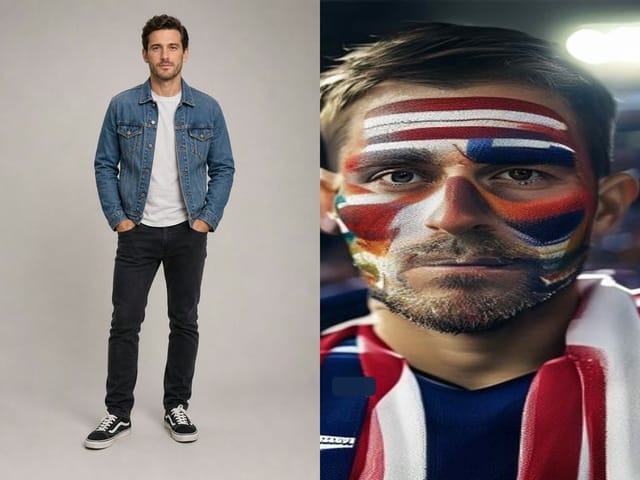
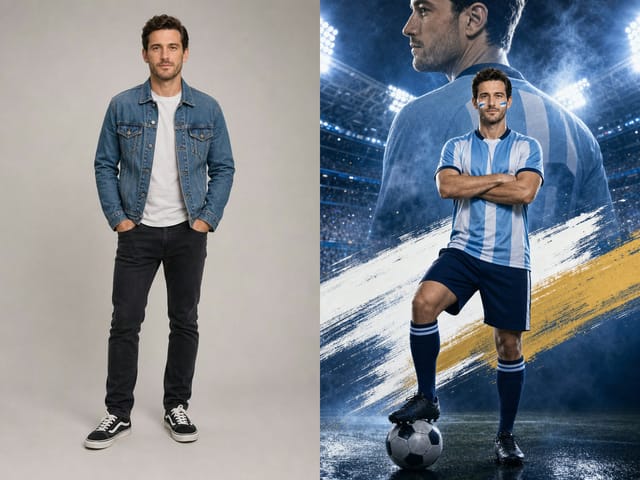
This is an actual Nano Banana 2 result from two input images. Compare the portrait reference and target composition, paying attention to facial features, the neck transition and overall pose. AI editing can alter details, so inspect the full result rather than only the thumbnail.
A portrait reference and a target composition

Put Your Face into a Photo without Losing the Scene

Face in Hole Generator combines two different visual jobs. Your first image supplies the face you want to recognize. Your second image supplies the destination: its costume, body pose, background, camera position and lighting. Keeping these references separate makes the instruction clearer than a single collage that asks the model to guess which person belongs where. This is a creative generative edit, so the result is not guaranteed to preserve every original pixel. Review the whole image before you share it.

Identity first, destination second

Keep the source portrait clear enough to show the eyes, nose, mouth, hairline and face shape. In the destination photo, make the intended face easy to identify. One main person is simpler than a crowded group. The generator uses the fixed upload order to separate identity from scene, so reversing the images changes the meaning of your request.

A blended photo, not a flat sticker

A useful composite aligns head size, viewpoint, shadows and color rather than pasting a rectangular face over a body. Ask for a natural jaw transition and compatible light. If the target has a helmet, high collar or glasses, mention which items should remain and whether they obscure the face. Inspect those edges carefully in the result.

You choose the template

Upload a destination photo you own or are licensed to edit. It can be a costume portrait, a studio concept or a fictional celebration scene. A transparent cutout is not required because the model interprets the intended face area. This workflow does not include a pixel-selection mask or a promise to preserve every background detail exactly.

How to Use the Face in Hole Generator

Prepare two clean references, make one placement decision and compare the result with both originals.

1. Choose an authorized adult portrait

Use your own image or a portrait whose subject has agreed to this edit. A sharp front or gentle three-quarter angle works well. Avoid heavy sunglasses, a hand covering the mouth, motion blur and extreme shadows. A recent ordinary photo is usually a stronger identity anchor than a highly retouched or stylized image.

2. Choose the destination composition

Look at the target head angle before uploading. A frontal source and a fully turned-away destination can force the model to invent unseen facial details. Choose a scene with enough room around the complete head. Keep the original proportions visible and avoid a crop that removes the chin or top of a hat.

3. Explain what must stay unchanged

The prefilled prompt protects the destination costume, pose, background and camera. Add a short specific instruction such as retain the blue jacket and stone wall, match the warm light from the left, and replace only the foreground person's face. Do not combine several unrelated style transformations in the same first attempt.

4. Compare, refine and save

Check the result at full size, then at the size you will actually share. Compare identity with the first image and composition with the second. If the blend needs improvement, revise one detail in the prompt instead of changing both references and every instruction at once. Save only a result you are comfortable labeling as an edited image.

Face in Hole Ideas for Your Own Templates

Use an original or licensed scene that fits the face angle and intended audience. The ideas below describe creative directions, not included model-output examples.

Costume and studio portraits

An original explorer outfit, theatrical jacket or space-themed costume gives the face a clear visual setting. Preserve the costume seams, shoulder position and camera distance. Avoid official uniforms, identity documents or anything that could make a fictional portrait look like proof of employment, membership or a credential.

Celebration invitations

Create a playful portrait for a private celebration using a scene that the subject approves. Leave a calm area for a name or greeting, then add exact event information in a design editor after generation. Keeping typography separate makes dates, spelling and accessibility easier to control than asking a face edit to handle a whole invitation.

Character concept mockups

Explore how an authorized adult might appear in a fictional character setting. Describe the destination outfit, camera and mood, while asking the model to preserve recognizable facial traits. Treat the result as a concept image, not a casting guarantee or a record of a real performance. Make the fictional context clear when presenting it.

Review the Face, Edges and Unchanged Areas

A convincing small thumbnail can hide problems. Open the saved image and check the same points every time.

Facial identity and expression

Compare the eye spacing, nose shape, mouth, jawline and visible age with the identity reference. The result may reinterpret details rather than copy them exactly. Reject a version that changes the person beyond recognition, adds a different expression you did not request, or creates mismatched eyes and teeth.

Hairline, jaw and accessories

Look for bright seams around the cheeks, duplicated ears, a disconnected neck and missing glasses arms. Hair and hats often overlap the replacement region. Decide whether those belong to the destination or identity source, then write that rule explicitly. A simple priority is easier to follow than asking two conflicting hairstyles to coexist.

Background and body preservation

The destination should still read as the same scene. Compare hands, clothing patterns, nearby objects and the horizon. Generative editing can change areas beyond the face, even when the prompt says not to. If exact preservation is essential for professional production, use a dedicated masked compositing editor for the final controlled assembly.

Useful Face Placement Instructions

Write concrete visual constraints rather than simply asking for a perfect result.

Match warm studio lighting

Use image one as the authorized face identity and image two as the full studio scene. Keep the jacket, shoulders, wall and camera unchanged. Match the warm key light from the left, retain natural skin texture and blend the jaw into the existing neck without a bright outline. Keep the whole head inside the frame.

Preserve a destination costume

Replace only the central adult's face in image two. Keep its fictional costume, collar, hat, pose and environment. Use the recognizable facial structure from image one, adapt the angle naturally and preserve the target hat edge. Do not add extra people, text or logos and do not change the destination image into a multi-panel collage.

Fix Common Face in Hole Problems Methodically

A useful revision names one visible problem and protects the parts that already work. Keep both reference files unchanged for a controlled comparison, and avoid treating a different random outcome as a precise fix.

The face is too large or too small

Compare the face with the destination shoulders, neck and head silhouette. Ask for the same head scale as the destination rather than a larger recognizable face. Keep enough space around the source portrait to show the whole head, because a tight crop can make it harder to infer natural proportions. If the destination itself is a caricature, decide whether you want realistic or intentionally exaggerated proportions before revising. Do not mix both directions in one instruction.

The lighting belongs to the source instead of the scene

Describe the destination's strongest light source, its color and the shadow direction. Ask the model to retain identity while adapting facial illumination to that scene. A bright outdoor source and a dim theatrical destination require substantial interpretation, so first try references with closer lighting. Check the eye sockets, nose shadow and neck after the change. A warmer skin color alone does not mean the light has been physically matched.

The hairstyle or costume changed unexpectedly

Assign each overlapping feature to a reference explicitly. For example, keep the target hat and jacket, use the source facial structure, and preserve the destination hairstyle around the hat. If your priority is the source hair instead, say so and allow enough room in the composition. The model cannot preserve two contradictory silhouettes in the same region. Review the entire upper body because a face correction can also alter collar edges or shoulder folds.

The model selected the wrong person

Use a destination with one clear foreground adult whenever possible. If there are several people, identify the intended position in plain language and state that all others must remain unchanged. A busy group photograph creates more ambiguity than a single-person template. Do not keep retrying vague requests that could modify an uninvolved person's face; simplify the reference or prepare a more focused composition first.

The output is attractive but no longer resembles the reference

Appearance is not the same as identity. Compare the stable facial structure rather than only the hairstyle or skin tone. Reduce stylization, restore a closer camera angle and ask for recognizable features without beauty retouching. Do not promise an exact likeness for every reference. If a person does not approve the result, do not publish it merely because the image is aesthetically polished.

The final file needs exact production dimensions

Choose the supported canvas that is closest to your destination, then inspect the downloaded image's actual dimensions. Use a conventional design tool for final cropping, exact text, safe margins and print preparation. Keep a copy of the original references and the generated draft so later adjustments remain reversible. The generator creates a creative raster image rather than a layered design file with an independently editable face region.

Use Face Composites Responsibly

Only use images you have permission to edit and share. Do not use this workflow to deceive someone about a real event, create fraudulent documents, imply a person's endorsement or place them in an intimate or humiliating situation. If the result could be mistaken for documentary photography, disclose the edit clearly. NanoPic's face-in-hole workflow is for consensual creative imagery, not identity verification or factual evidence.

Face in Hole Generator Questions

Do I need two pictures?

Yes. The first supplies the authorized adult face and the second supplies the destination composition. The two required upload slots preserve that order. A single upload cannot define both roles in this workflow.

Does the template need a transparent hole?

No. You can use an ordinary destination portrait with a clear face area. The model interprets the placement from the images and instruction. This is not a manual cutout or pixel-mask tool.

Can I choose any costume or background?

Use a destination image you own or have permission to modify. A simple, well-lit scene with a compatible head angle is easier to blend than a crowded or heavily obscured composition.

Will every background pixel remain unchanged?

No. The prompt asks for scene preservation, but the output is generative and may change other details. Compare the result with the destination before use. Use a controlled compositing editor when exact pixel preservation is required.

Is this a real photograph of the person in that scene?

No. It is a creative edited image. It must not be presented as evidence that the person wore a costume, visited a location or endorsed an activity.

What should I do if the face looks pasted on?

Use references with closer head angles and similar light, then request a specific correction to face scale, jaw transition or shadows. Keep the destination unchanged while testing one refinement at a time.

Related tools