


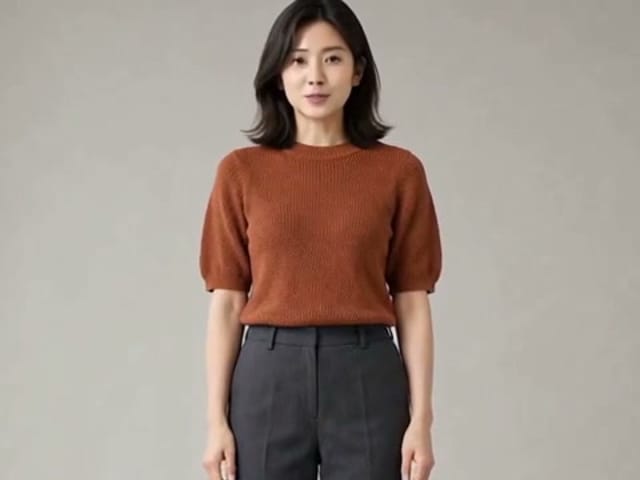






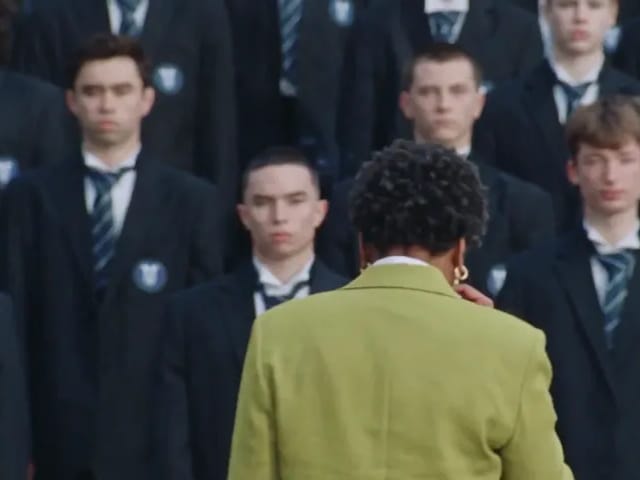
























The Input Video Before Editing
The original color and movement in the supplied clip.
Save up to 73% on plans
Browse every other AI video model and effect published on this site in a continuous carousel.
The original color and movement in the supplied clip.
An actual video-editing result recolors the paper crane deep blue. Play the source and edited clips to compare their motion, tabletop and lighting. Generative editing can still change small textures or edges.
Flux Video Edit starts with footage you already have. Upload a short MP4, describe a visible change, and review a newly rendered video. The edit is guided by the source clip: its motion, timing, and framing provide the structure for the transformation. This makes the workflow useful when the action already works and you want to explore another appearance. A person walking through a room, a rotating product, or a slow camera move can become the basis for a focused visual revision. The goal is a coherent edit, rather than an unrelated scene imagined from a still image. Keep the original file so you can compare the full sequence after processing.
Begin with one instruction that another person could check without knowing your creative brief. Change the red mug to matte blue, turn the wall into pale concrete, or give the trees an autumn palette. A precise request gives you a clear acceptance test. If the mug becomes blue but its handle changes shape, the color instruction succeeded while product continuity failed. Record both observations. Combining new clothing, a replacement location, a different camera move, and several new props in one request makes it difficult to understand which part caused a problem. Build confidence with a controlled change before exploring a more ambitious direction.
Your prompt should name what must remain recognizable. Mention the main subject, the action, the camera position, and the objects that matter to the shot. For a tabletop clip, you might ask to preserve the cup shape, handle, table edge, and rotation speed. For a walking shot, describe the same person, walking direction, framing, and camera movement. These instructions guide the result; they are not a guarantee of exact preservation. Watch fine details such as fingertips, jewelry, reflections, lettering, and patterned fabric. Small differences can become visible only when the clip plays at normal speed, especially near occlusions or when the subject turns away.
Use an MP4 smaller than 50 MB and shorter than 15 seconds. Trim away dead time before uploading, and choose one continuous shot where the intended change is visible. Keep the subject large enough to inspect without cropping off the parts that identify it. Strong compression, motion blur, rapid cuts, and overlapping objects can make an edit harder to judge. Export a clean source from your editor rather than repeatedly compressing a copy from a messaging app. Save the original aspect ratio and avoid adding borders. A readable input is more valuable than a complicated prompt that tries to recover details that are no longer visible.
A useful prompt contains three ideas: the change, the preserved elements, and the desired visual treatment. For example: change the ceramic cup from red to matte blue; keep its shape, handle, position, rotation, table, and camera movement; use natural reflections consistent with the existing lighting. Put the most important change first. Use ordinary visual language instead of a long list of camera brands or unrelated style tags. Avoid contradictory instructions such as changing the entire room while demanding every background pixel remain identical. If you need a strong transformation, decide which details can move and which details must stay stable before submitting the edit.
A short product clip can help compare possible art directions before a larger production decision. Try one surface color or finish at a time while preserving the silhouette and motion. A matte bottle, brushed metal container, or soft fabric accessory offers a distinct material question. Review edges, highlights, seams, and contact shadows after editing. An attractive result can still misrepresent a real product if the model changes a closure, invents a label, or alters its proportions. Treat generated variants as creative concepts until someone responsible for the product checks them. Use original or authorized footage, and keep an approved reference nearby during review.
A scene can feel different when its surroundings change. Explore a cooler winter palette, warm late-afternoon light, or a more restrained background treatment while keeping the original action. Describe the effect in visible terms: softer blue shadows, autumn leaves, a neutral wall, or light snow in the background. Consider how the treatment should interact with moving subjects and surfaces. Snow that appears behind a person in one frame and in front of their face in another can break the illusion. Check occlusion, ground contact, and lighting consistency throughout the sequence. Keep the change limited when the clip contains reflective glass, water, or many moving objects.
For authorized footage of people, use specific garment descriptions and a narrow styling change. State which clothing item changes and which personal features should remain recognizable. Preserve the face, hairstyle, body proportions, walking action, and framing when those details are essential. Review the result carefully when hands cross the garment or the person turns. Loose fabric and repeated patterns can shift between frames. Do not treat an edited wardrobe clip as a reliable record of a real event or a perfect preview of physical fit. Get appropriate permission for the footage and any commercial use, and label synthetic edits where your distribution context requires it.
After the task completes, watch the source once and then the output once without pausing. Notice the overall rhythm, the action, and whether the requested edit is easy to see. Next, inspect the beginning, middle, and ending frames. Finally, play the result again at normal speed to catch flicker that still frames hide. Compare like with like: the same crop, playback size, and position in the clip. Keep a simple note containing the prompt, the source filename, and the result you prefer. This small review routine is usually more useful than generating many variants without a consistent way to judge them.
When a result is close, identify the most important remaining issue. If the new material is too glossy, change the finish description. If the background drifts, strengthen the preservation instruction and simplify the requested transformation. If the source includes a sudden cut, prepare a shorter single-shot input. Changing the prompt, source, and visual goal together removes the useful comparison with the previous attempt. Keep successful instructions and replace only the part that needs work. There is no guaranteed prompt that prevents every artifact. Stop iterating when the remaining defect requires precise manual work, and finish the shot in an editor that gives you the necessary control.
Use video editing when the existing clip contains the movement you want. Use text-to-video when you need to invent the scene and action from scratch. Use image-to-video when a still image is the main visual anchor and there is no source motion to preserve. A timeline editor remains the appropriate place for frame-accurate cuts, captions, audio mixing, and assembling multiple shots. These workflows can complement one another, but their inputs and promises differ. Choosing the right starting point avoids wasting an edit on a request to create unrelated footage. The video models hub links to other creation workflows when your project needs a different input.
This editing interface does not offer a control that guarantees preservation or replacement of the original audio. Keep a separate copy of the source soundtrack if sound is important to the project. After downloading a result, listen to the complete clip and check its timing before publishing. For dialogue, music, or precise effects, finish the audio in a timeline editor and verify that you have the necessary rights. Do not assume that a visually successful edit has preserved every sound event. A deliberate audio review is especially useful when the source contains speech or when an edited object would imply a different sound.
Sign in, choose your MP4, and wait until the upload finishes. The source player lets you check that the right clip was selected before you submit. Read the editing prompt and the current charge in the operation panel. Start the edit only when those details match your intent. Processing is asynchronous, so keep the task reference and use History to find the result. When output is ready, open the video and play it before downloading. If the request fails, read the displayed error and inspect the input requirements before retrying. Repeated submissions of the same invalid file will not repair its format or duration.
Keep source and output files separately, especially when multiple people review the work. Share the intended use and the specific change with your reviewer so they can evaluate more than visual attractiveness. Check faces, hands, brand details, readable text, and factual context before external use. A generated clip can look convincing while introducing details that were never in the original. Avoid presenting a synthetic alteration as evidence of something that actually happened. For client work, agree on what may change, document the chosen result, and retain a copy of the approved version. Creative control includes knowing which claims the edited footage can support.
Before starting, write a short acceptance statement: the cup should be blue, the same handle should remain visible, and the original rotation should stay recognizable. This creates a shared standard for the edit. Ask a reviewer to play the clip without reading the prompt, then describe what changed. If they notice unrelated movement or a changing object shape first, simplify the next attempt. If the intended transformation reads immediately and the scene remains coherent, inspect the smaller details before exporting. Consistent review matters more than the number of variants. A useful final clip is one that fits its purpose and survives playback, rather than one attractive frame from a flawed sequence.
Upload an MP4 under 50 MB and shorter than 15 seconds. Choose a clear continuous shot. Output is up to 720p.
The edit follows the source motion, timing and framing, but details require review. This interface does not guarantee source audio preservation.
Open the task in the result panel or History, play the complete output, and then download it.
The generator identifies FLUX.3 Edit Video [FAST] as the current model. NanoPic is an independent tool and does not represent Krea or Black Forest Labs. Availability is determined by the generator and actual task results.
Choose the next workflow for your source material.